Since Ramnant Sword‘s success, I’ve been itching to make more swords. Because I couldn’t quite figure out how to mold a Fei Xue, the female companion to Can Jian, I pivoted to forge a Lightsaber instead.
I have never been much of a Star Wars fan, and am barely knowledgeable of its lore, but Lightsaber is unmistakably one of the most widely recognized product of pop culture. With toy replicas sold everywhere from $10 to $600+, it’s hard not to be fascinated by this fictional weapon. Having a premium hilt on the shelf to impress house guests is a common goal among boys of all ages. I’d like to join their rank but don’t have the cash… what if I can make one with cheap materials?
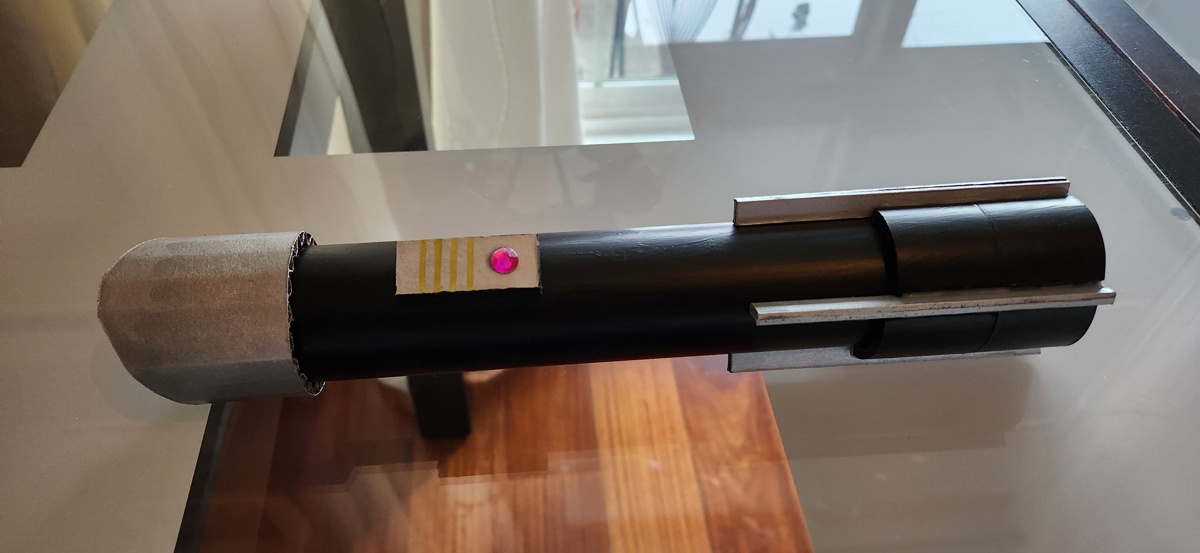
This project began with a rather unambitious idea. Just a hilt: a black-and-silver cylinder with some wacky 80’s idea of futuristic industrial look. Something I can put on the desk and casually showoff during Zoom meetings, like this:
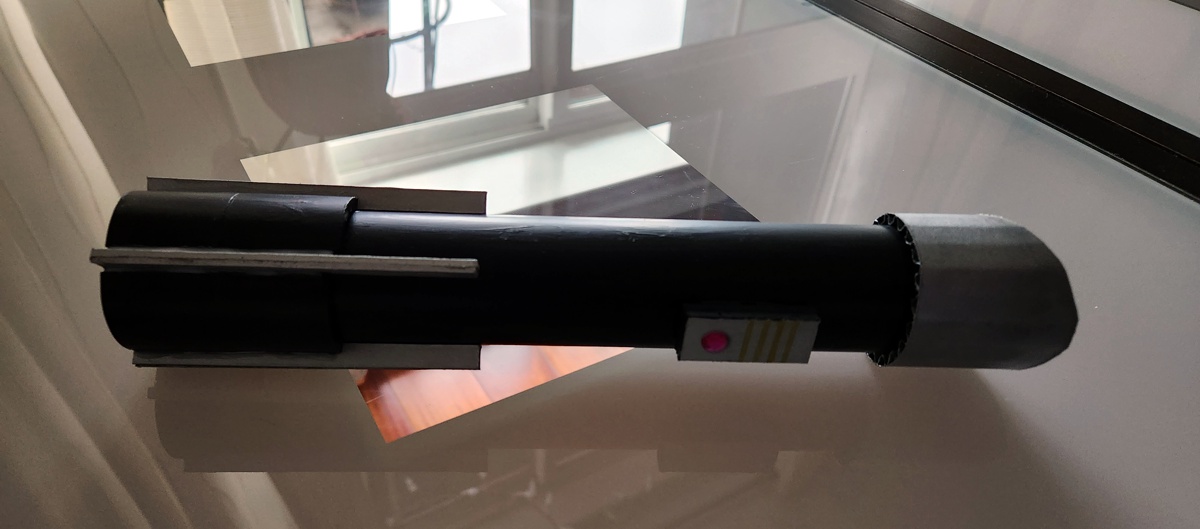
However, it was unsettling to end the day with a glorified painted rock. I slept on the thought, and woke up to multiple rounds of project creep. My second sword of the season turned out to be less of a craft and more of an engineering challenge. Here’s how it went down:
Challenge #1: Detachable Blade
Even though the hilt holds all of a lightsaber’s customization and personality, by itself there is no “light” or “saber”. All cheap and fancy replicas offer ways to turn the blade on and off, through a retracting or detaching mechanism. How do I do that?
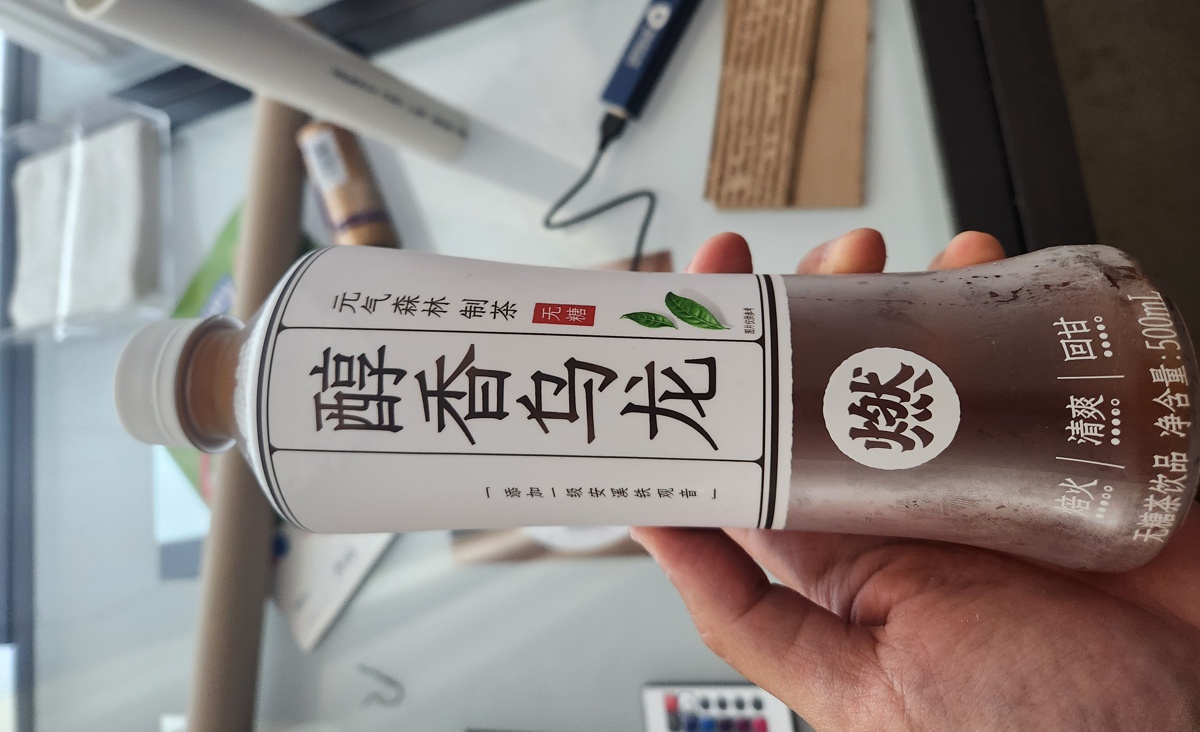
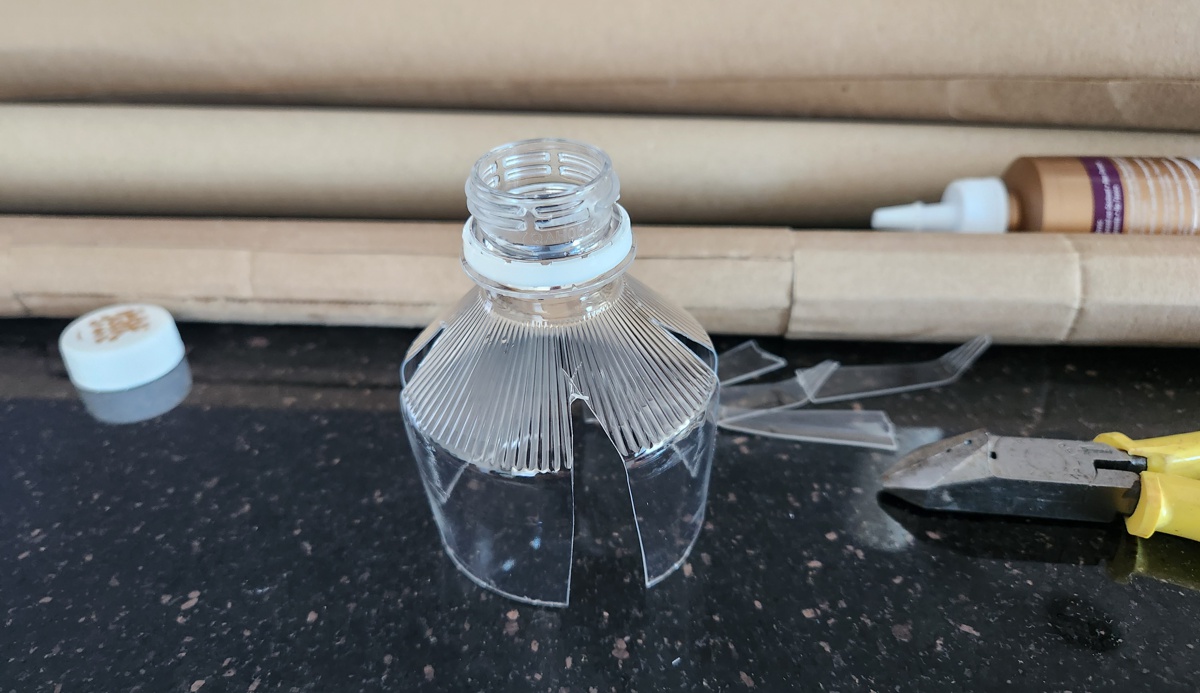
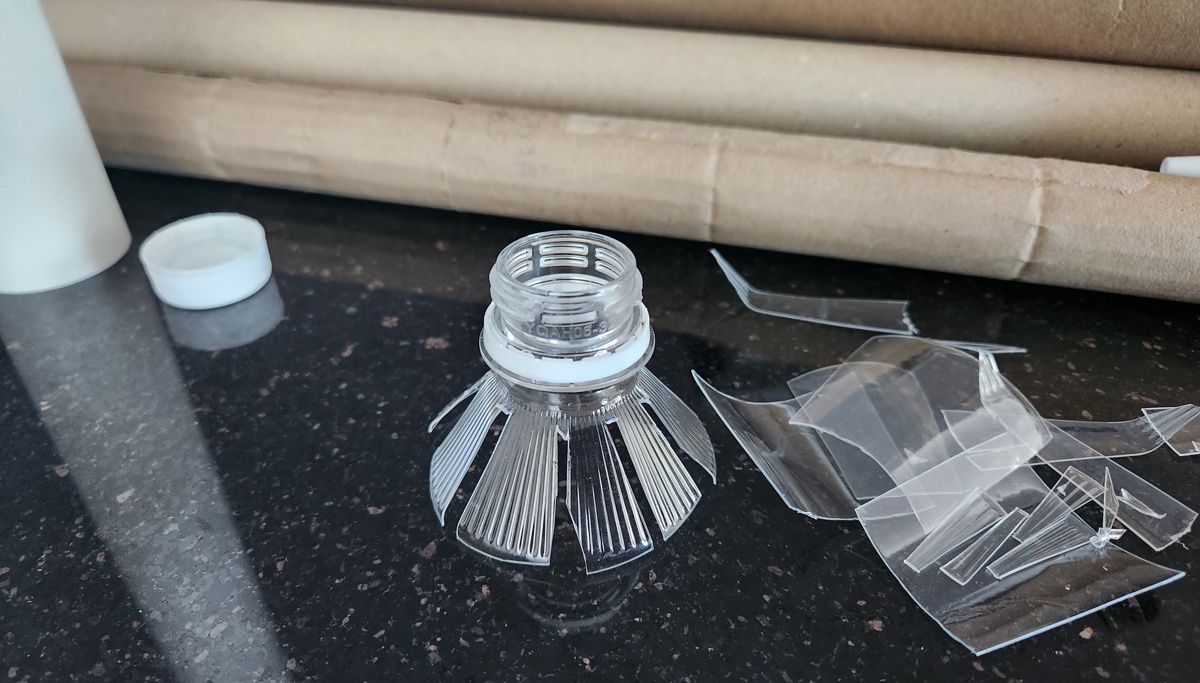
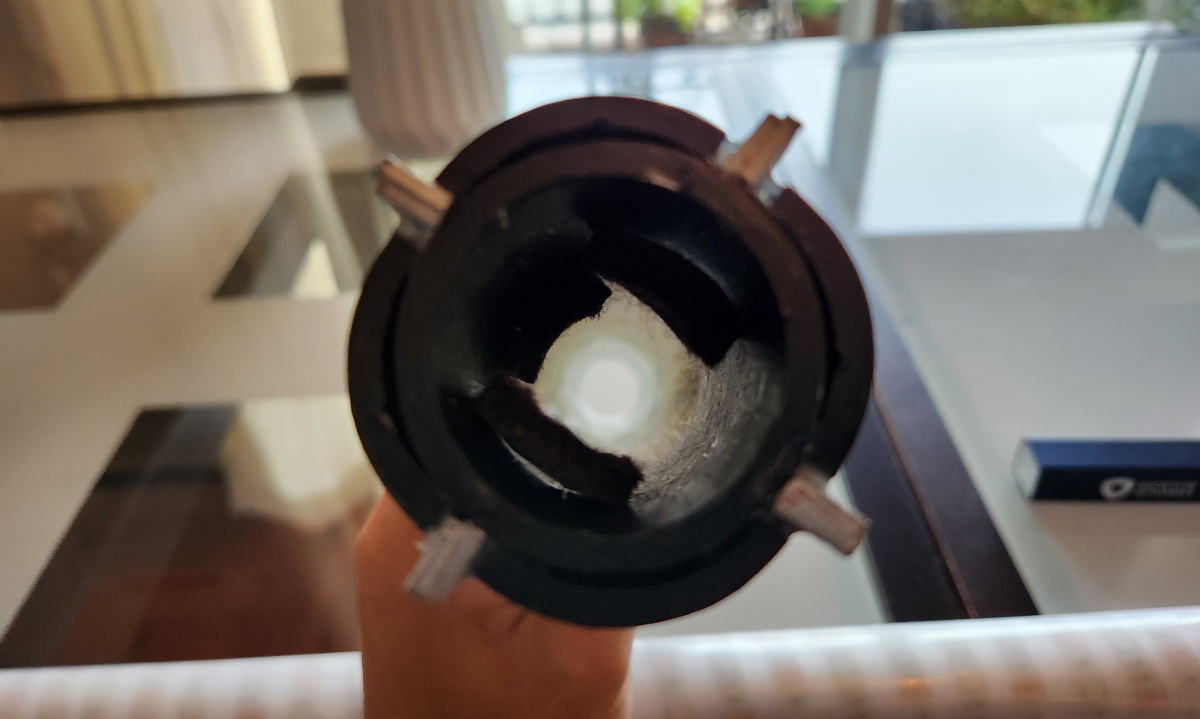
This project really kicked off when I woke up one morning to an elegant answer… plastic bottle. By (1) chug a bottle of my favorite bottled tea, (2) jam the bottle neck into a PVC pipe, and (3) glue the cap to a long paper tube, I’d have a smooth way to screw the blade on and off the hilt.

Challenge #2: Paper Tube
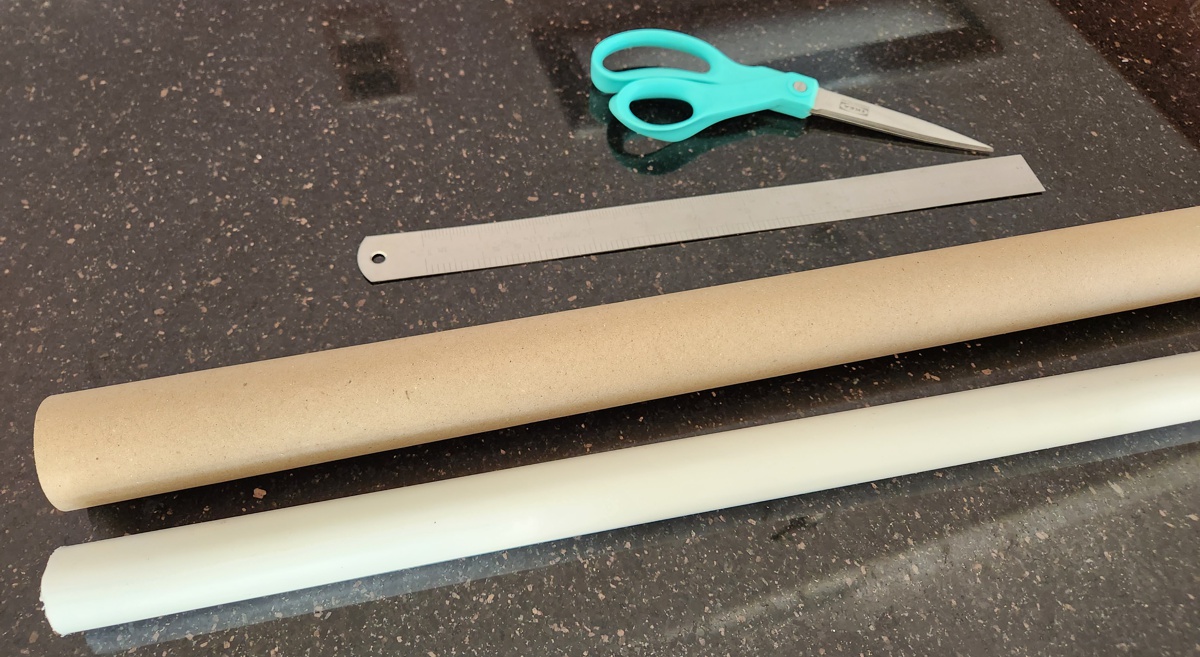
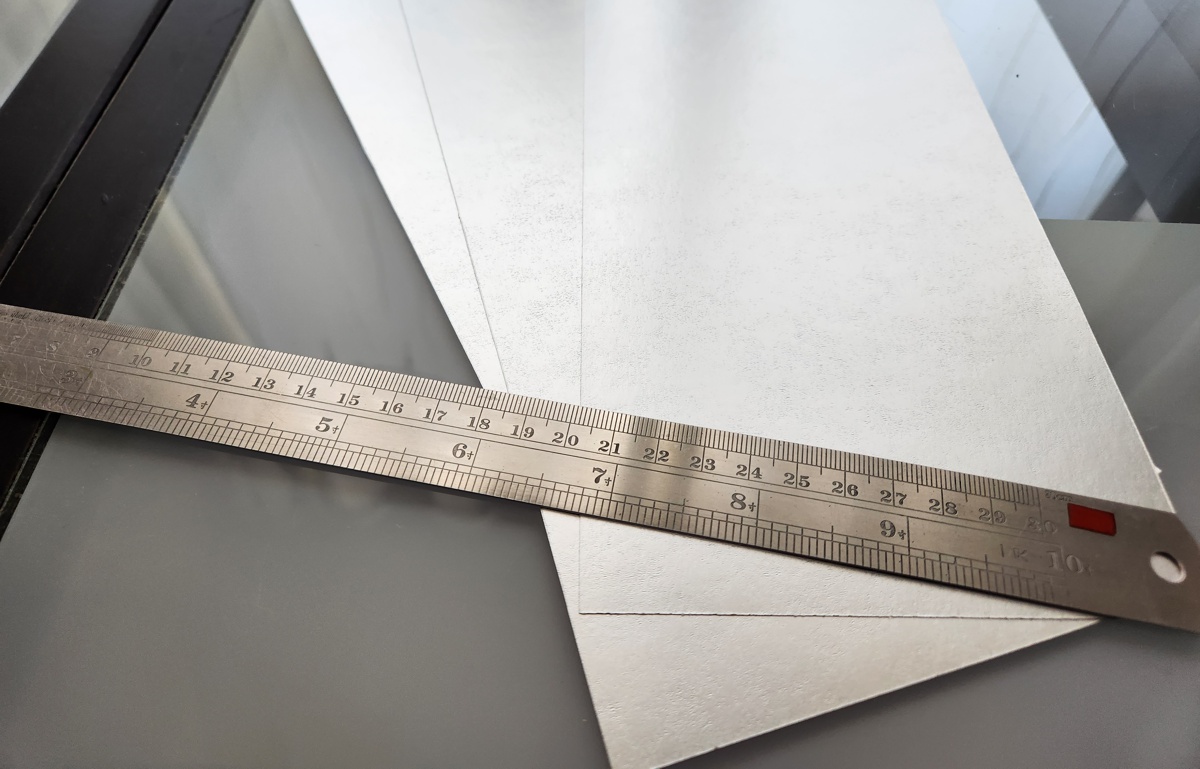
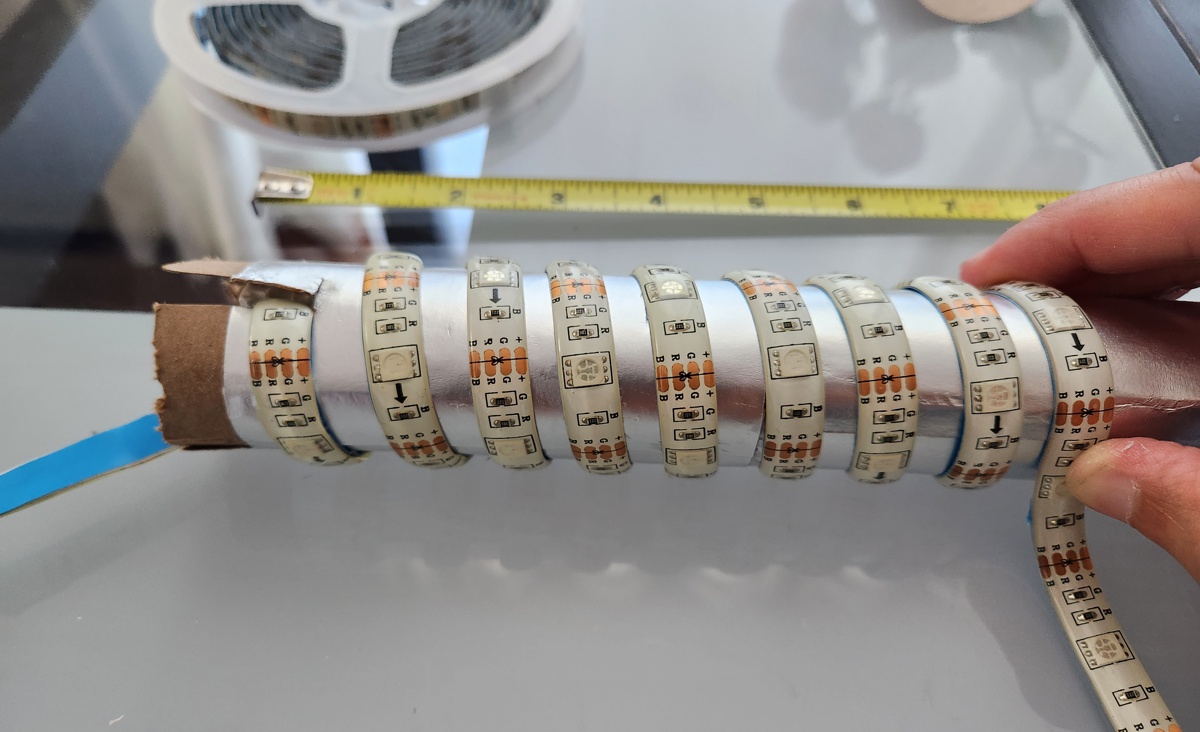
By referencing toys that people actually sell for money, I learned that I needed a blade roughly 3 feet in length and 1 inch in diameter. I’m sure I’ve thrown out plenty of those in the past, like the axle inside wrapping paper rolls or mailing tubes for posters. Looking for such a thing on demand, though, turned out to be a difficult task. I came home empty-handed after visiting multiple stores in the neighborhood and online. I briefly contemplated buying a whole industrial-sized roll of brown packaging paper just to use its inner tube, but that would be the opposite of making a toy out of garbage and thus violate the guiding principle for this project.
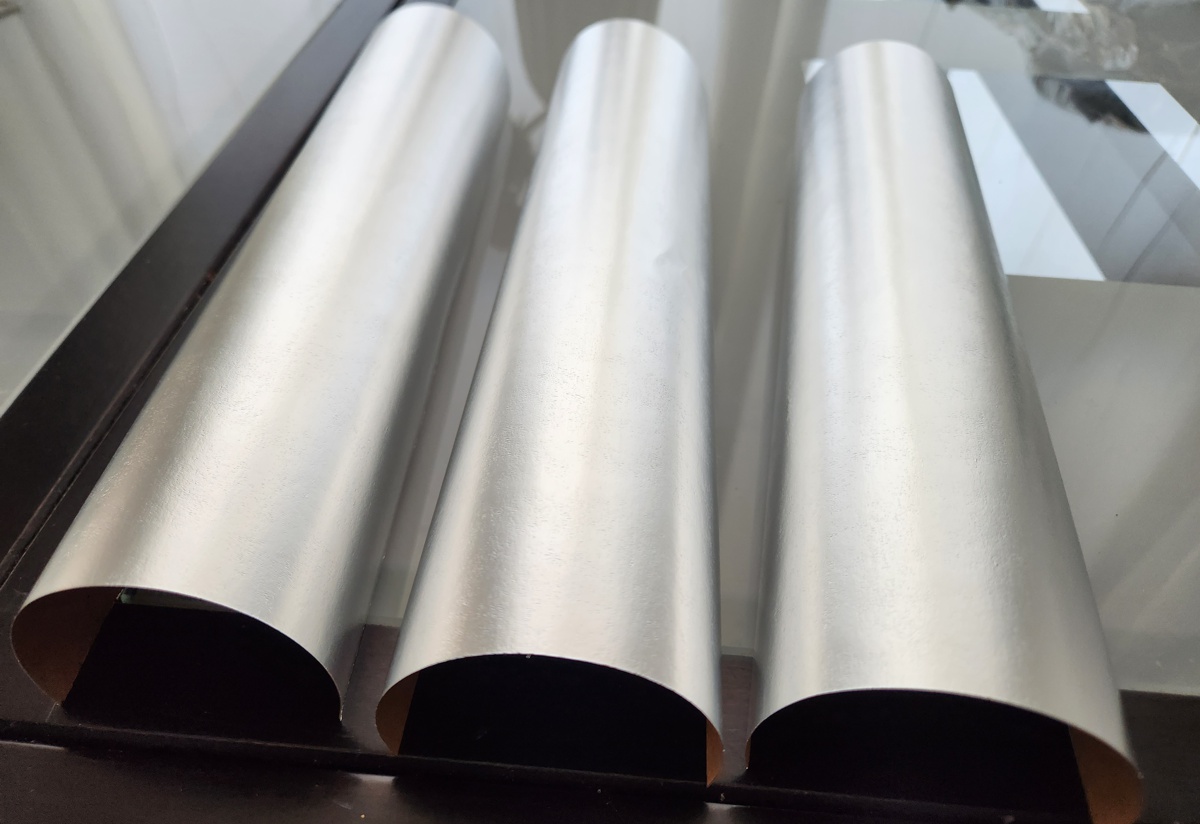
I also considered just using a PVC pipe for the blade. There’s nothing sturdier, cheaper, and perfectly cylindrical with that skinny and tall dimension. But jamming one PVC pipe into another feels more Super Mario than Anakin Skywalker, and I feared that the weight would break my attaching mechanism.
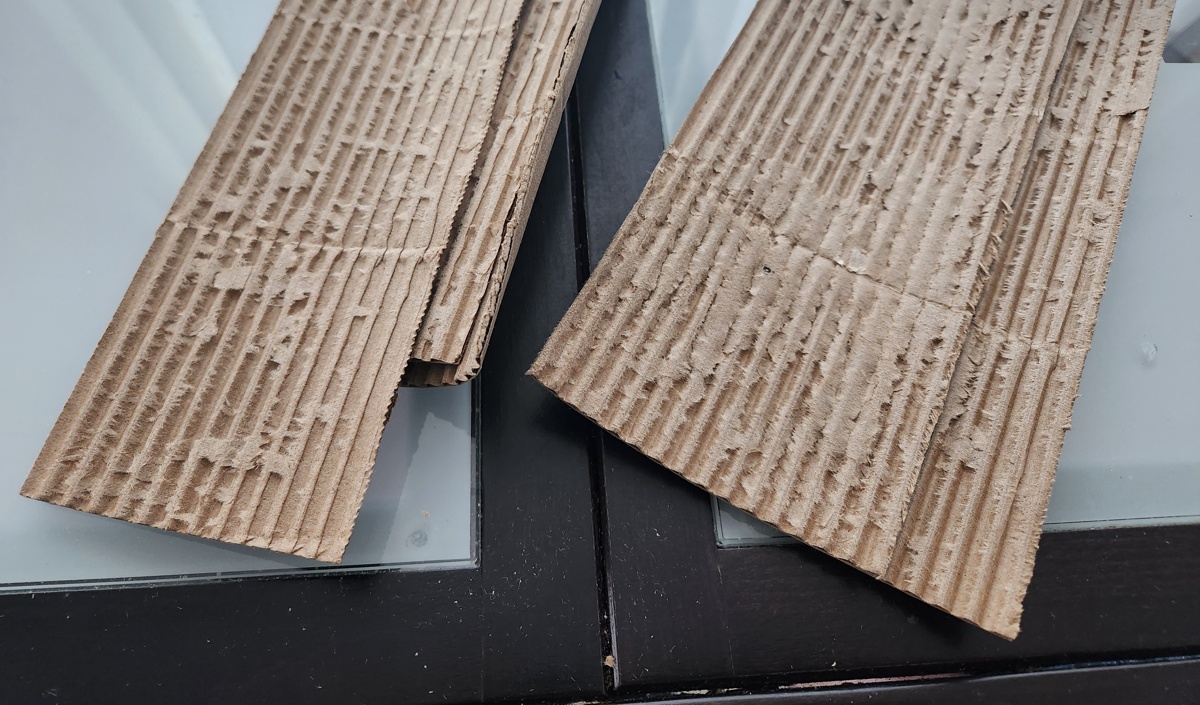
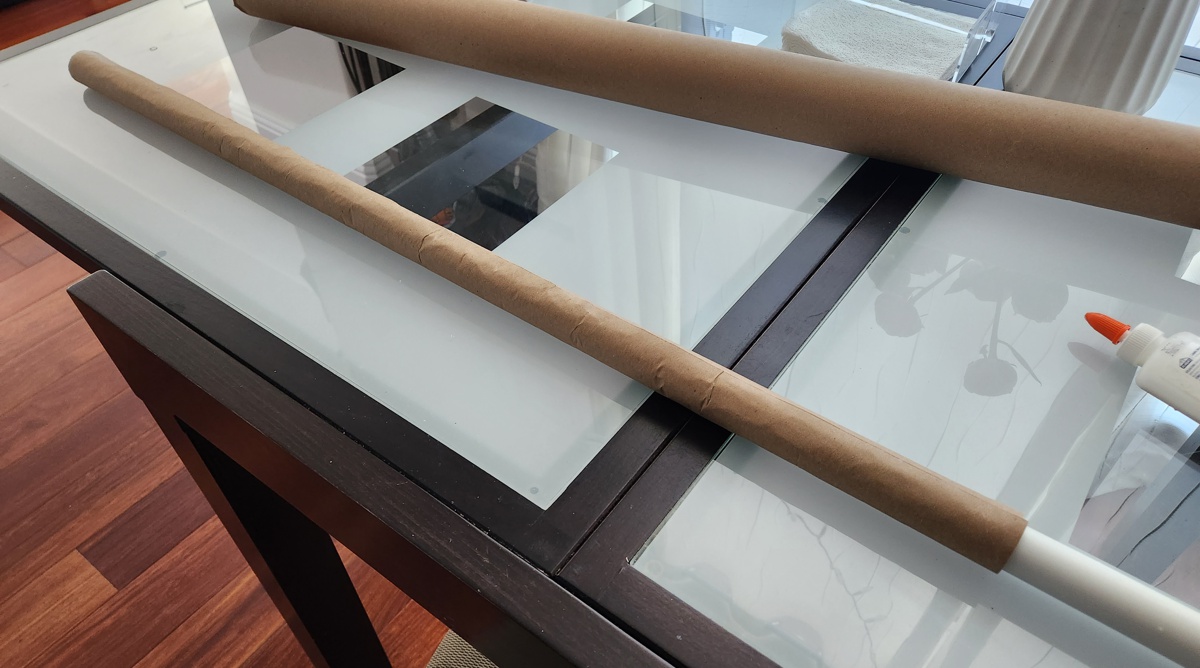
Frustrations over finding the right tube almost made me cancel this project. Then I decided to just make my own paper tube out of scrap materials. I wrapped brown paper and corrugated cardboard around a PVC pipe in order to mold a nice cylindrical shape, and layered them strategically to maximize structural integrity. Finally, I added a silver exterior (using the leftover foil card stock from Ramnant Sword) for a nice shine. Voila! The end product was not half bad!

Challenge #3: the Light
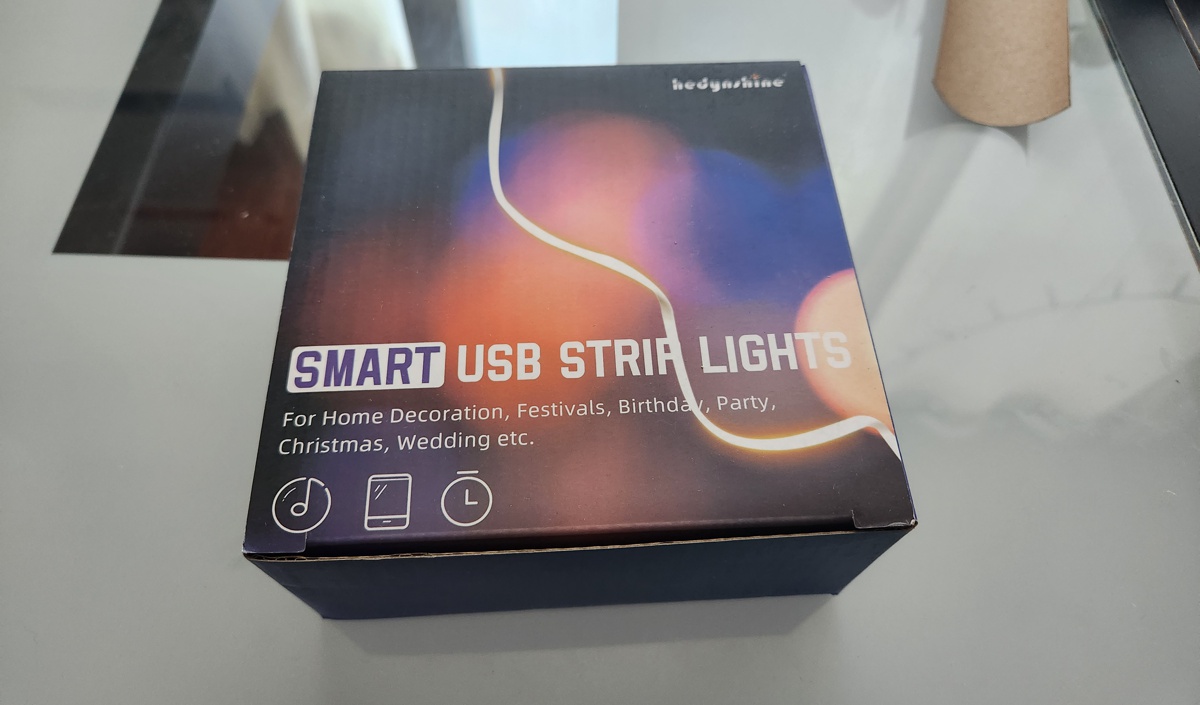
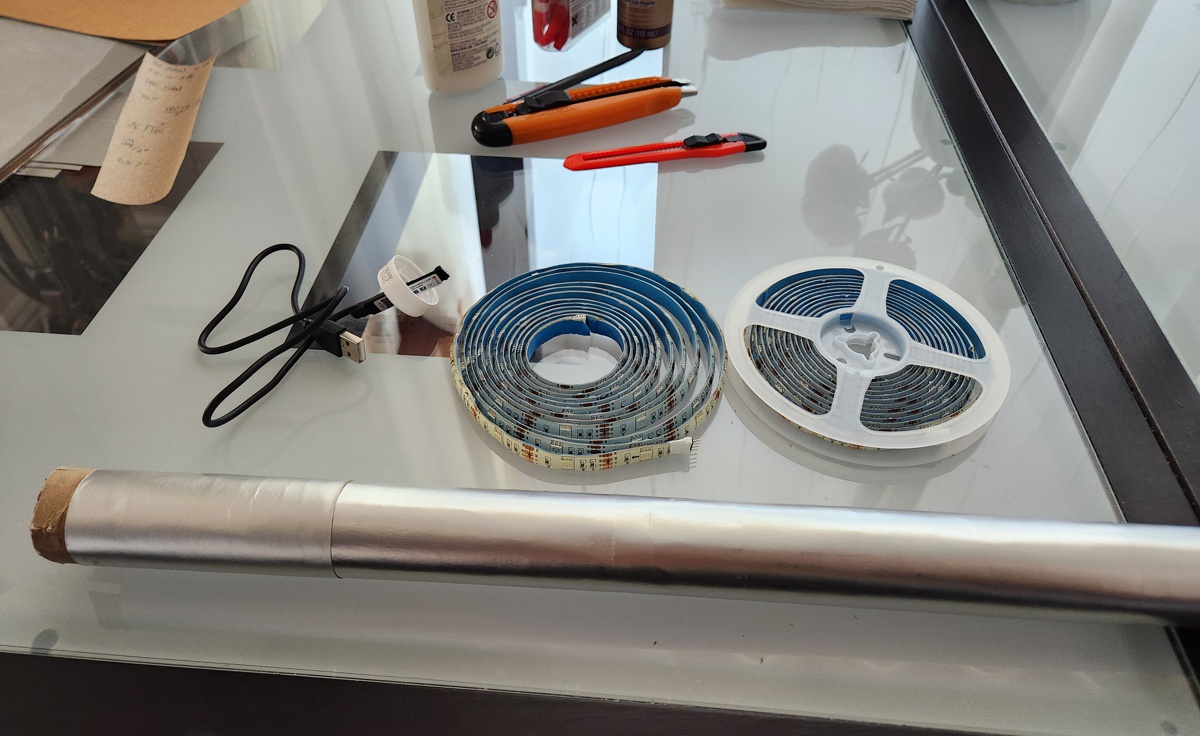
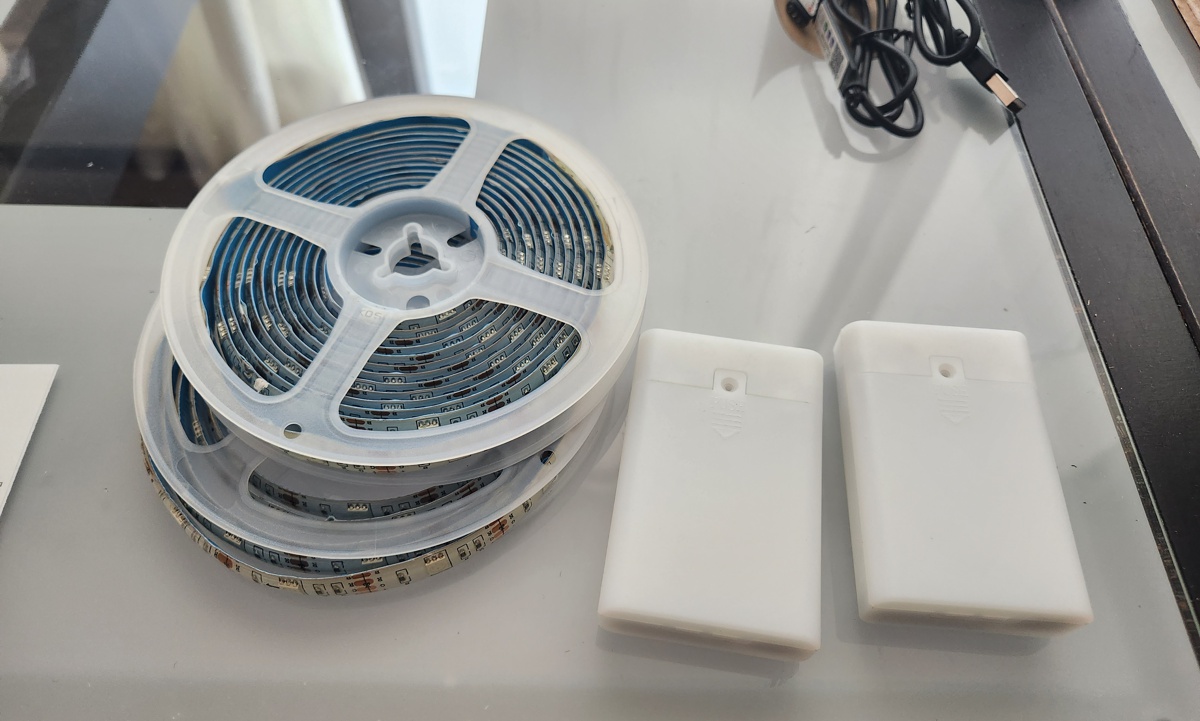
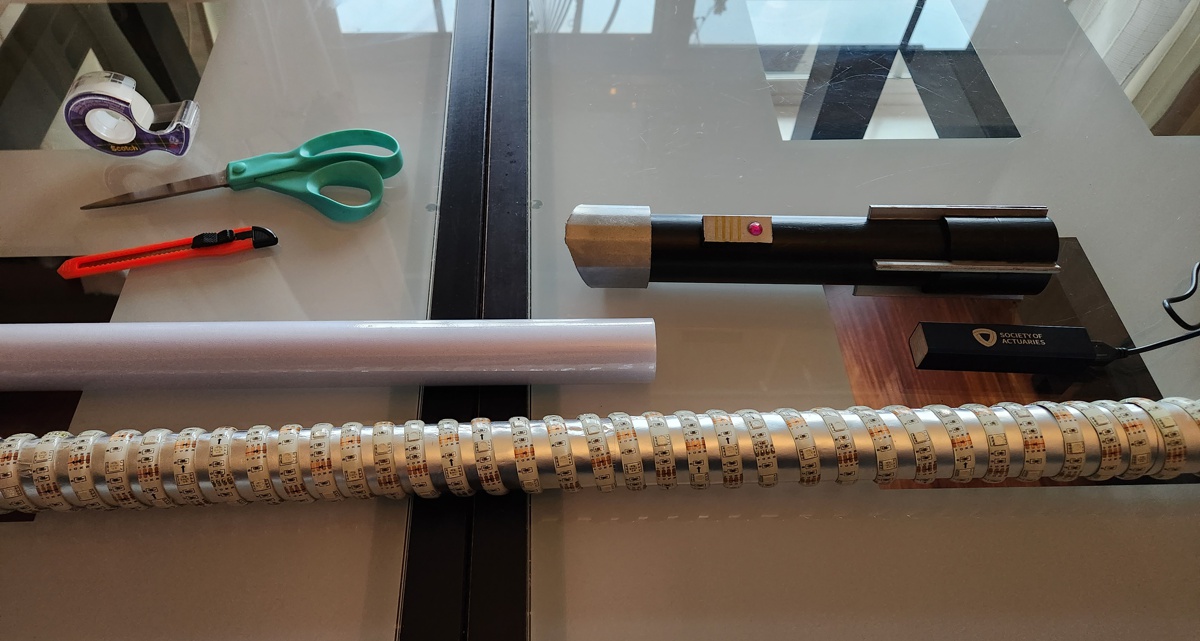
Here’s a serious scope creep. I was gonna be happy with just a colorful and/or shiny paper tube as my “light” blade. Then I wanted real light. Having recently installed some LED strips under our bed, I woke up to its ambient glow with the realization that the same kit may work for this project. It would look dumb to plug a cable from my fantasy space weapon into a wall outlet, but there’s gotta be a battery-powered kit, too… and Amazon came to the rescue. Ask Pay and thou shall receive!
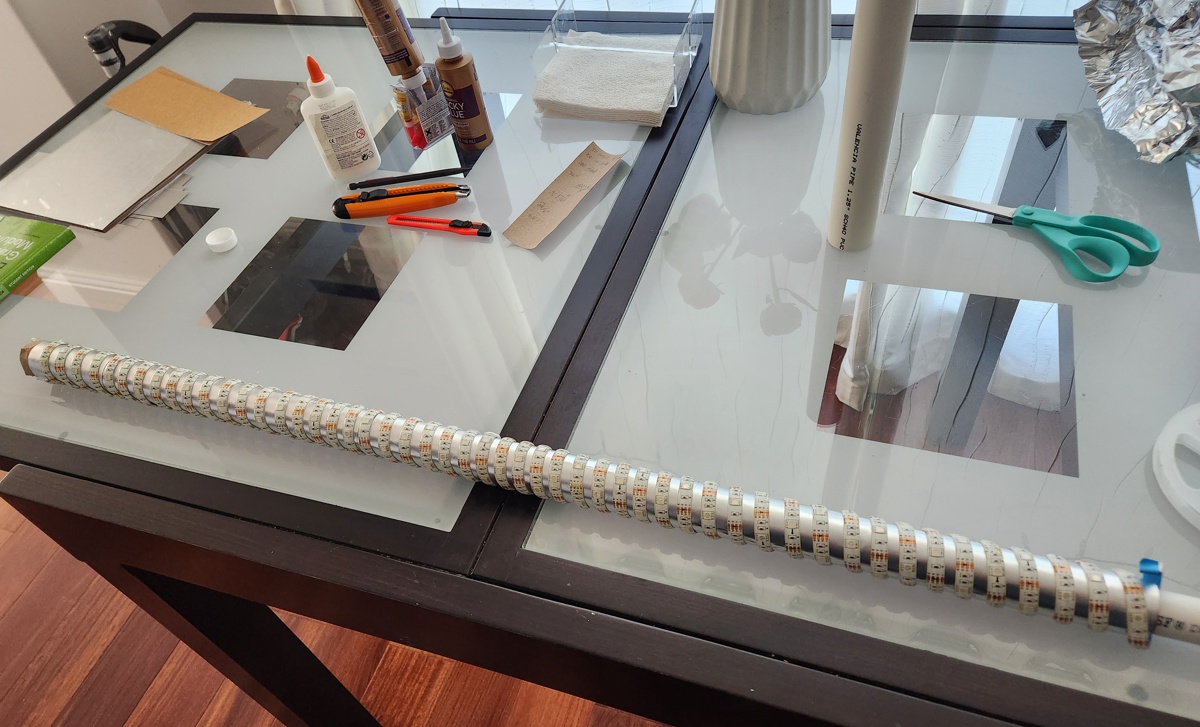
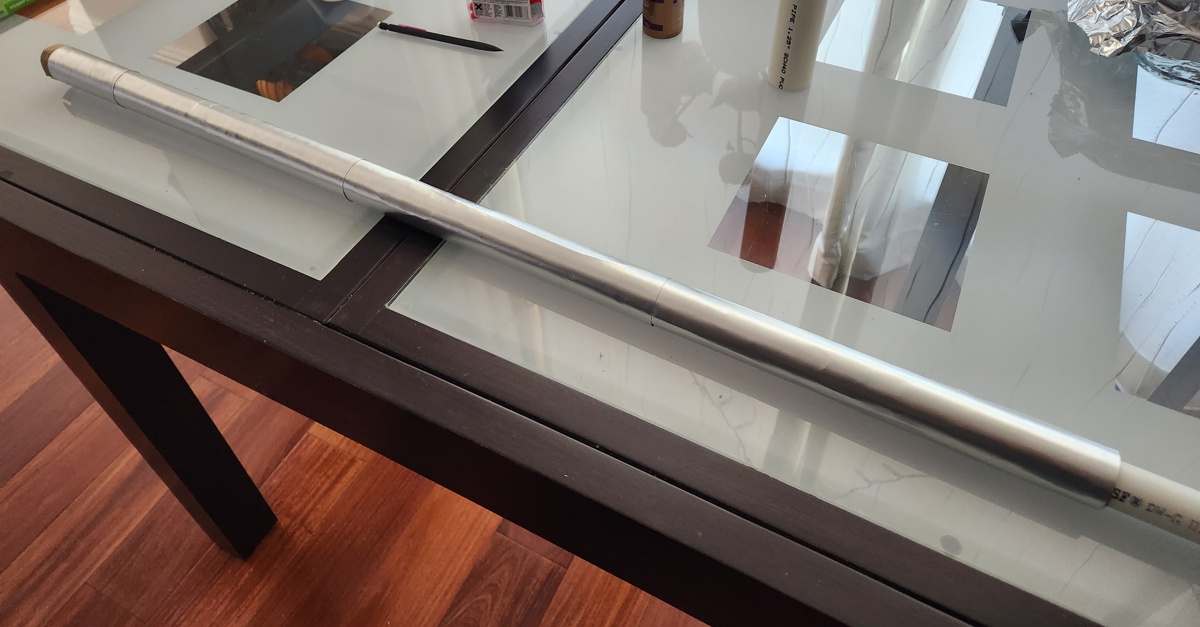
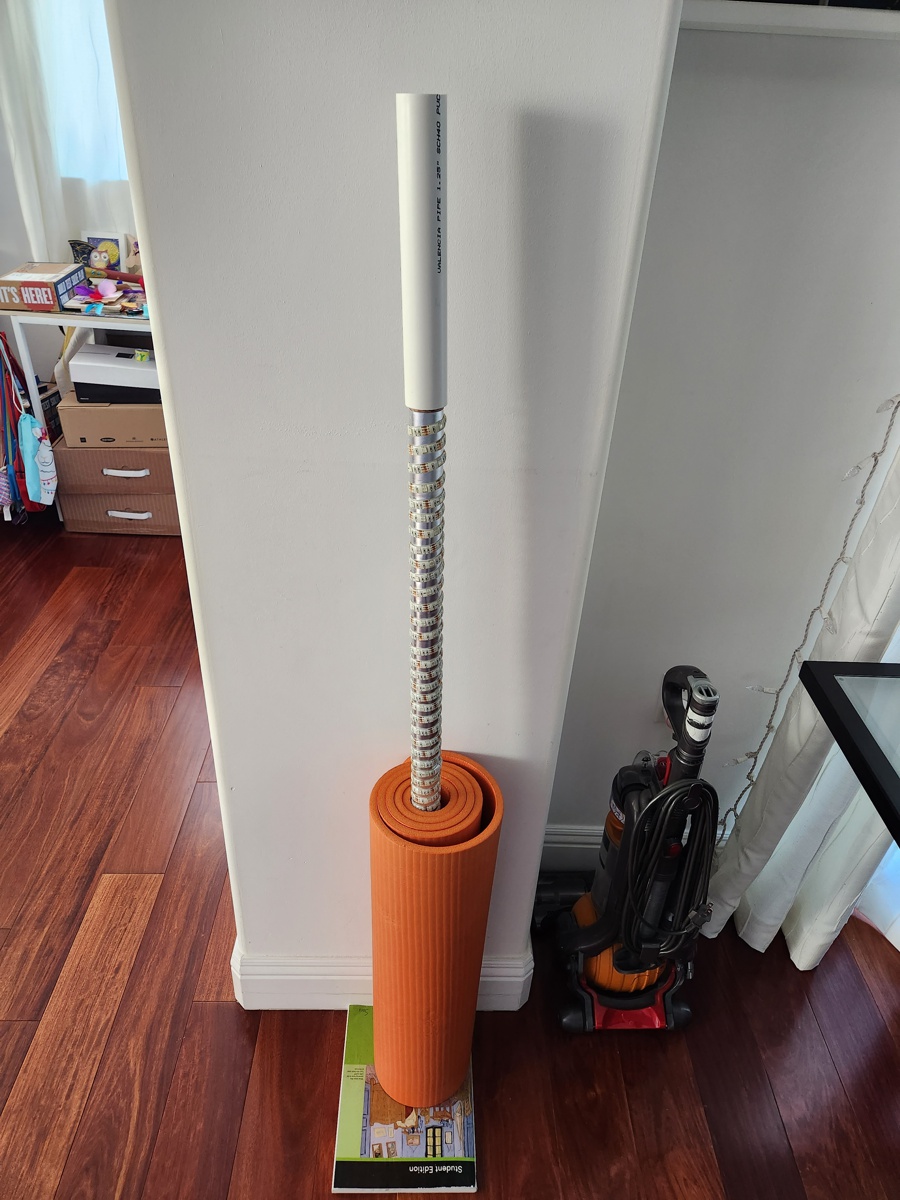
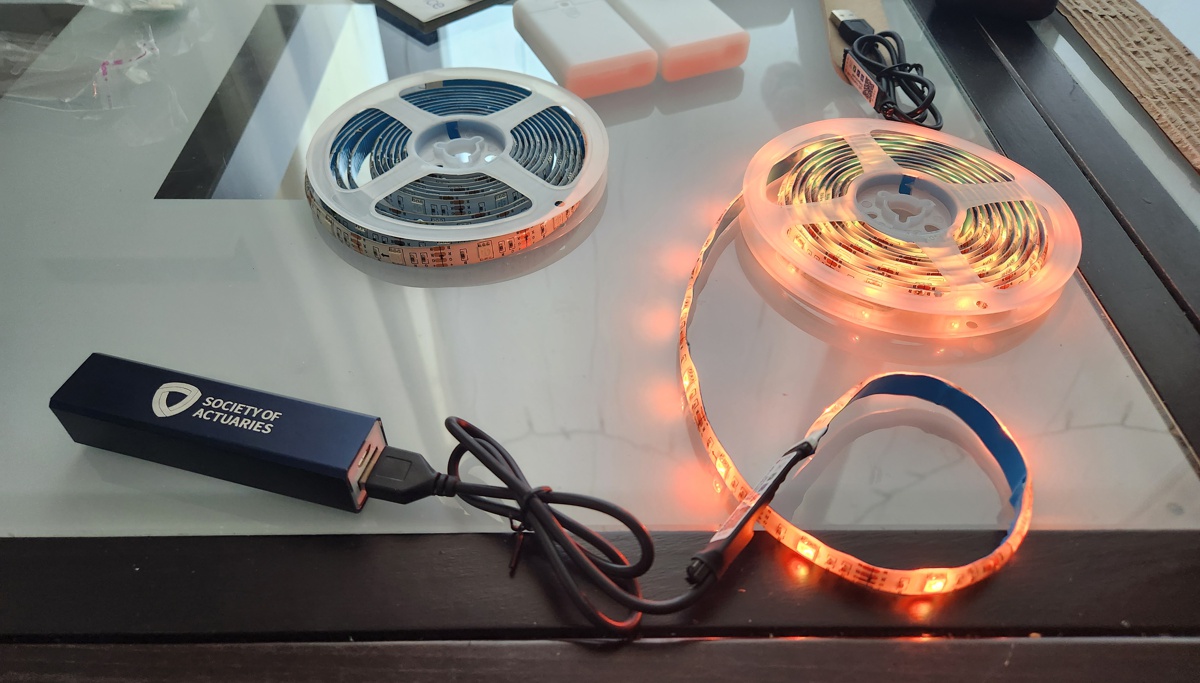
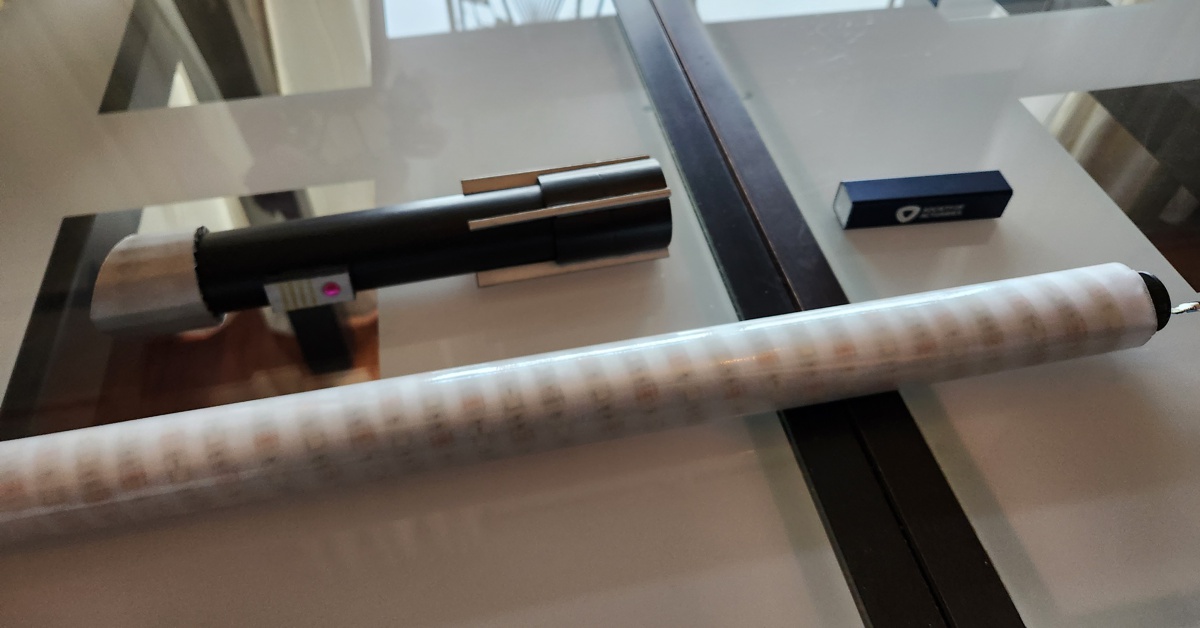
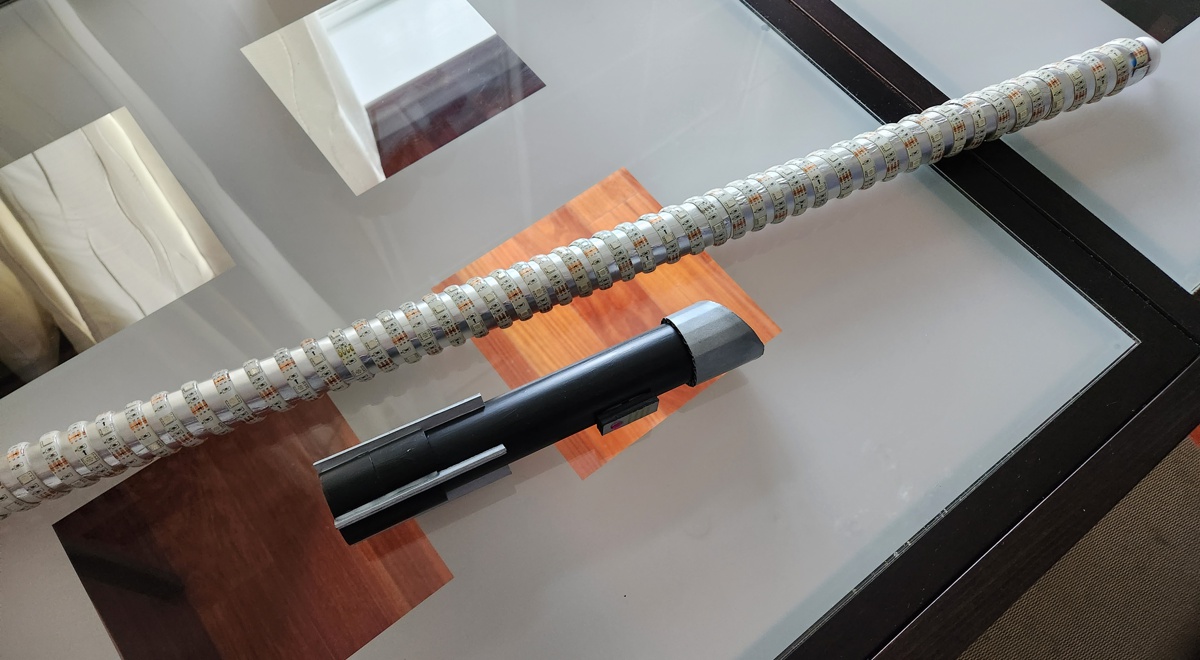
Proof of concept – 10″ PVC handle neatly screwed onto a 3′ LED-encrusted paper tube:
Challenge #3.1: Power Source
Now that I had a mobile power source, I still had to integrate it into my lightsaber somehow. The rectangular battery pack peg wouldn’t go into a 1.25″ round hole. Worst case, I could have it dangling on the side like a serious diabetic has an insulin pump dangling on the side. Umm… maybe not.
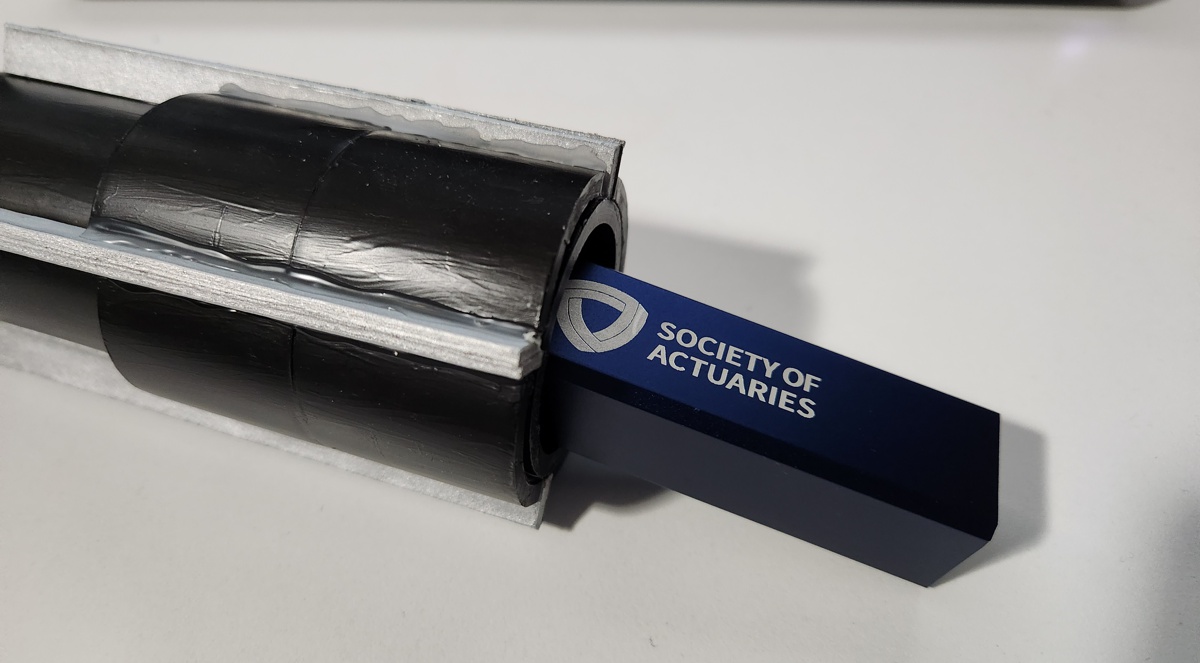
Thanks to the USB interface, though, it was easy to find alternatives to the battery pack. Without even needing to pay Amazon again, I had just the right thing in a drawer. Some years ago, I had gotten a rectangular portable charger from Society of Actuaries. It measured 1.1″ diagonally. Perfect!
Challenge #3.2: Containing the Power
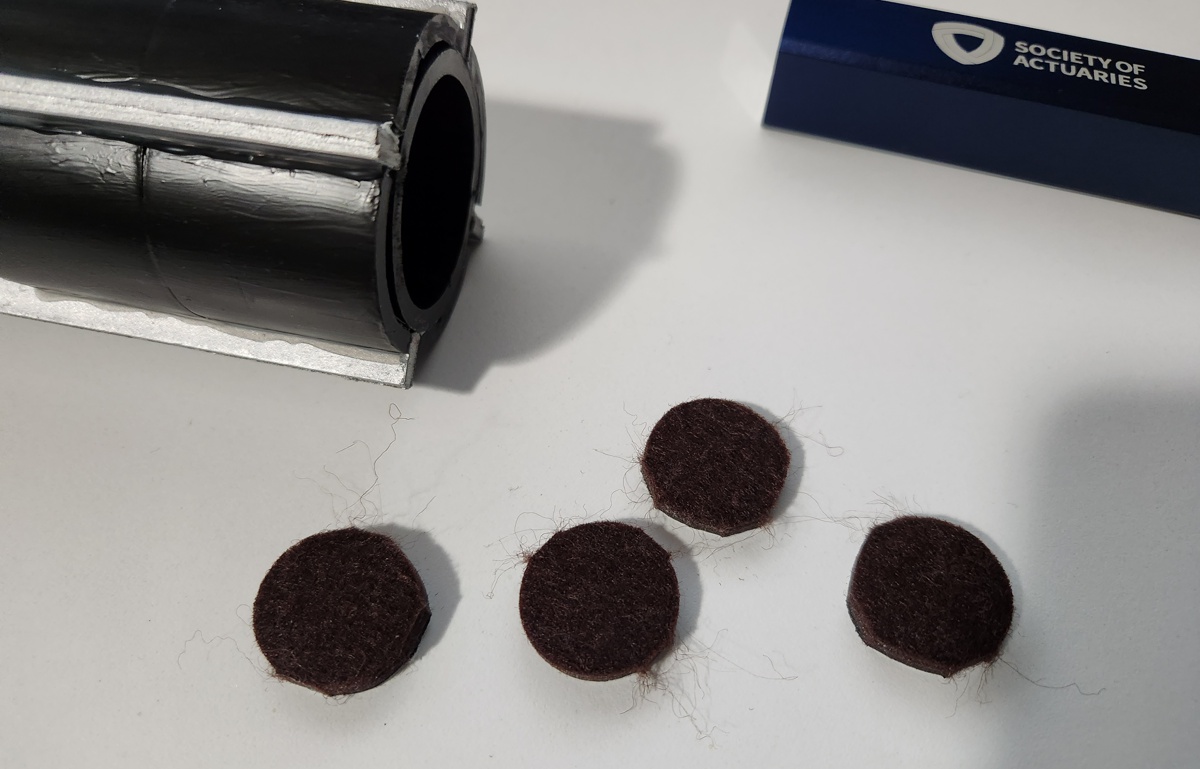
The least cosmetic problem turned out the hardest to solve. That portable charger wasn’t gonna just sit nicely in a PVC pipe, and I’d rather not have a chunk of metal drop on my toes while swinging this lightsaber. I could glue it to the inside of the hilt but it was unideal for a number of reasons. So I looked in our storage and dug out some felt pads. By sticking them inside the hilt, they snugly held my SOA power stick in place. In fact, it’s so snug that attaching and detaching the blade (which required unplugging the USB cable) became an incredible chore… but hey at least the problem is solved.
Challenge #4: Diffusing the Light
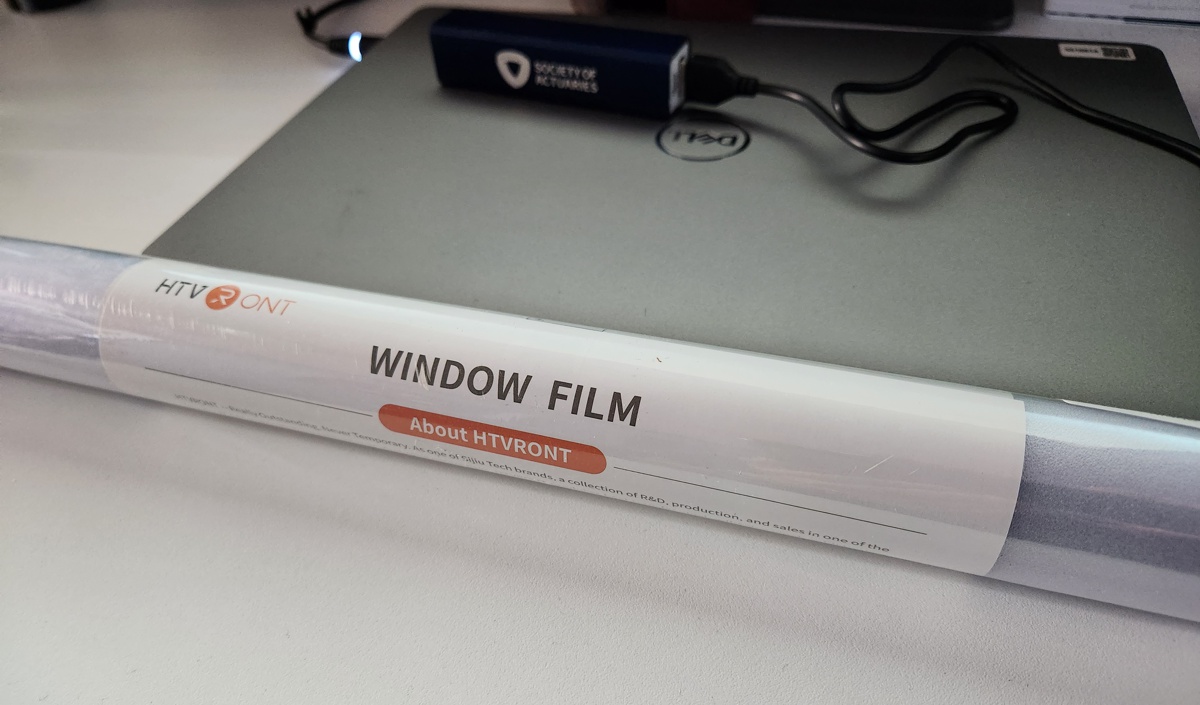
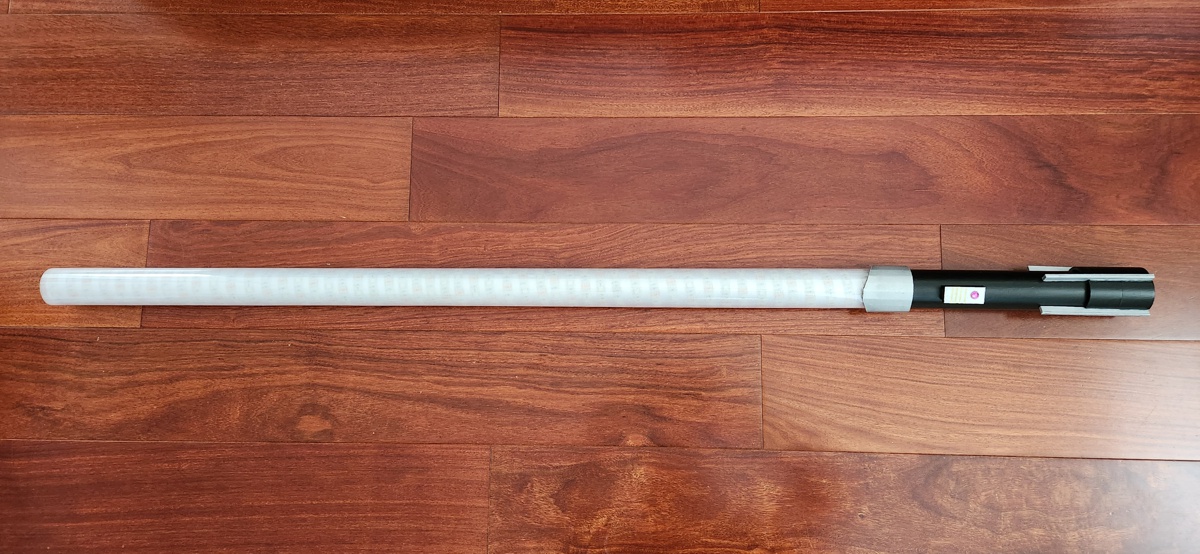
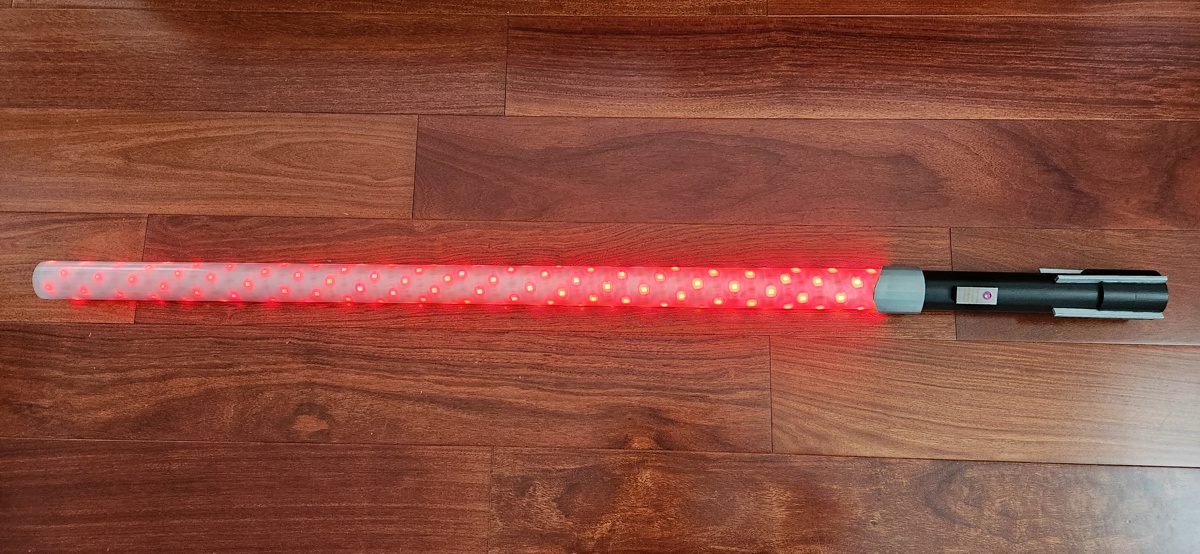
Turned out that even with 180 LEDs, the light strip still looked like a ton of individual lights rather than a smooth light tube. Really not the end of the world but I wanted to do something about it. For $6, I got this window privacy filter and hoped that it’d evenly diffuse the light. Yeah… that mostly didn’t work, but at least it gave my blade a smooth surface.
The Build
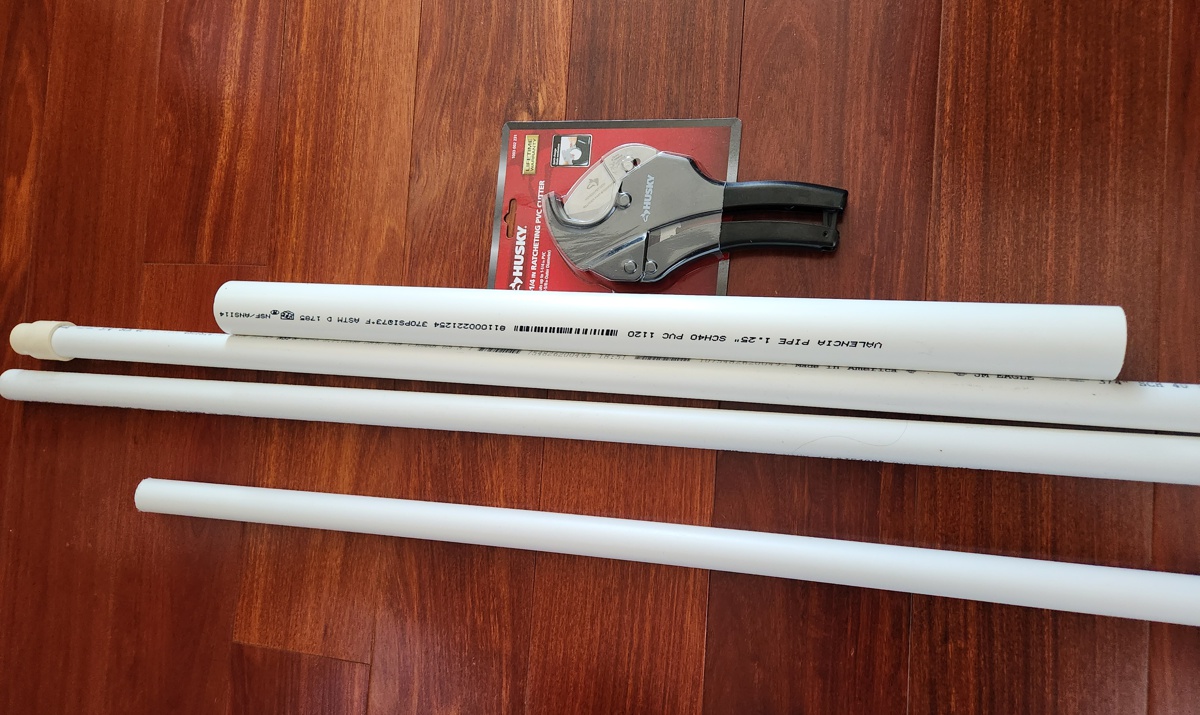
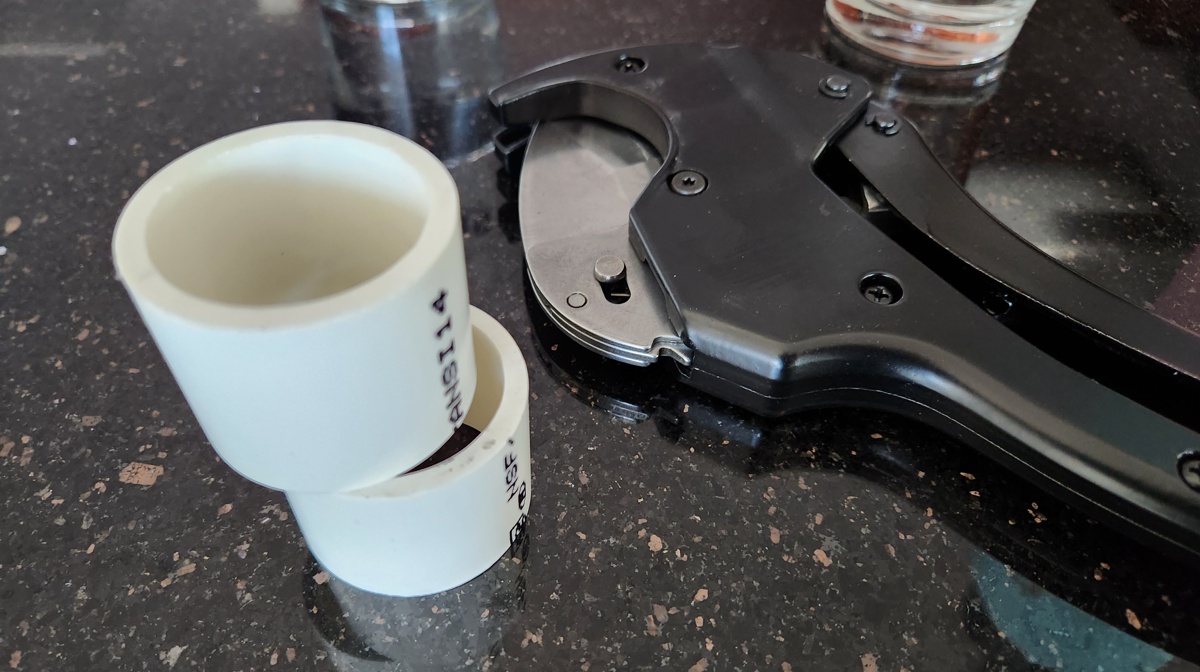
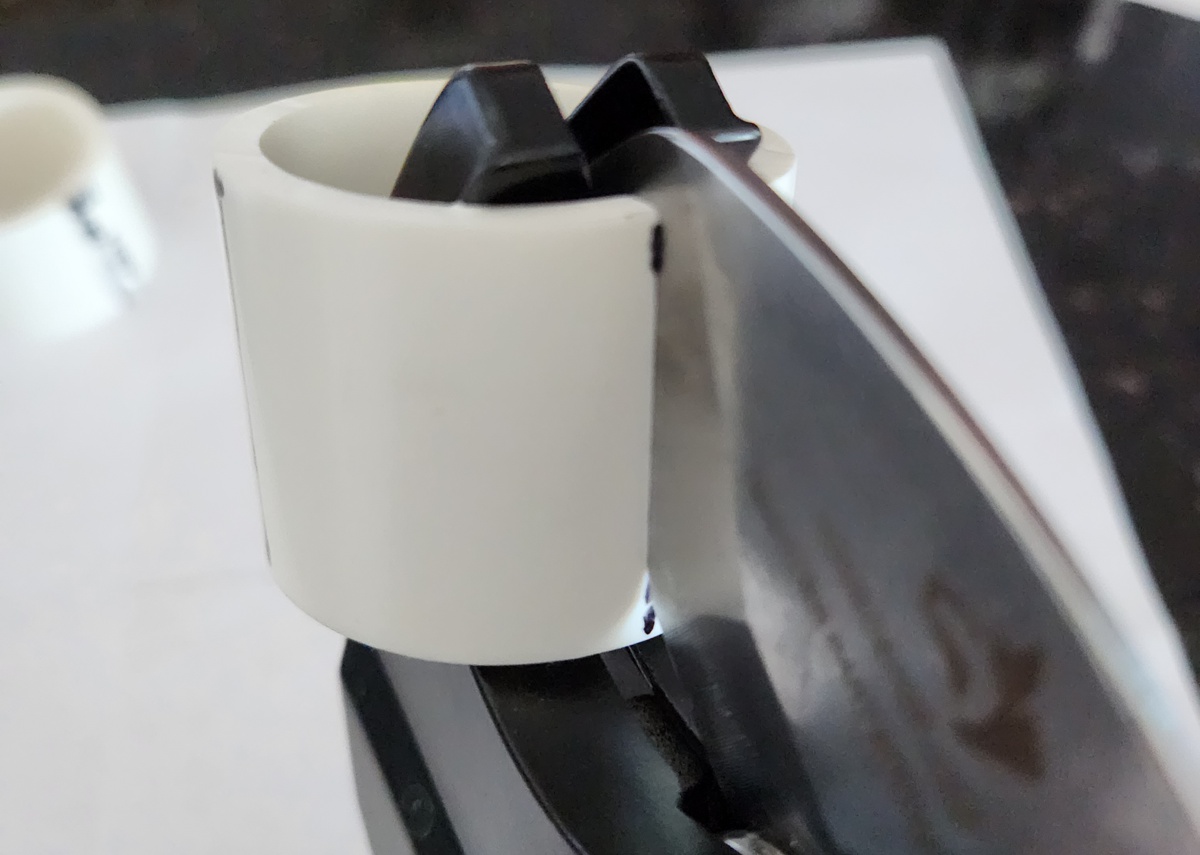
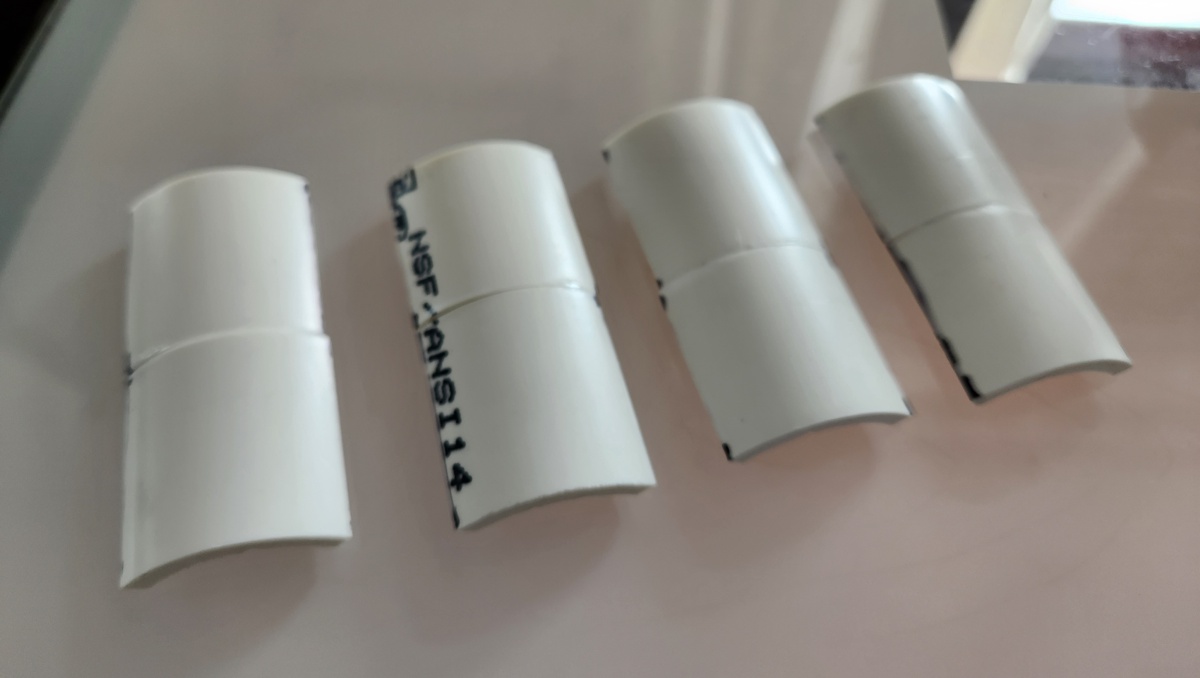
I became a proud owner of a brand-new PVC cutter, something I didn’t even know existed earlier this year. Then I immediately put it to use improperly… cutting the pipe vertically. I also put my power drill to work on both the PVC and the bottle cap. Happy to report that all my fingers remain intact.
The rest of the build was pretty easy and fun. I found use of the leftover spray paint from Ramnant Sword, too.
This whole project cost me $60 out of pocket. A majority of it went toward the light strip and PVC cutter, and $2 was for the bottle of delicious oolong (which probably shouldn’t count). I still have over 10 feet in PVC pipes leftover so… more future projects?
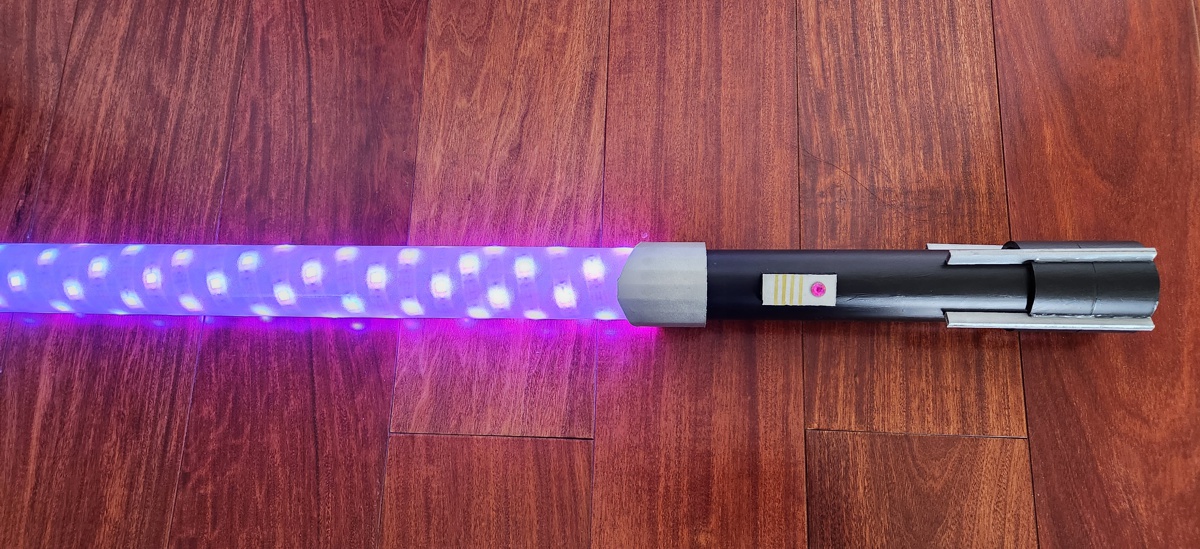
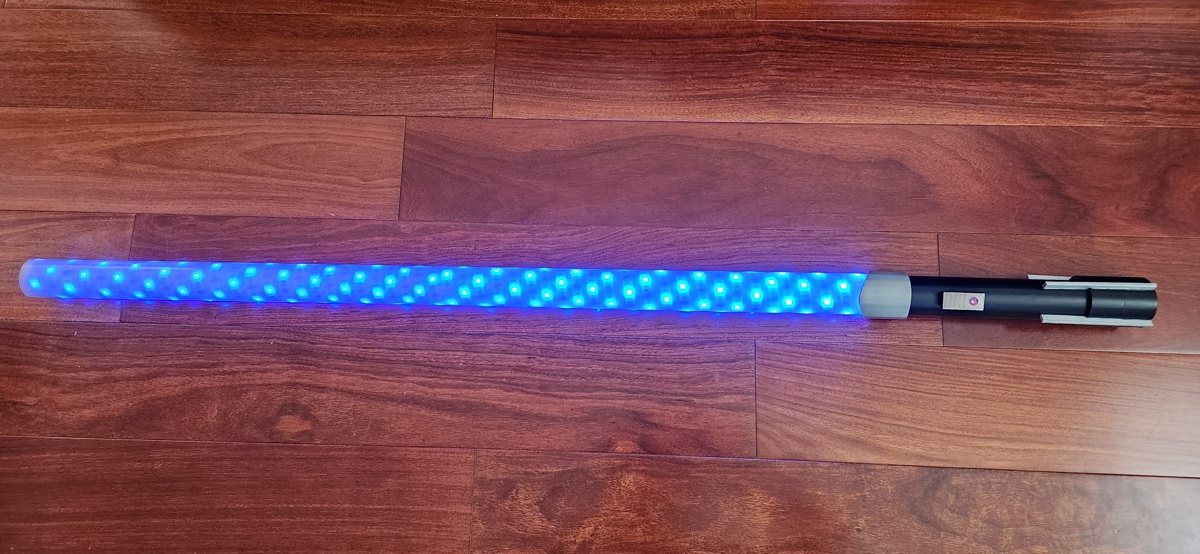
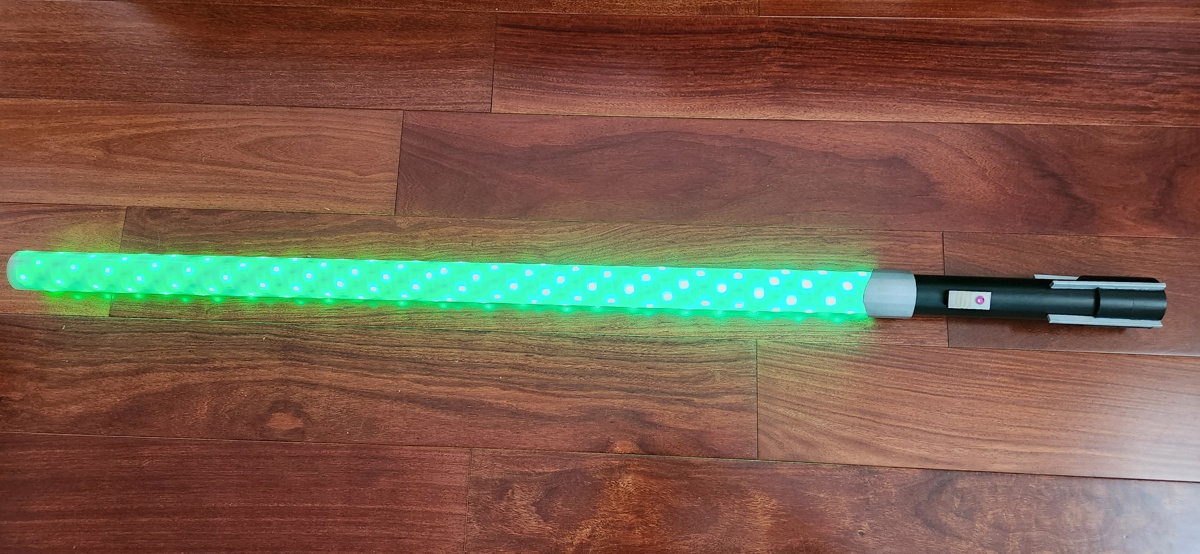
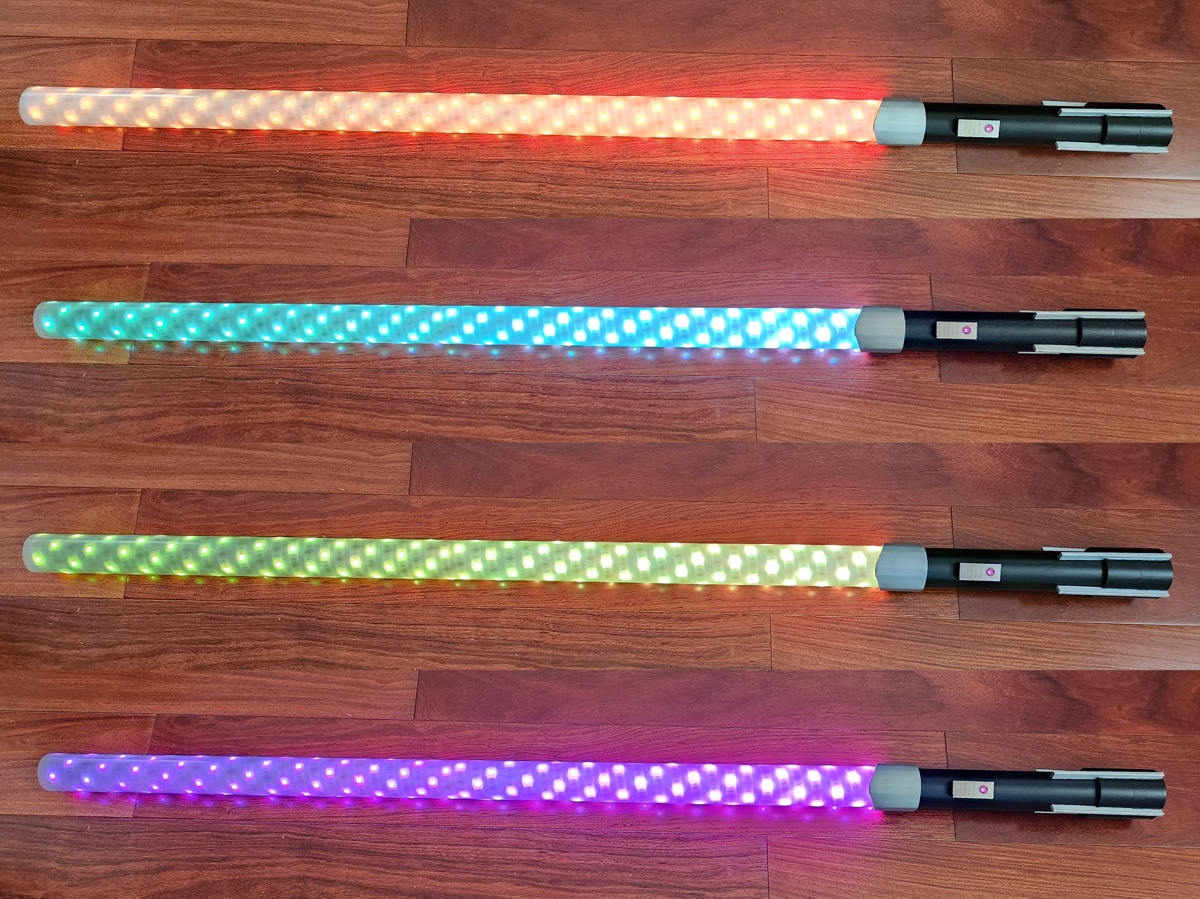
The Final Product – Lightsaber with Color Options
Done!
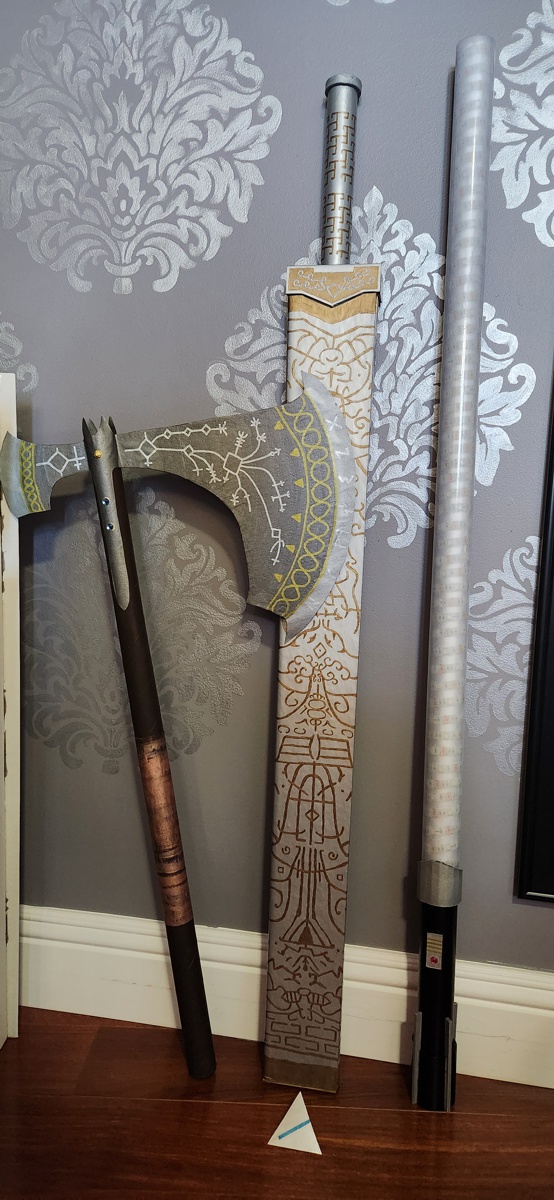
Also: State of My Arsenal
In order of forged date: mythological, post-apocalyptic, historic wu-xia, and sci-fi.
Project Hegemon’s Spear – 霸王槍 Ba Wang Qiang – Peter's Blog
October 15, 2023 at 2:19 pm[…] Jian‘s blade (with original pencil markings), and the neck was cut from the same pipe as my light saber‘s hilt. It’s a common wuxia trope for two famous weapons to be forged from the same […]
Project Curved Saber – 驚寂 Jing Ji – Peter's Blog
December 25, 2023 at 3:21 am[…] Project Hegemon’s Spear – 霸王槍 Ba Wang Qiang – Peter's Blog on Project Vibrant Sword – A Homemade Lightsaber Experiment […]