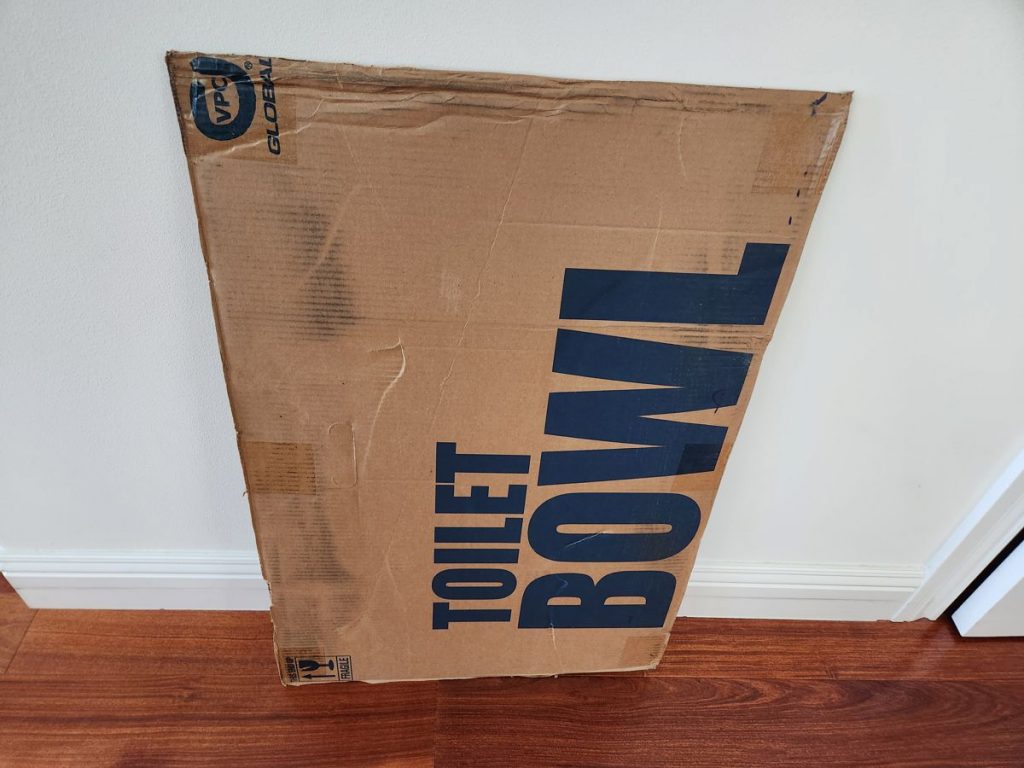
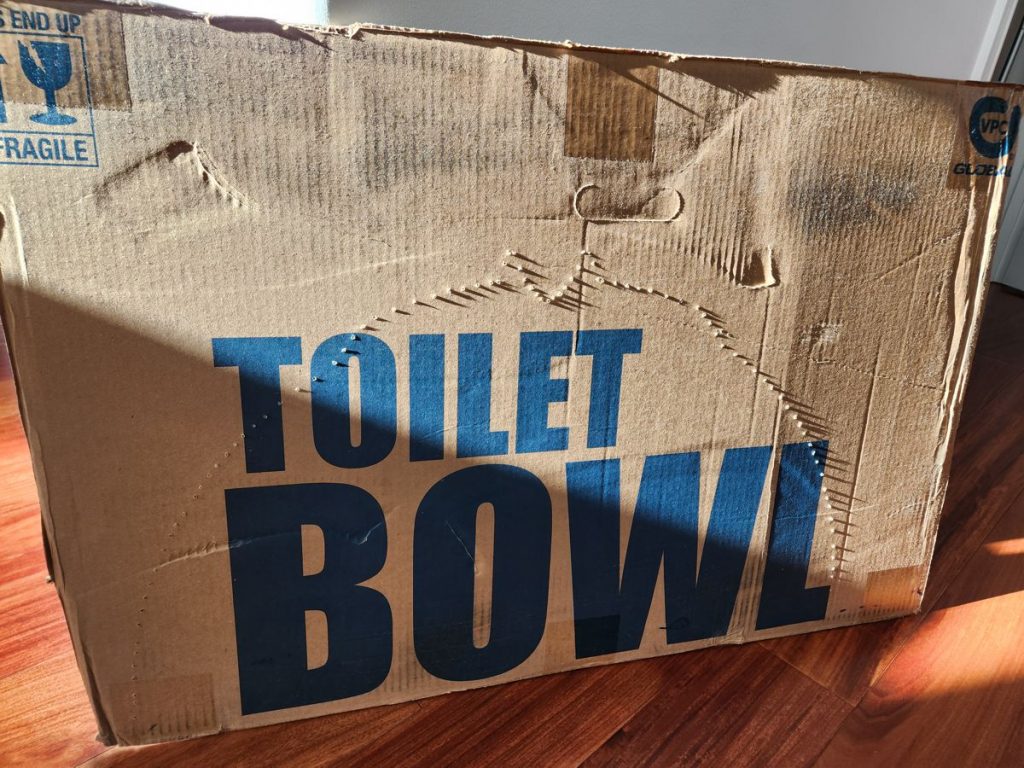
Earlier this year, we replaced our two failing toilets with the fancy Japanese kind. The bathroom upgrade was life changing, and I was impressed by something else: the boxes that the toilets arrived in were made of double-layered corrugated cardboard!
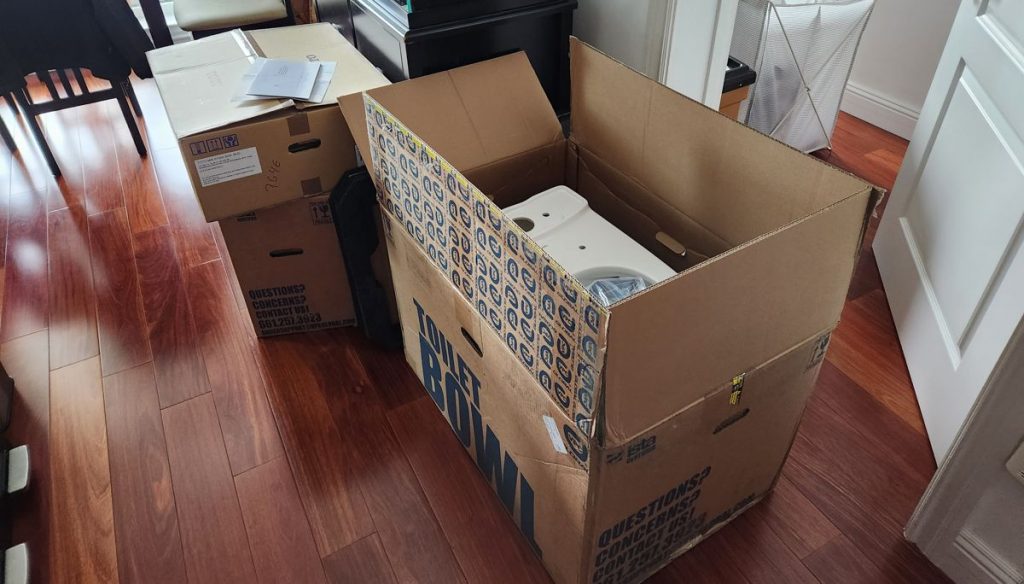
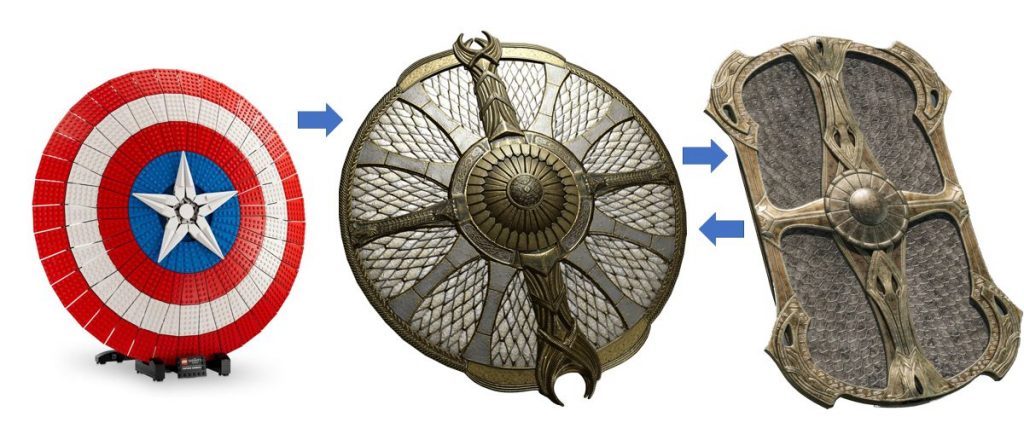
The discovery was like when a fictional wuxia blacksmith finds a special ore from outer space. Such a large and sturdy cardboard seemed perfect for making a shield. That idea probably popped into my head because LEGO had been marketing its Captain America’s Shield. I didn’t care for Marvel, but Kratos also had an iconic shield, and I loved God of War.
When it came time to plan out this project, I briefly considered the rectangular Stone Wall Shield, which was my favorite in the game. However, it wasn’t as visually recognizable as a God of War thing as the circular Guardian Shield. I leaned toward the latter.
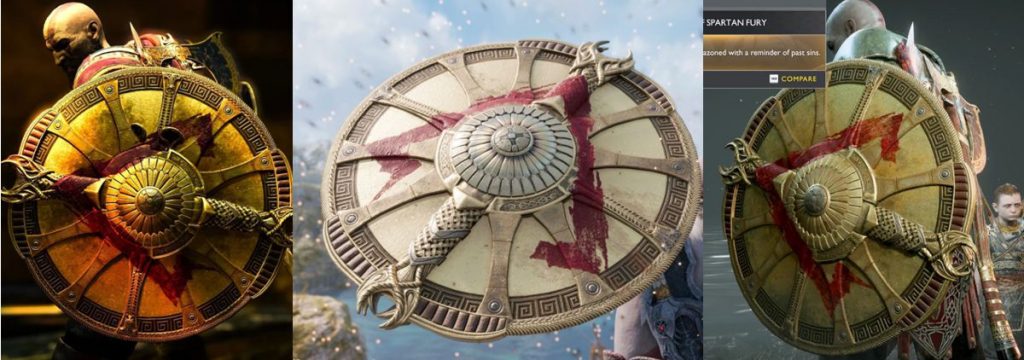
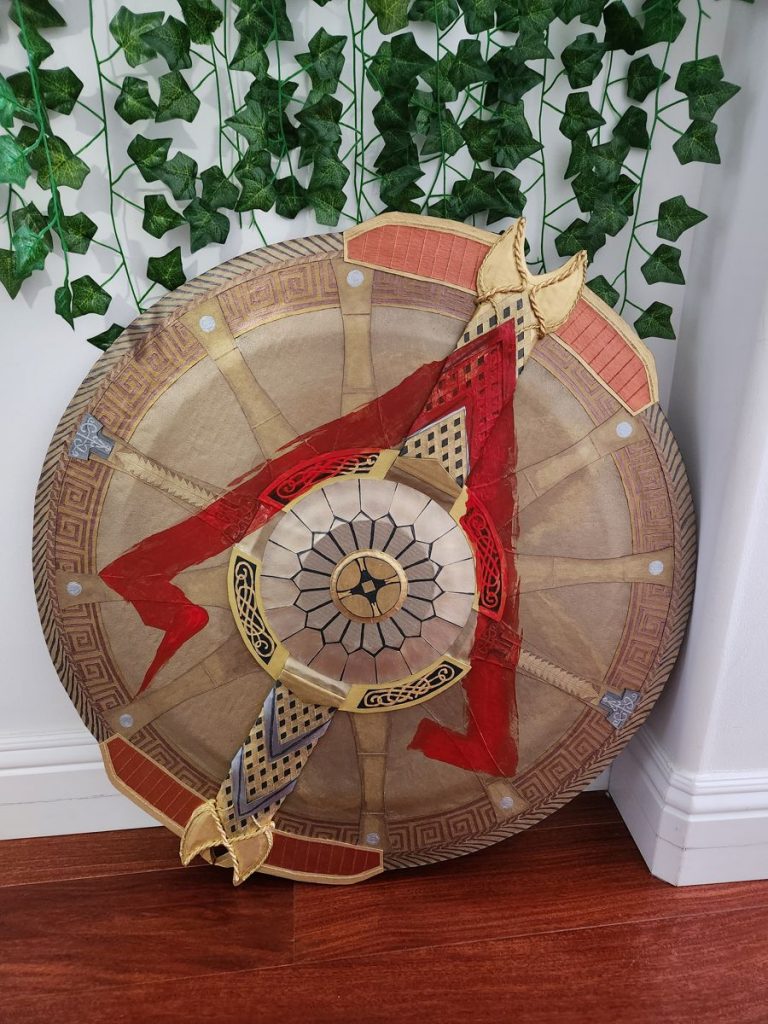
During the research, I learned about another shield in the game that I was not aware of: the Spartan Aspis. I never came across it because it was only available on the hardest difficulty level, but the design was perfect – it was a slightly evolved Guardian Shield, maintaining all of its core features, while having a bloody red Spartan symbol painted over it. It perfectly combined the Norse Kratos with his Greek roots, a brilliant fan service to those of us who had followed the franchise from the beginning. It was a no brainer from there. I was gonna make a Spartan Aspis from our toilet packaging.
The Construction
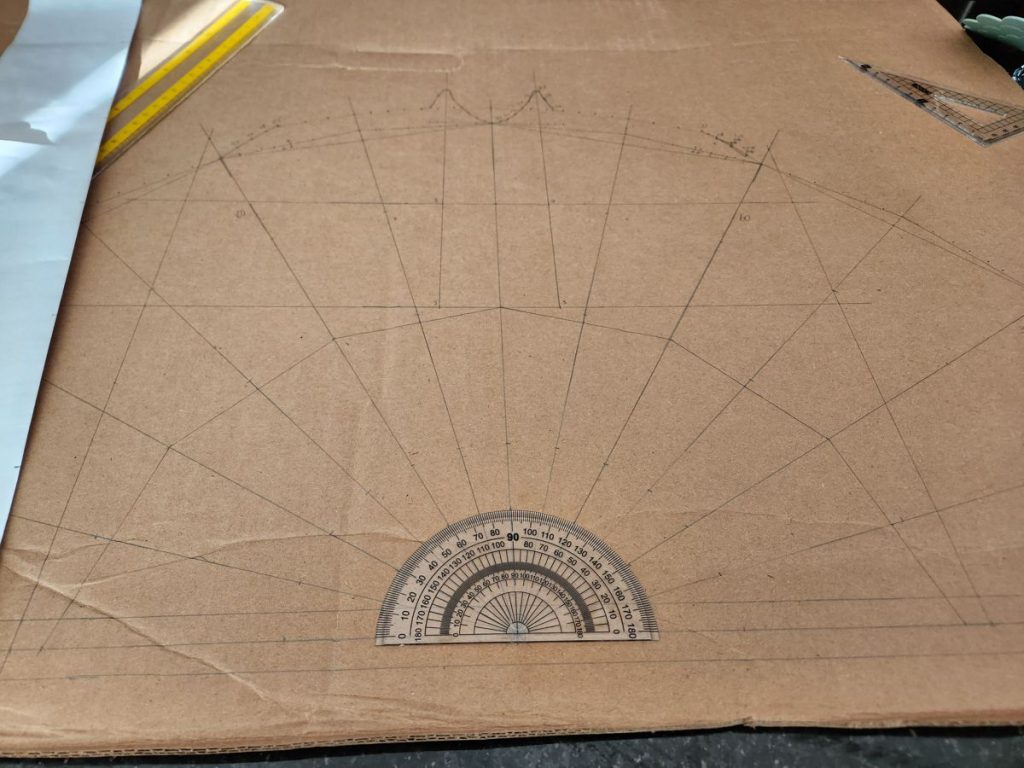
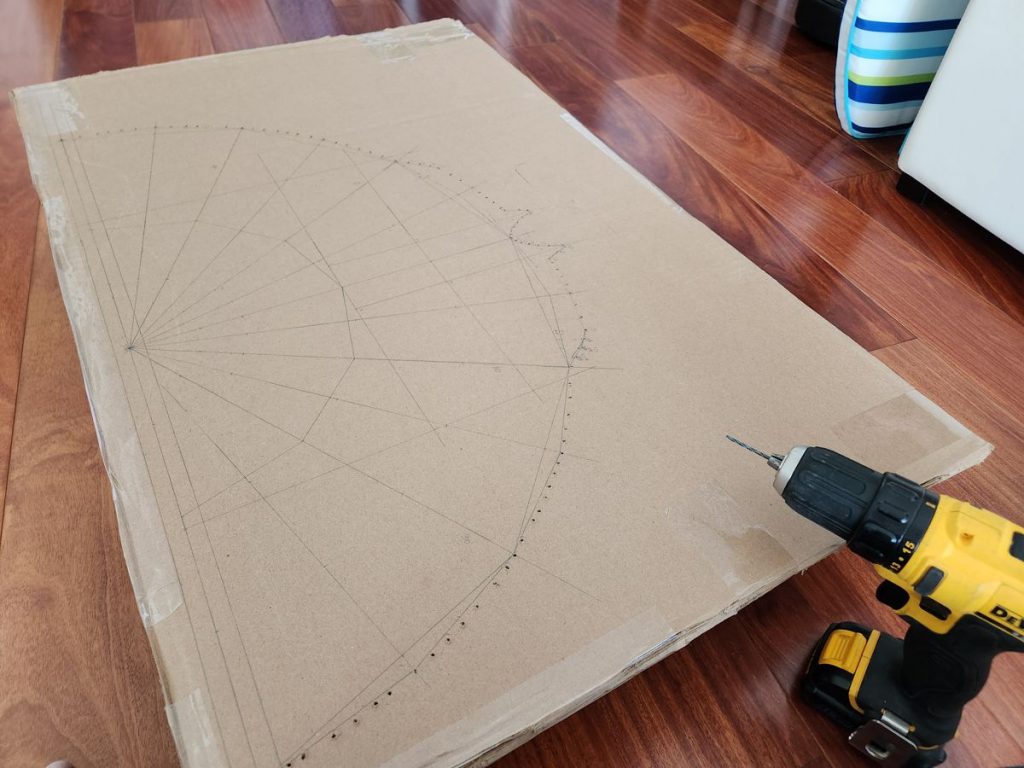
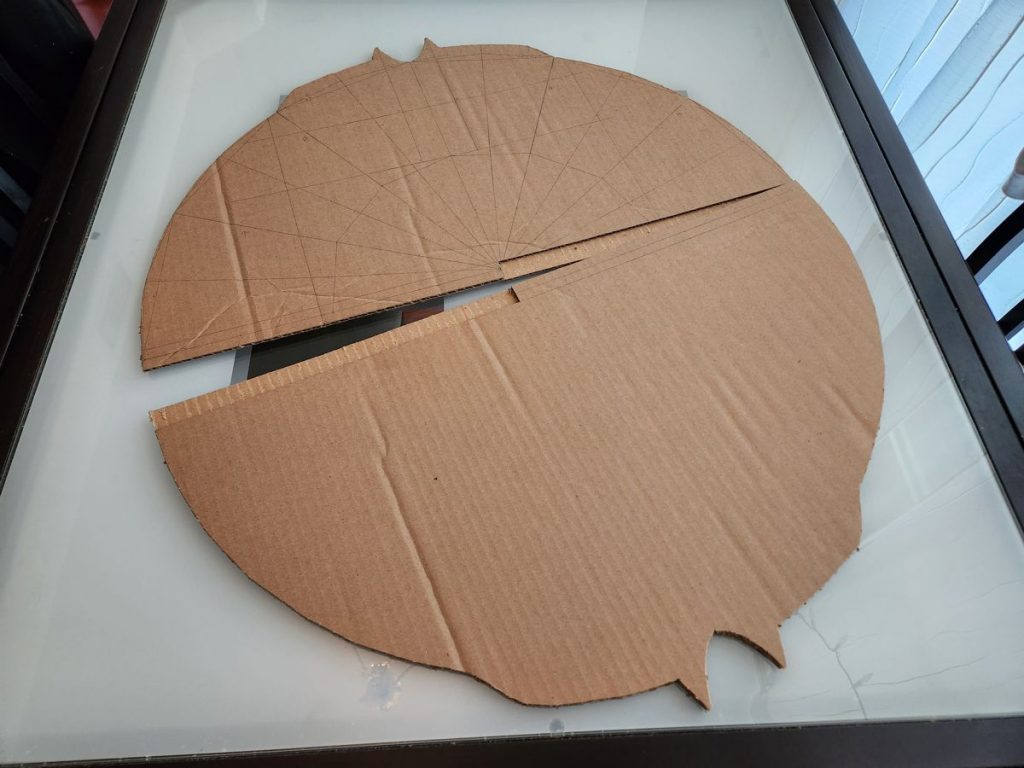
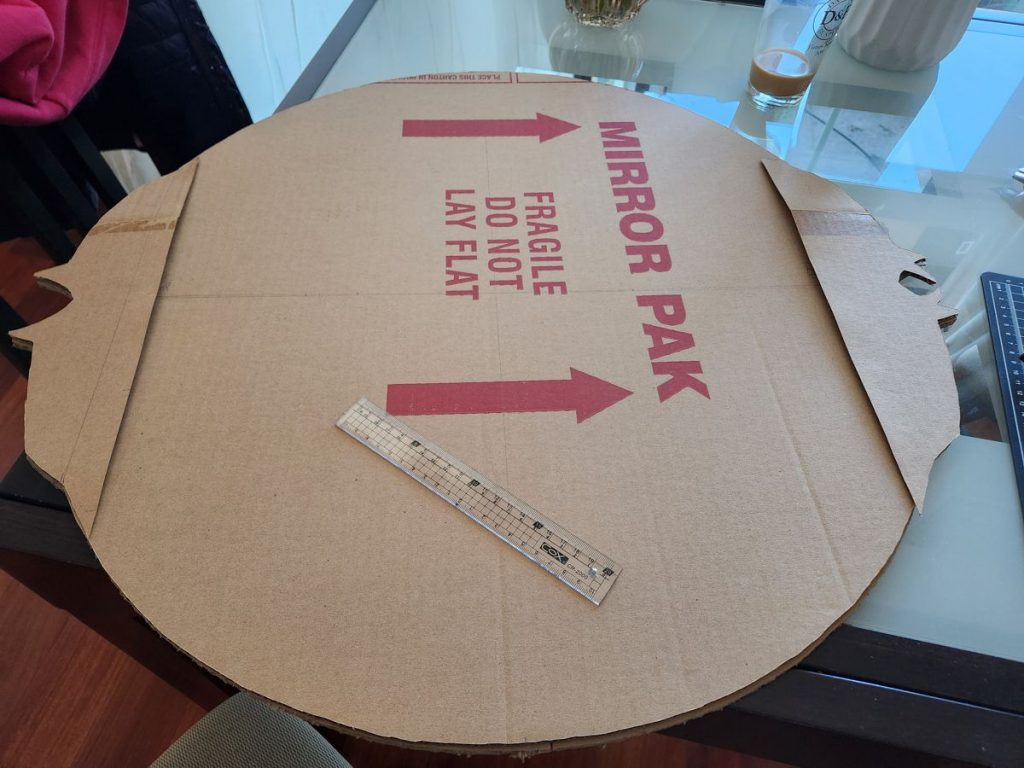
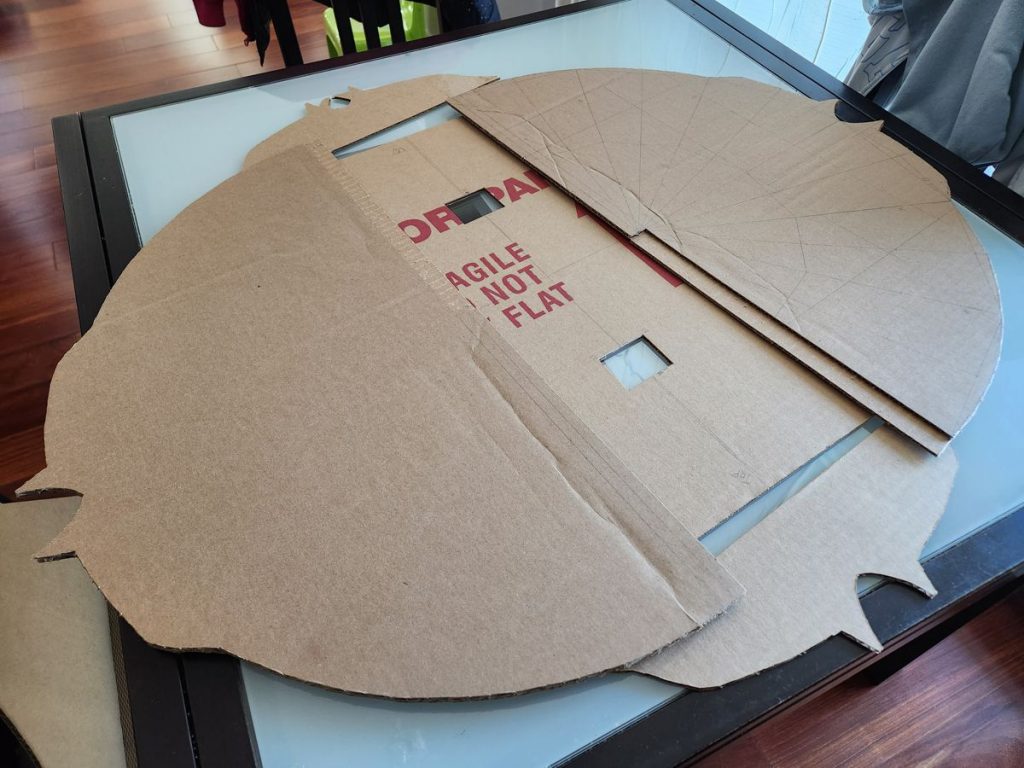
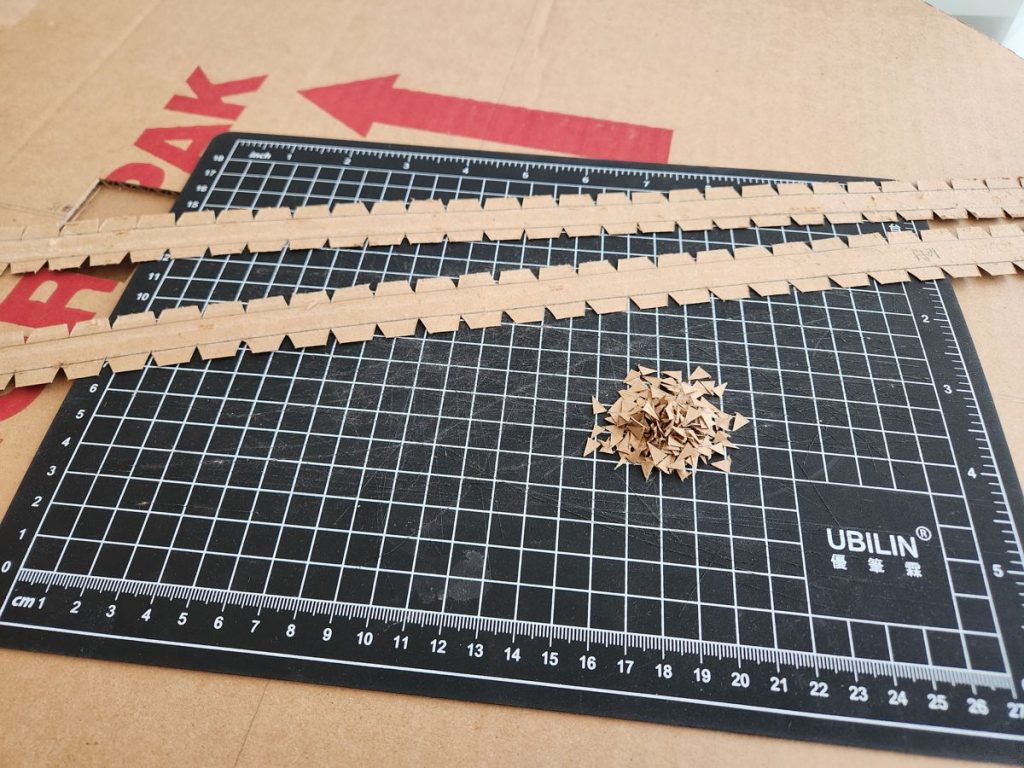
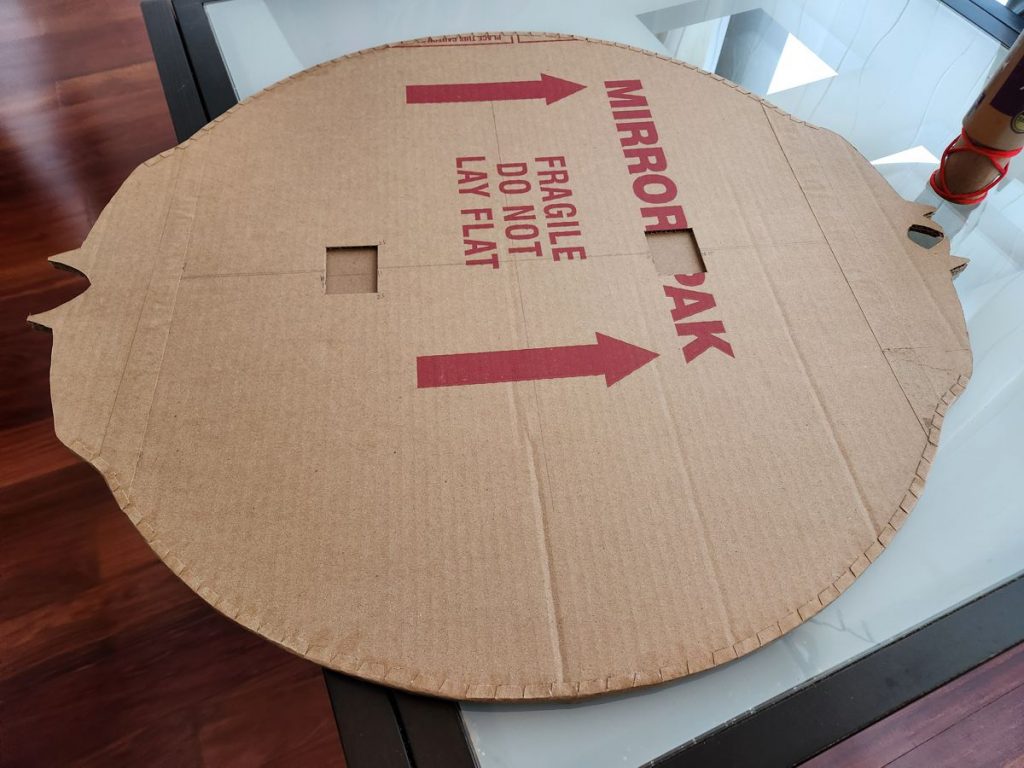
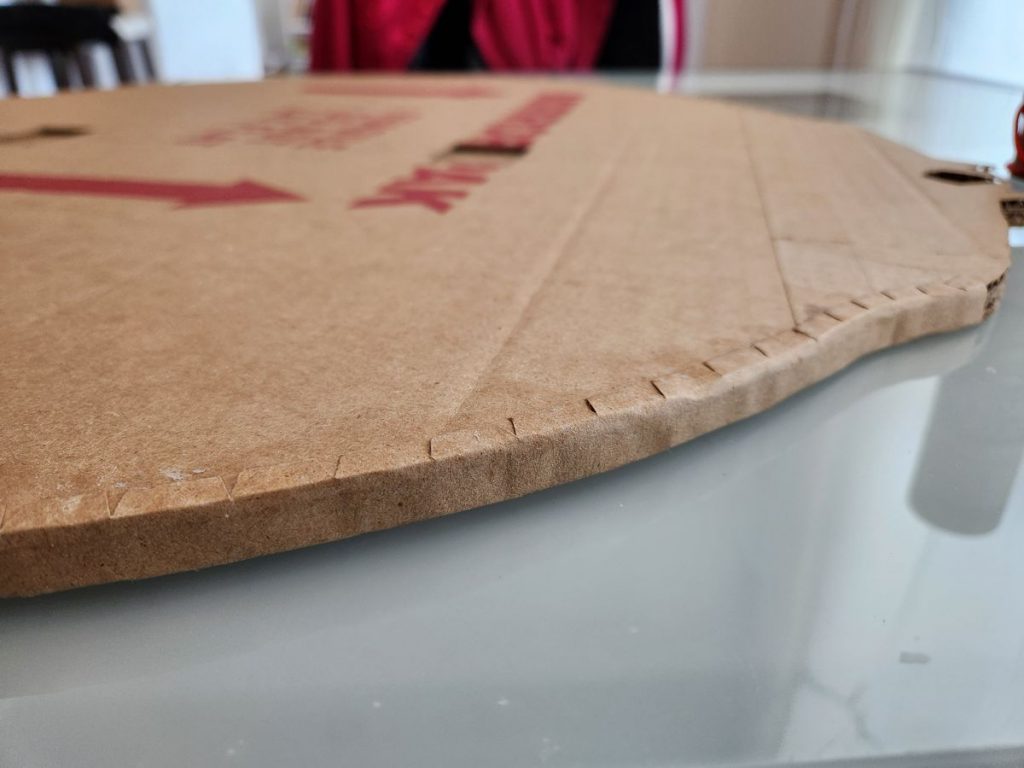
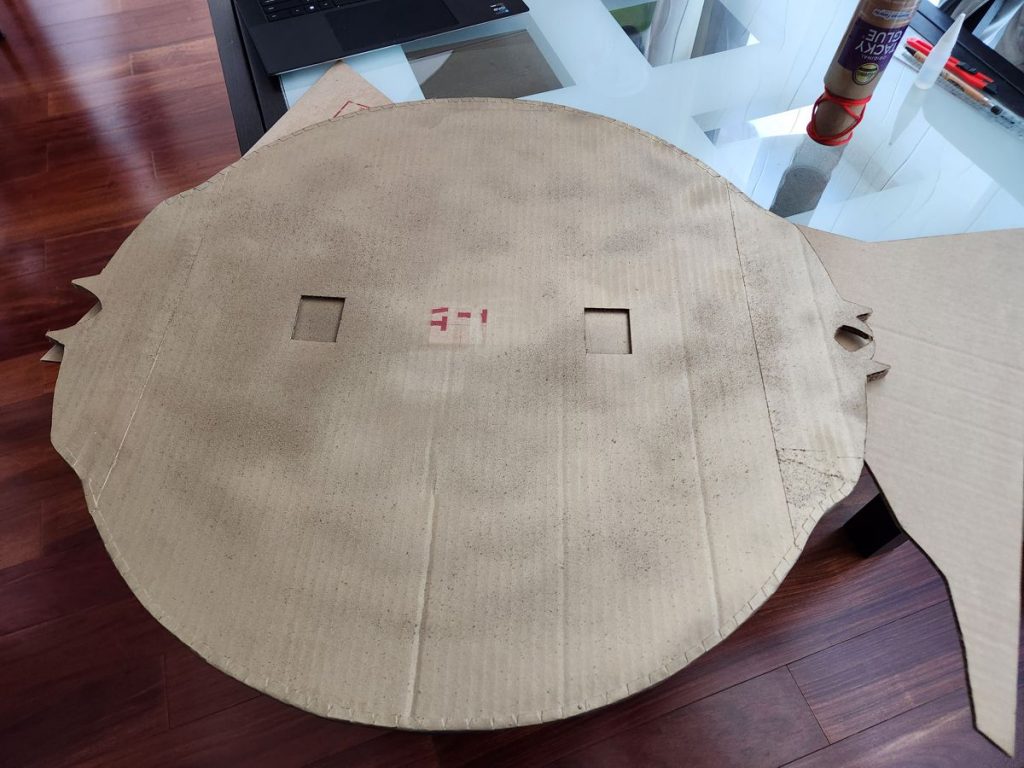
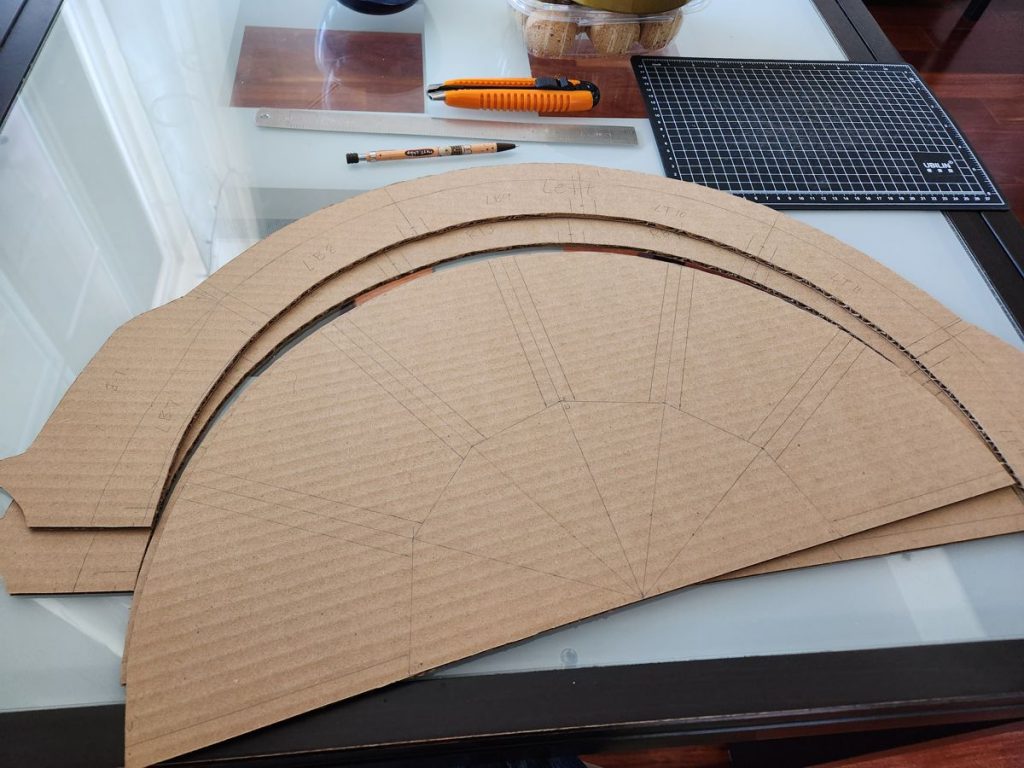
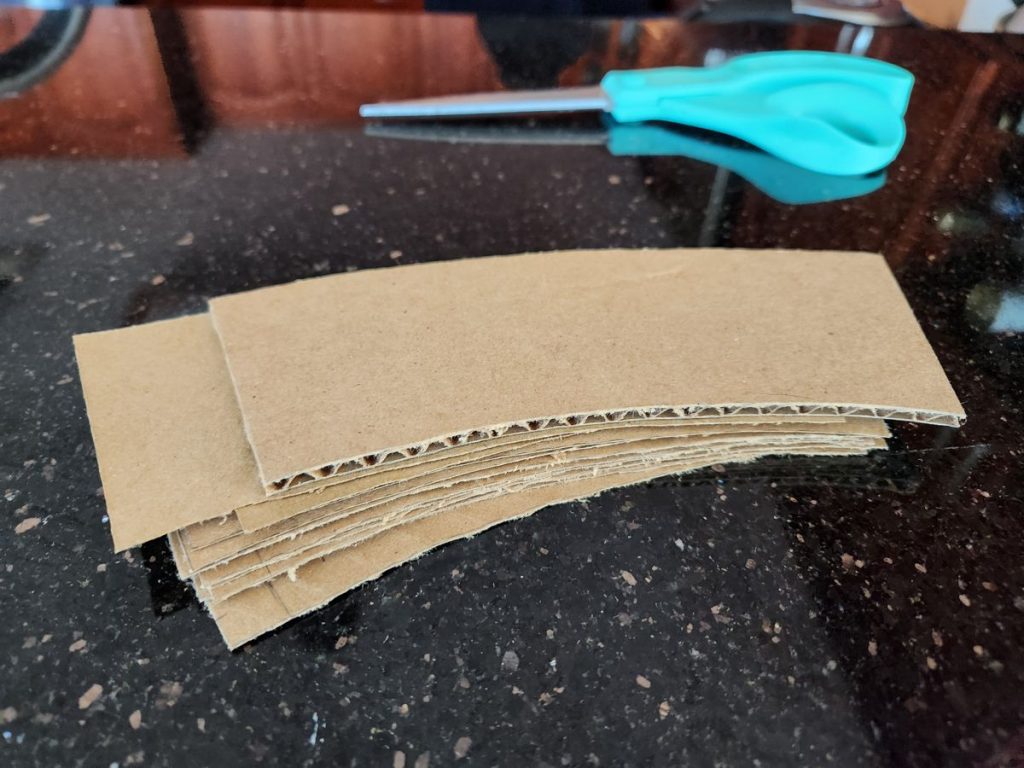
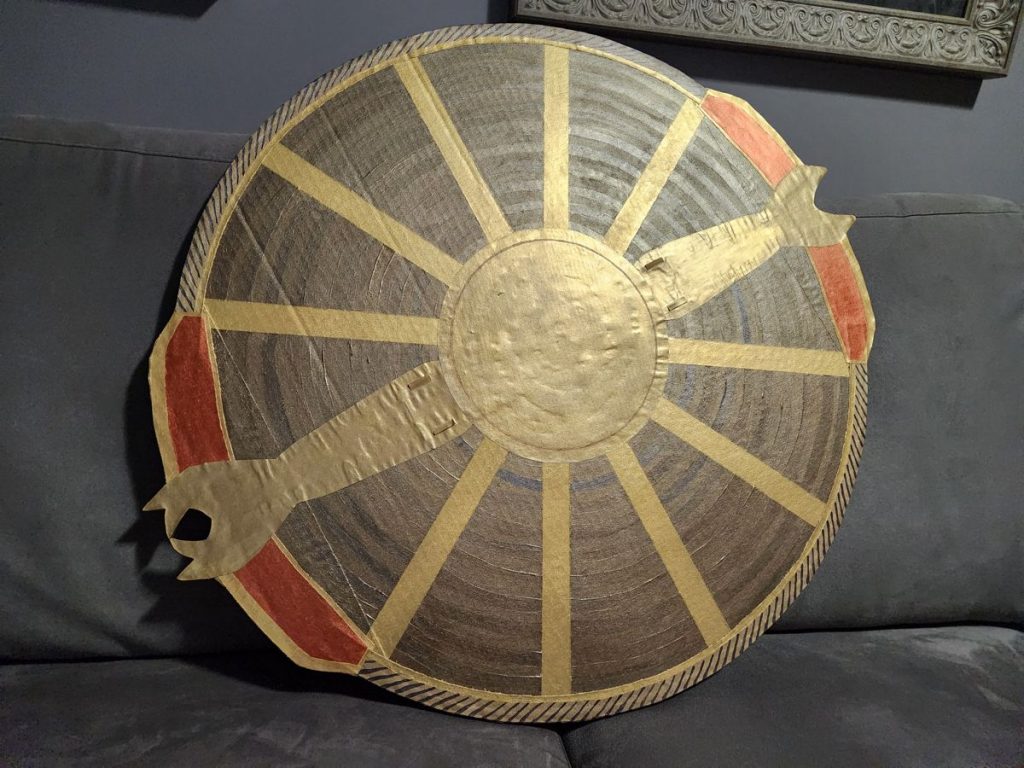
90% of the shield took no more than 10% of work. Aside from needing some long rulers to sketch the outlines for such a large thing, this part was relaxing and fun. Slicing through the double-layered corrugated cardboard was a tall order for my box cutter, so the electric drill was deployed for assistance.
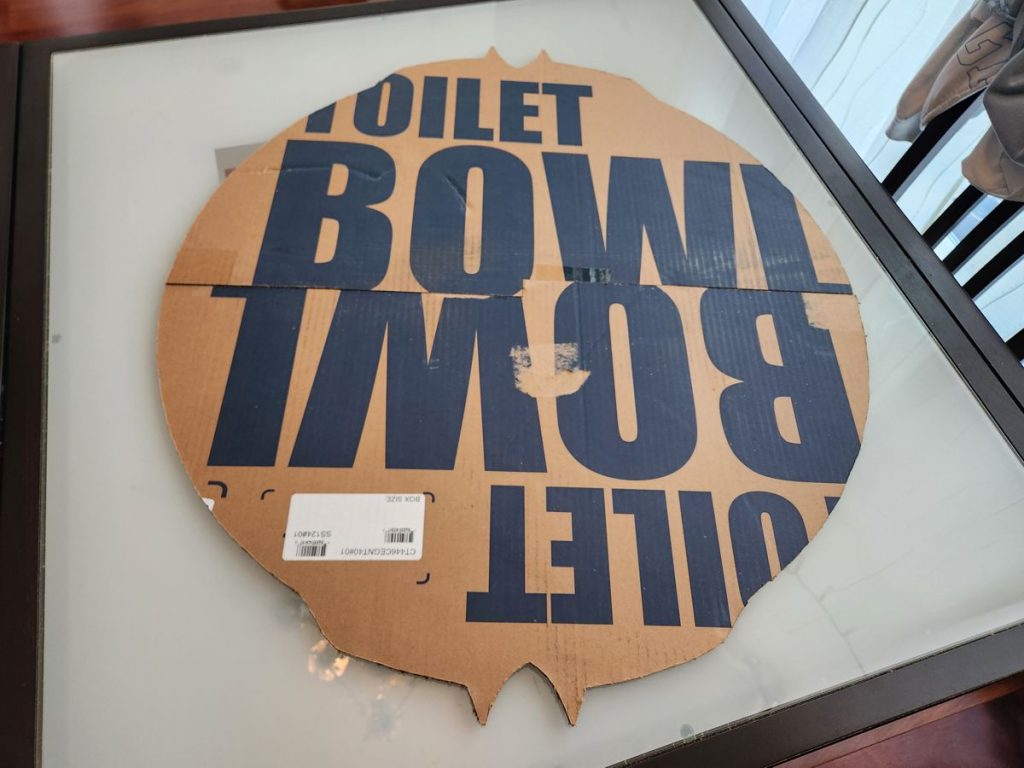
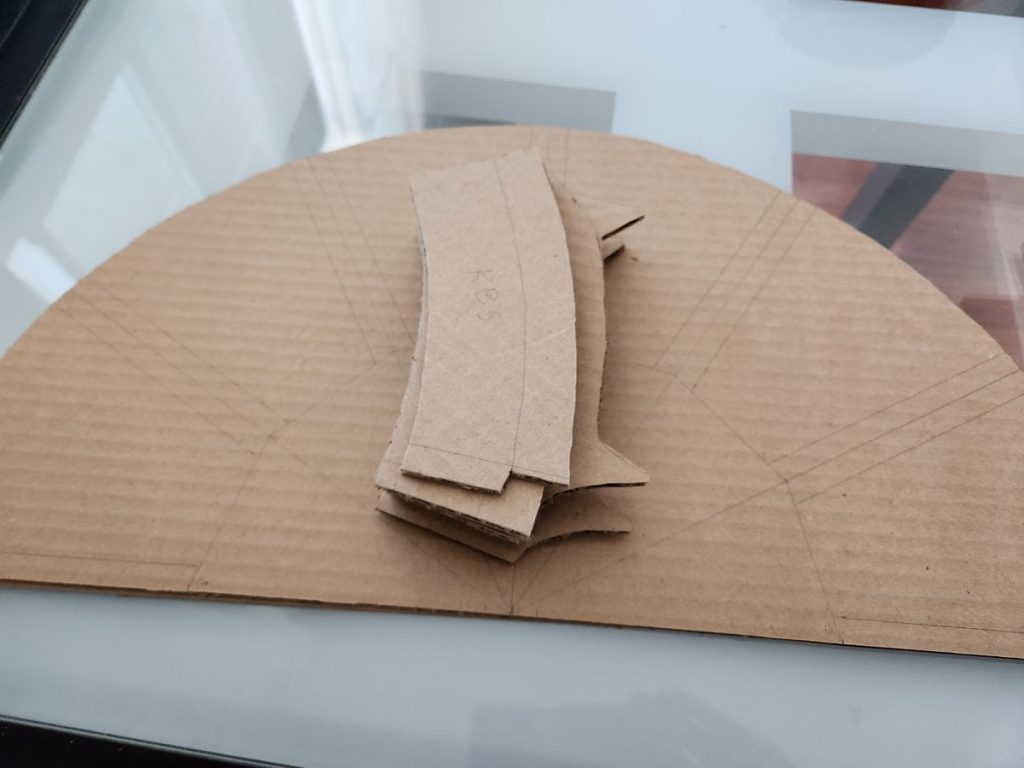
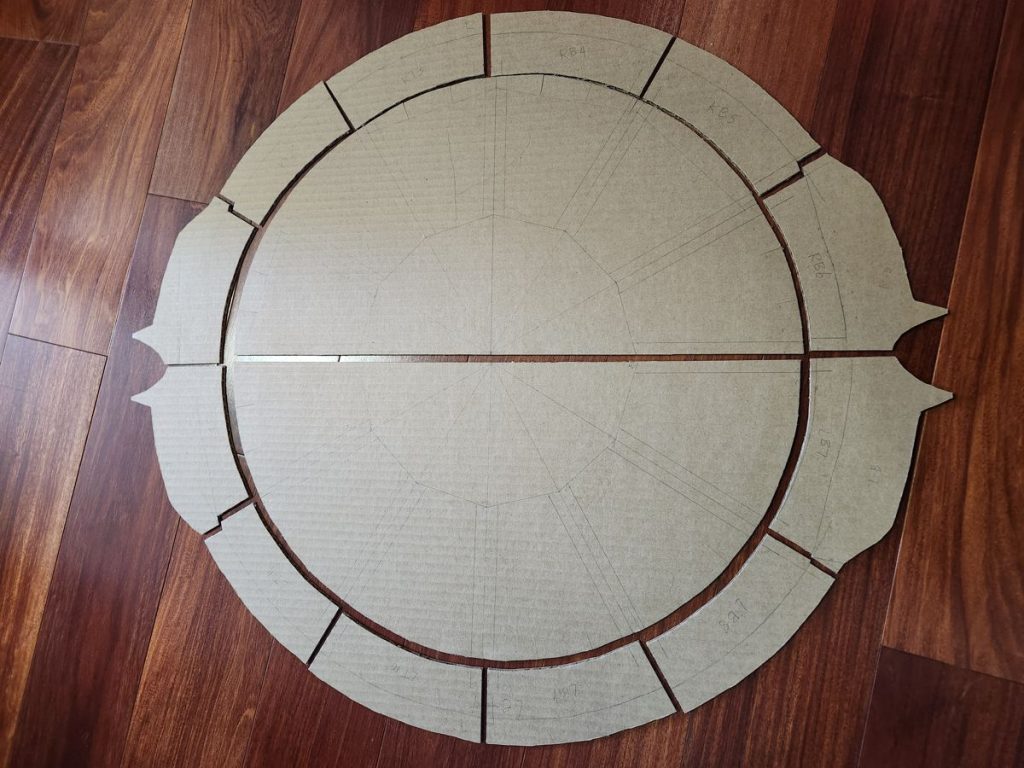
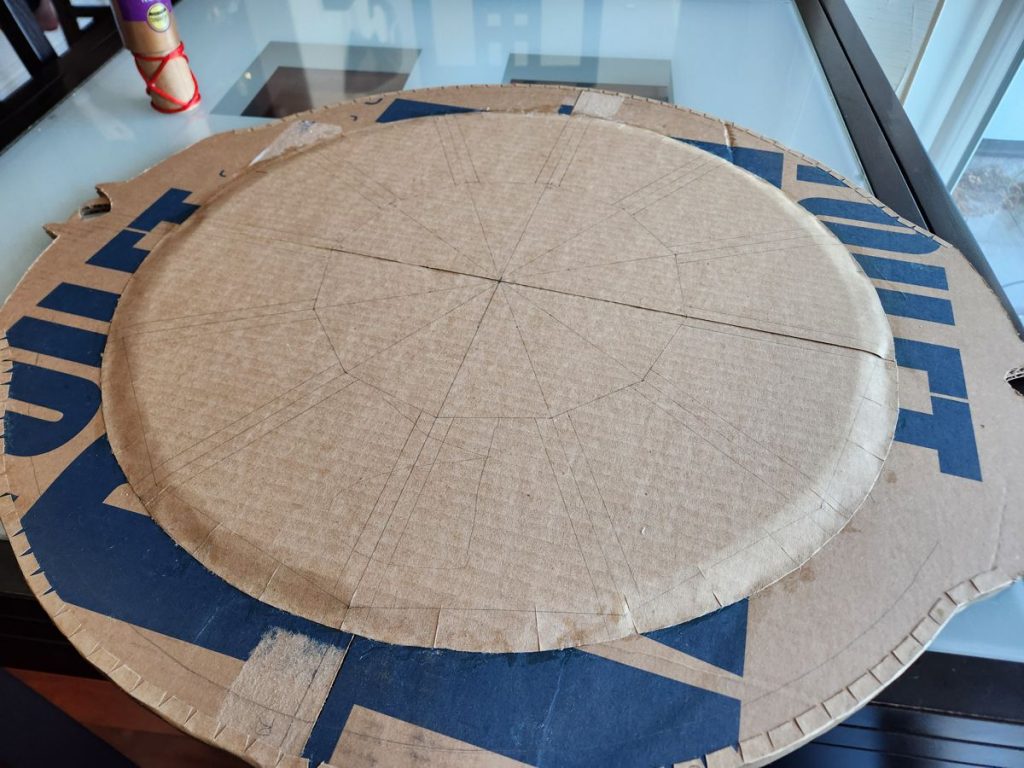
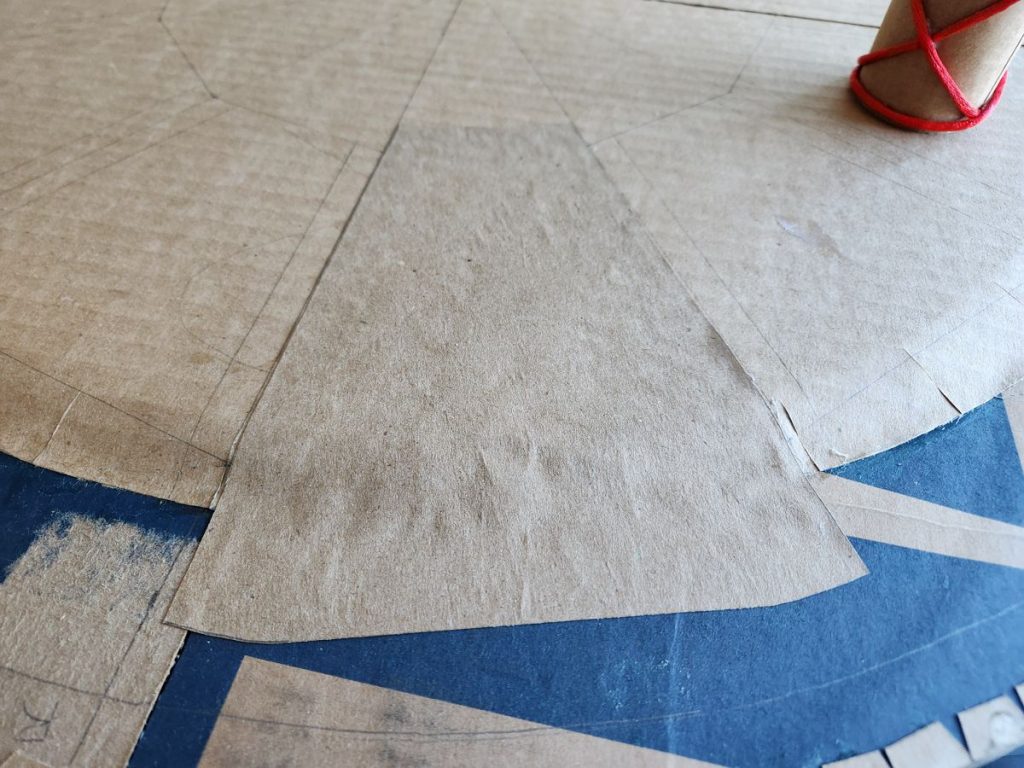
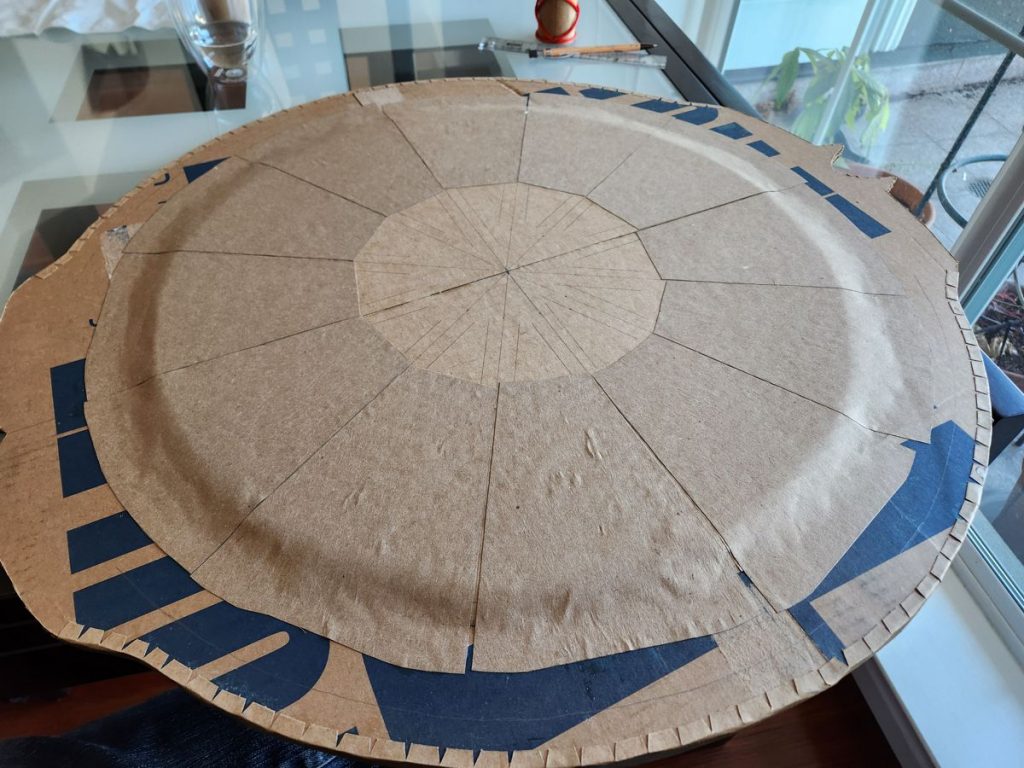
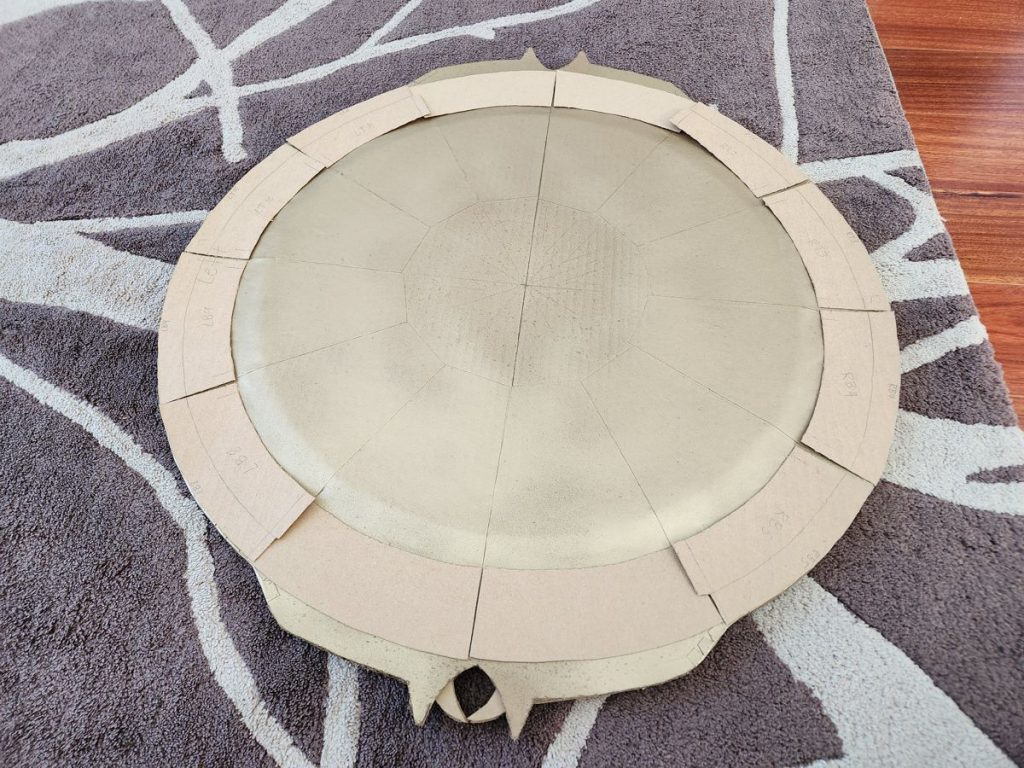
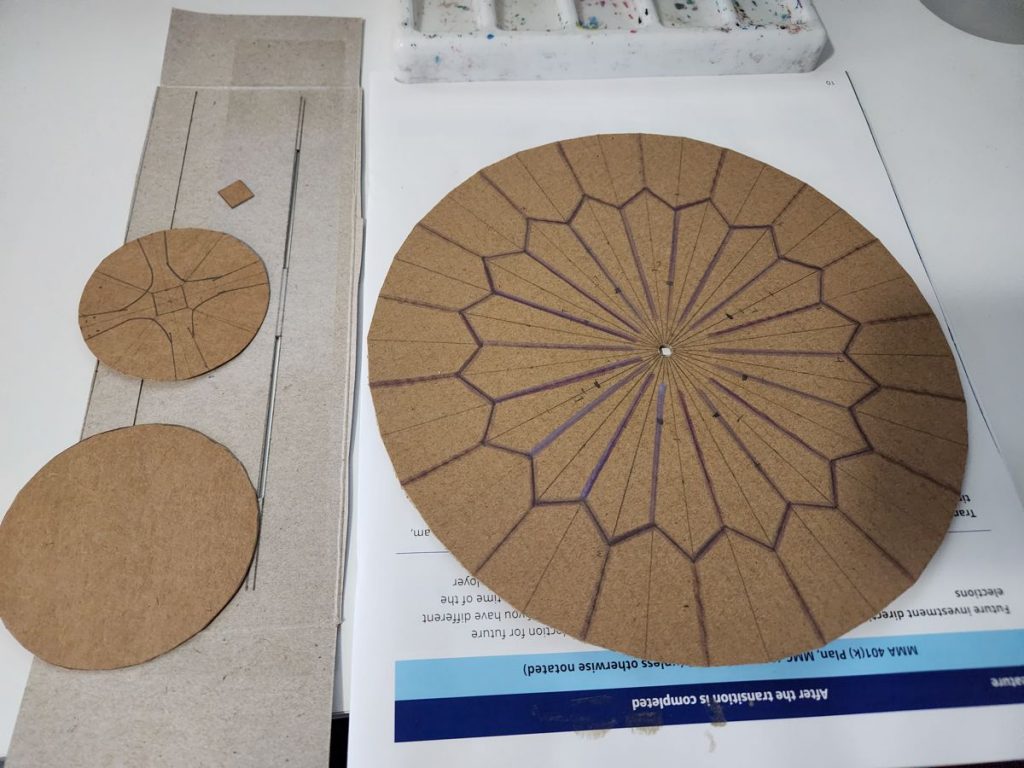
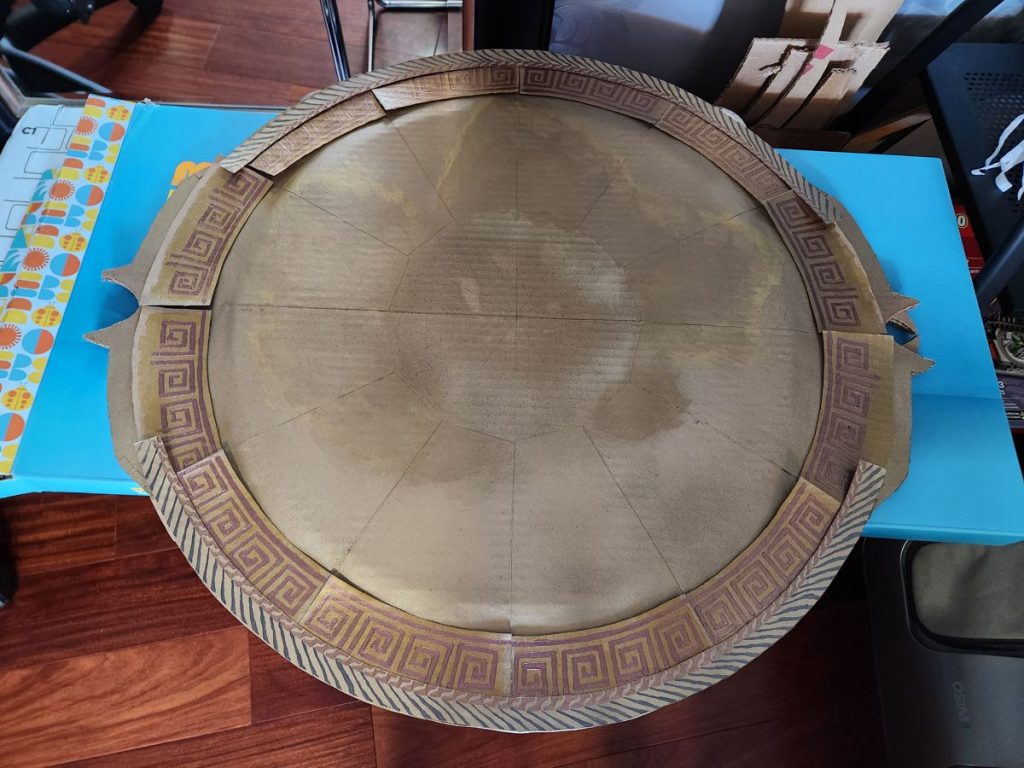
The initial idea was to cut the full thing from the largest cardboard I had on hand. Then I realized it actually had to be twice as big to not look like a child’s toy. Thus each layer of the project had at least two pieces. I strategically placed the stitching lines to be covered under successive layers.
The Circles
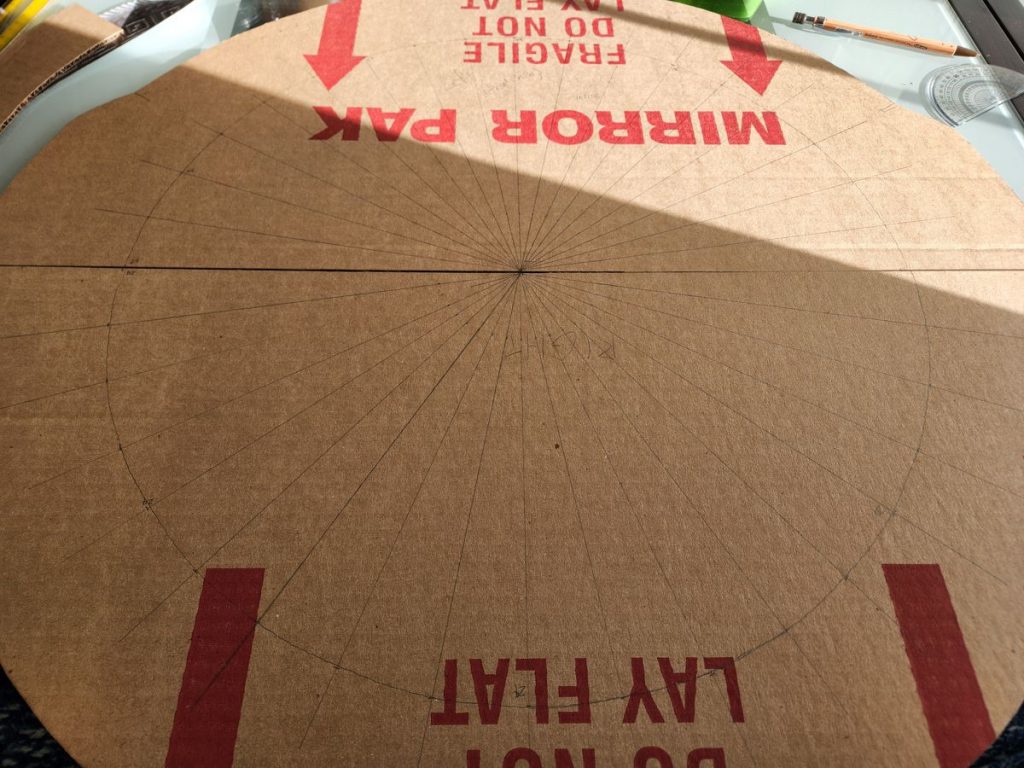
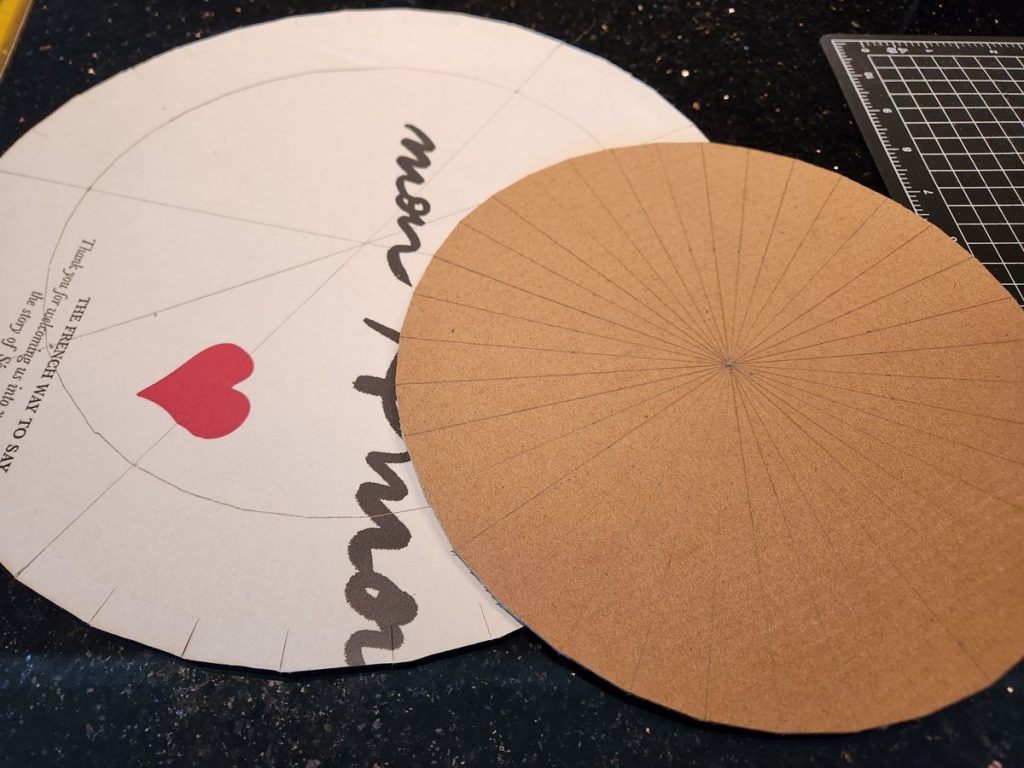
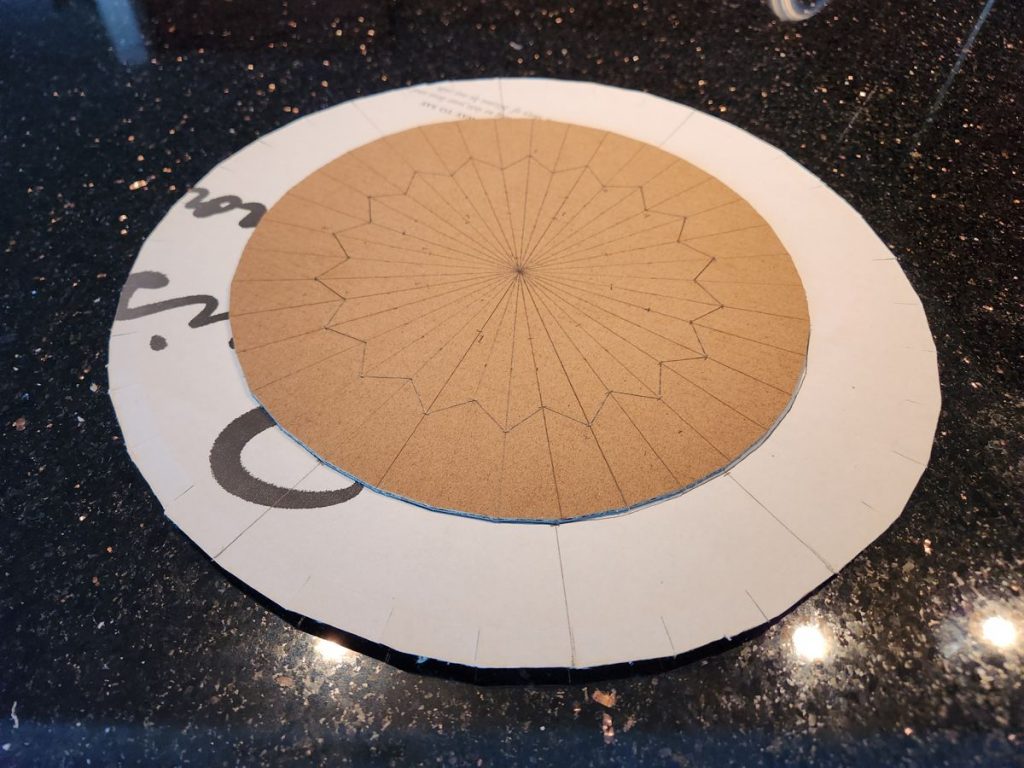
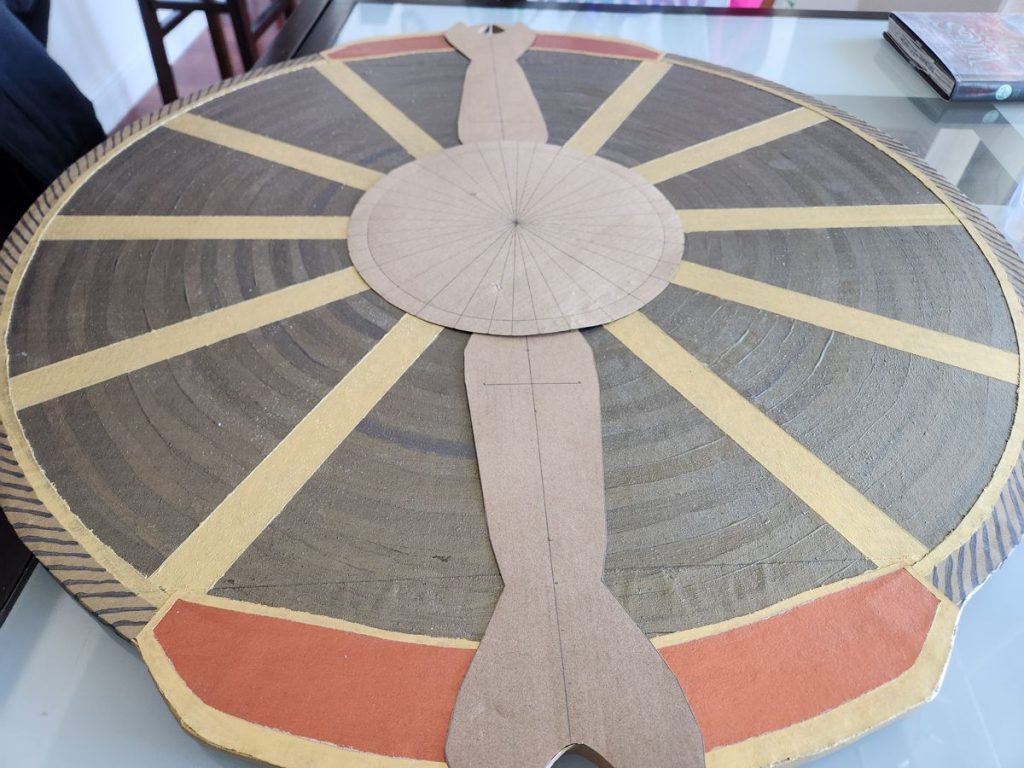
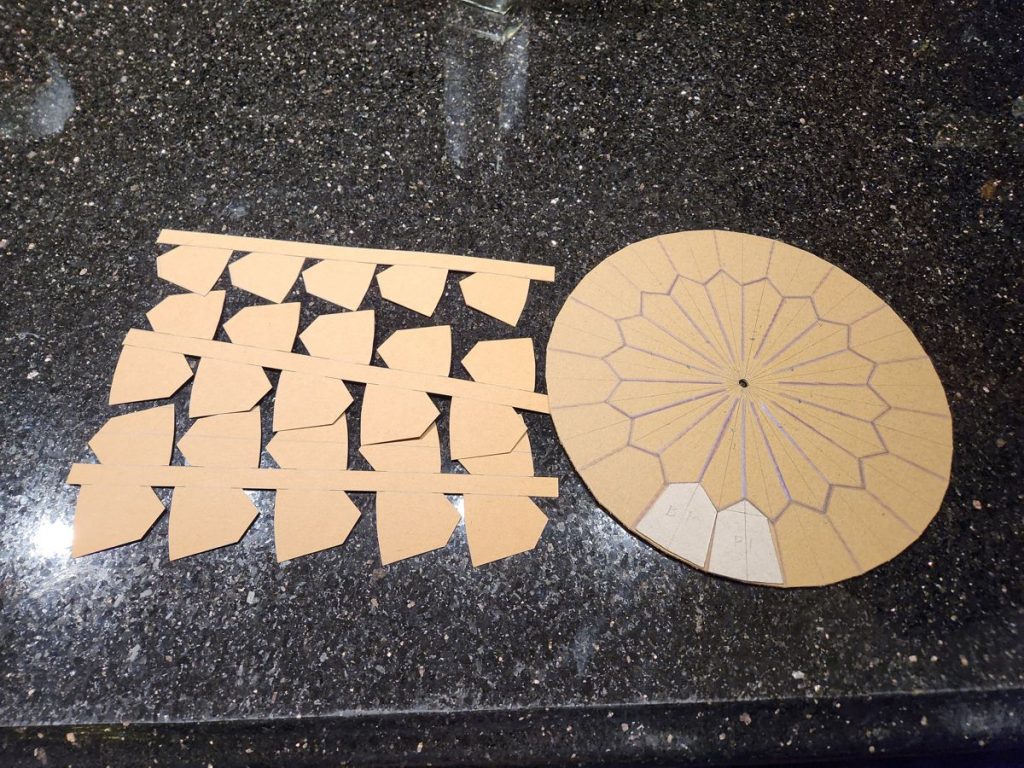
It took me a few projects to figure out how to properly work with curves on cardboard, and that knowledge came in handy for this shield, which was all about one concentric circle on top of another. I didn’t have a compass. Even if I did, it wouldn’t be one to handle a 36-centimeter radius. Thus each of my circles was measured into an equilateral polygon, with the largest one being 24-sided. Then some curvature was added in by hand.
The Painting
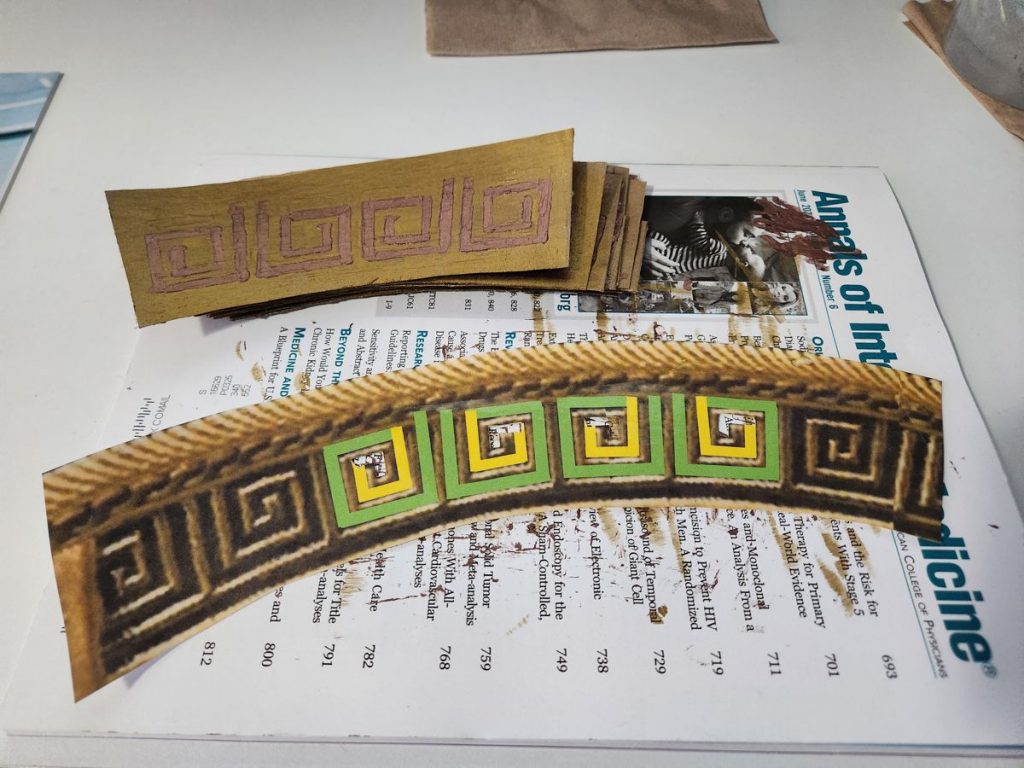
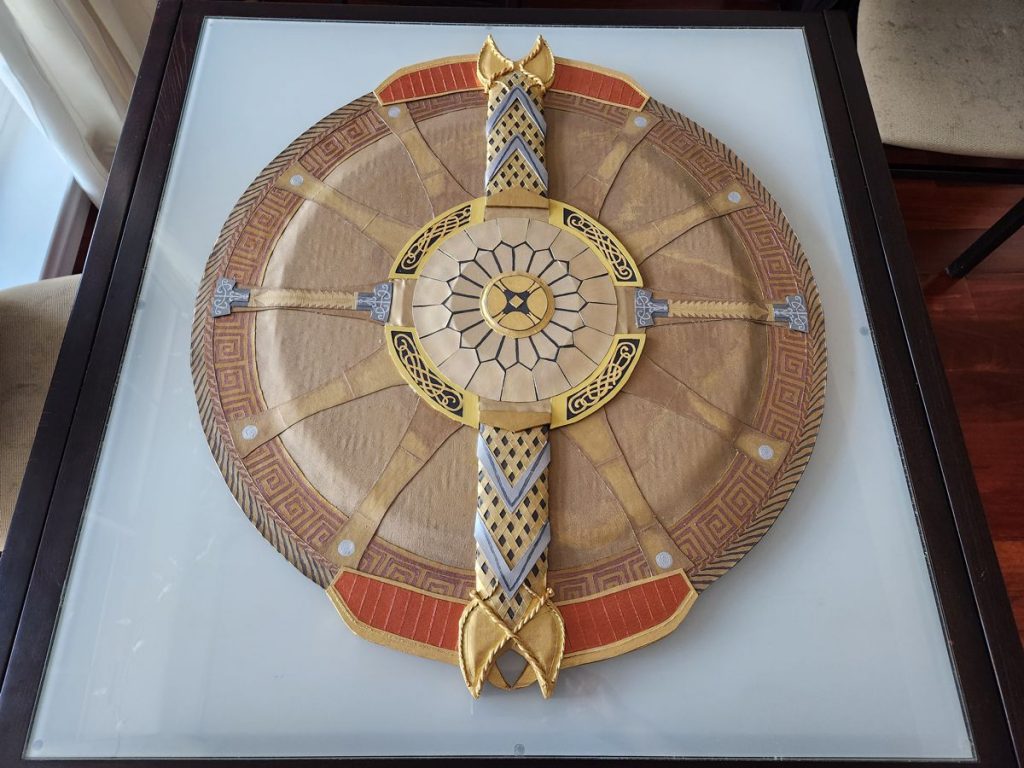
Unlike my swords and spear coming from hand-drawn manhua pages of the 1990s, this Spartan Apsis was entirely rendered on a PS5. From afar, it seemed to be just a flat circular disc; when zoomed in, the details were almost infinite. It was absolutely absurd that a barbaric demigod’s personal protective gear had this level of engraving and sculpting, but it was also gorgeous. Designing my shield involved a lot of decisions around whether to paint a particular feature, make it a thin cardboard layer, or fully sculpt it into a 3D shape.
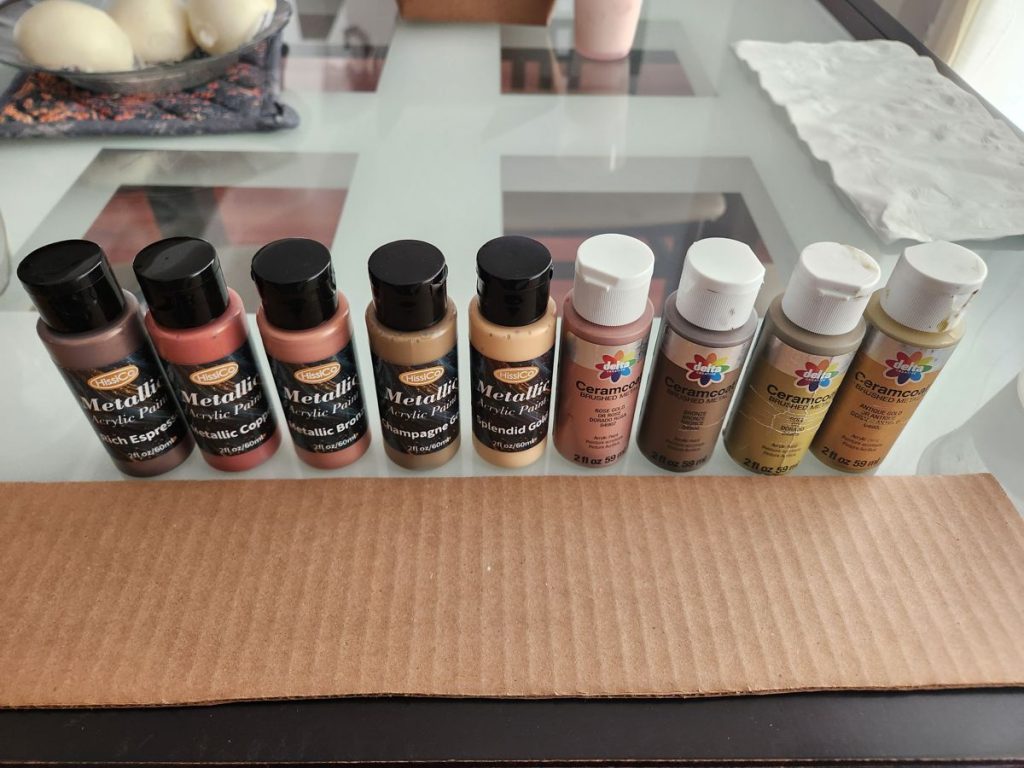
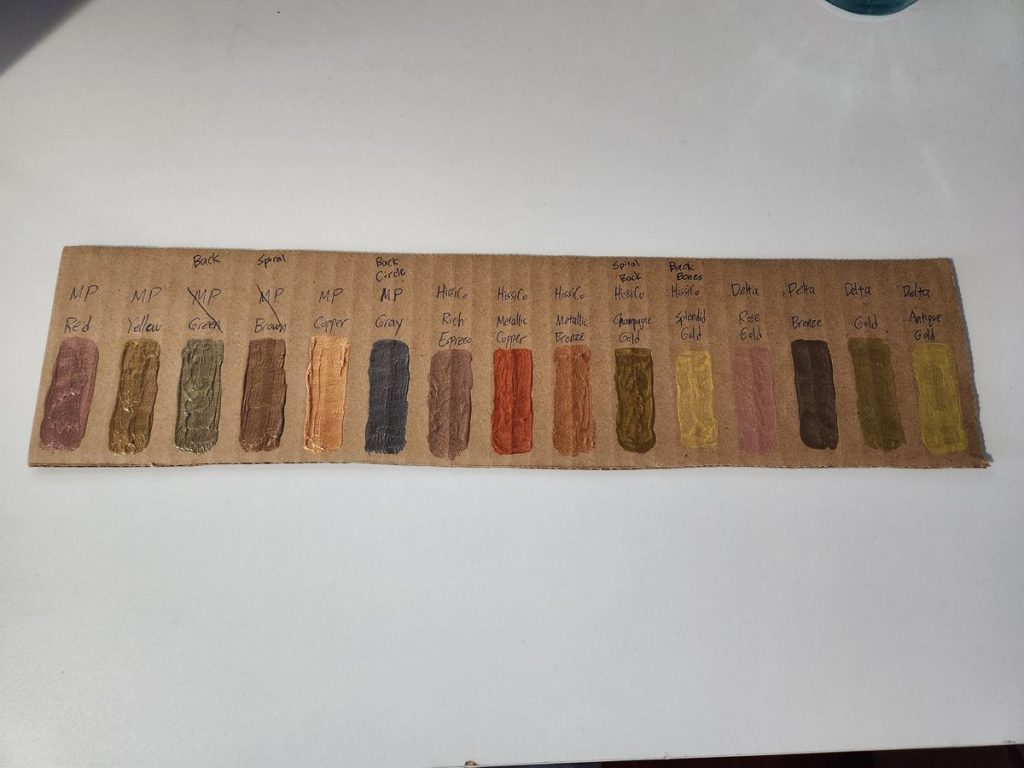
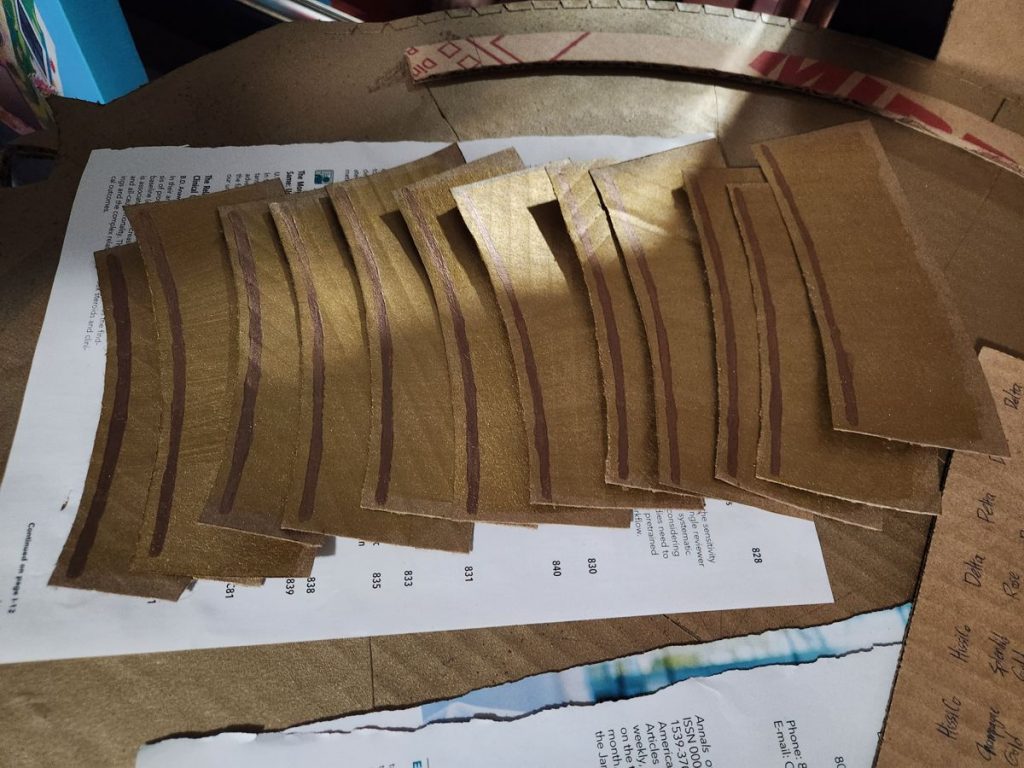
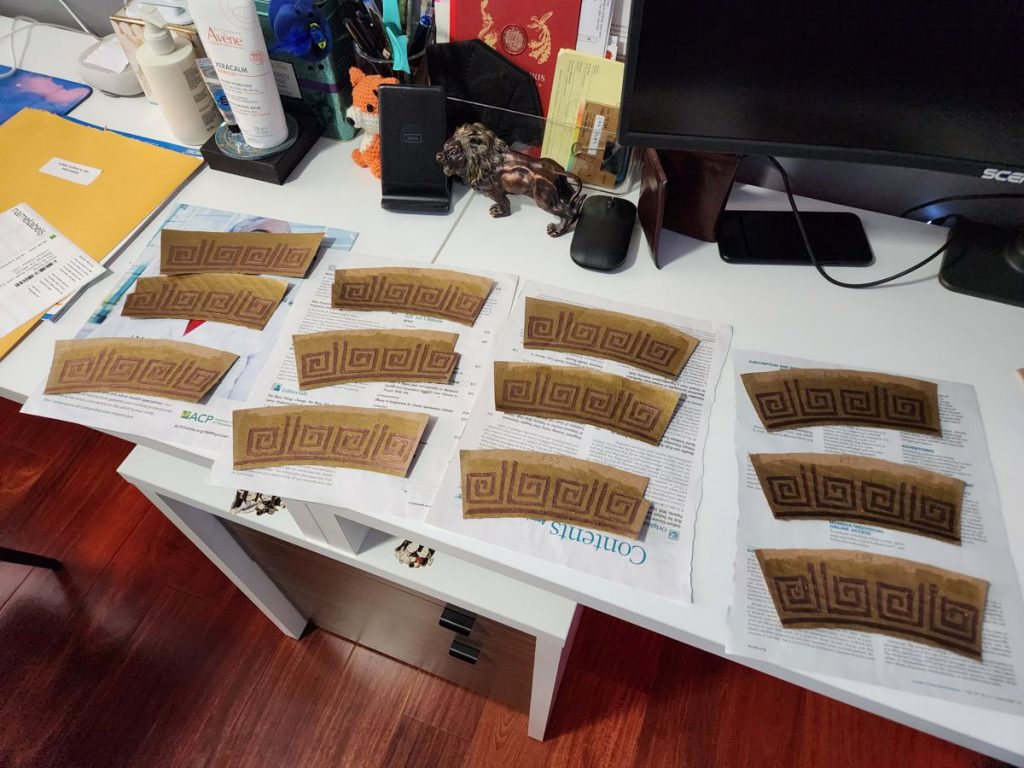
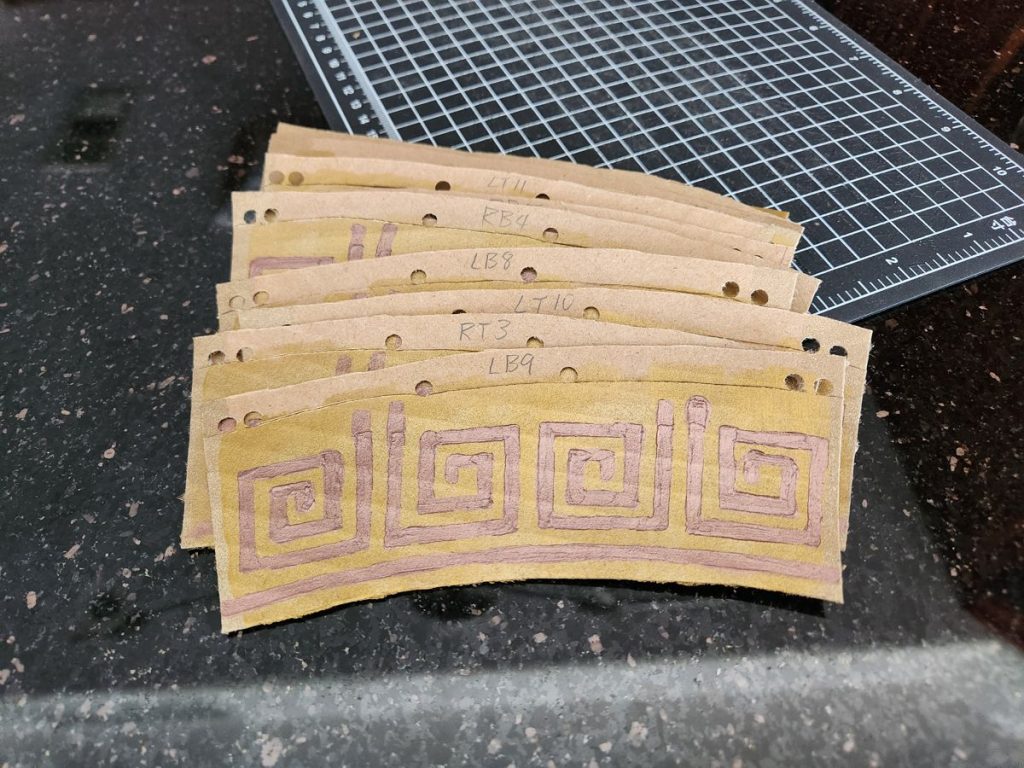
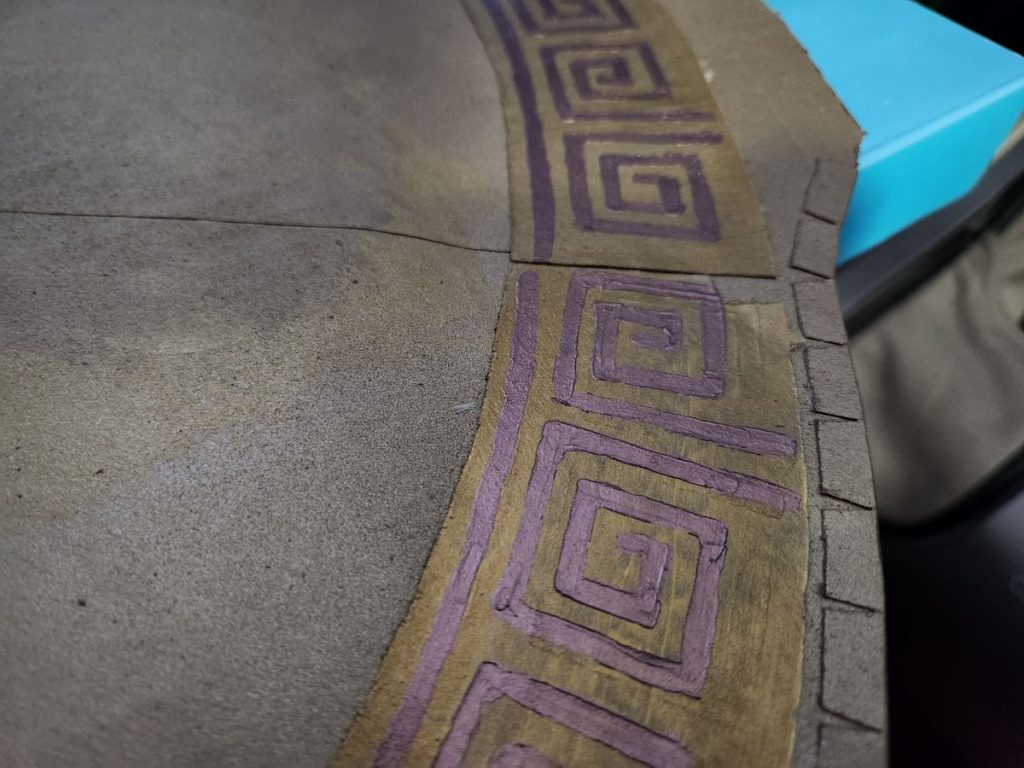
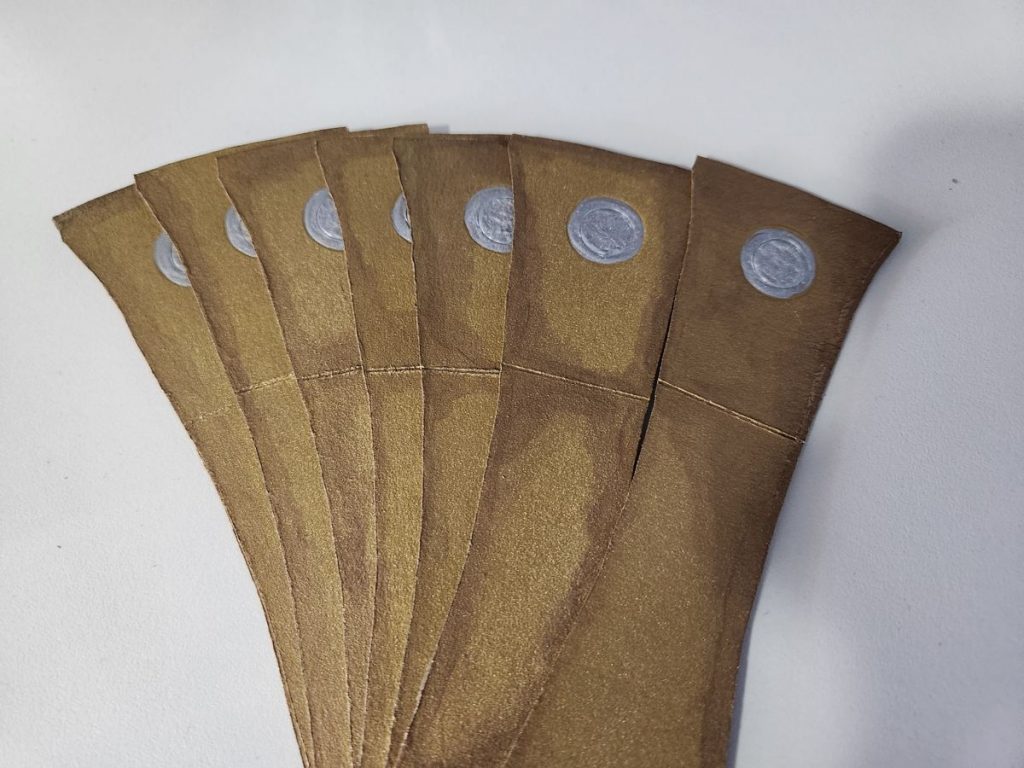
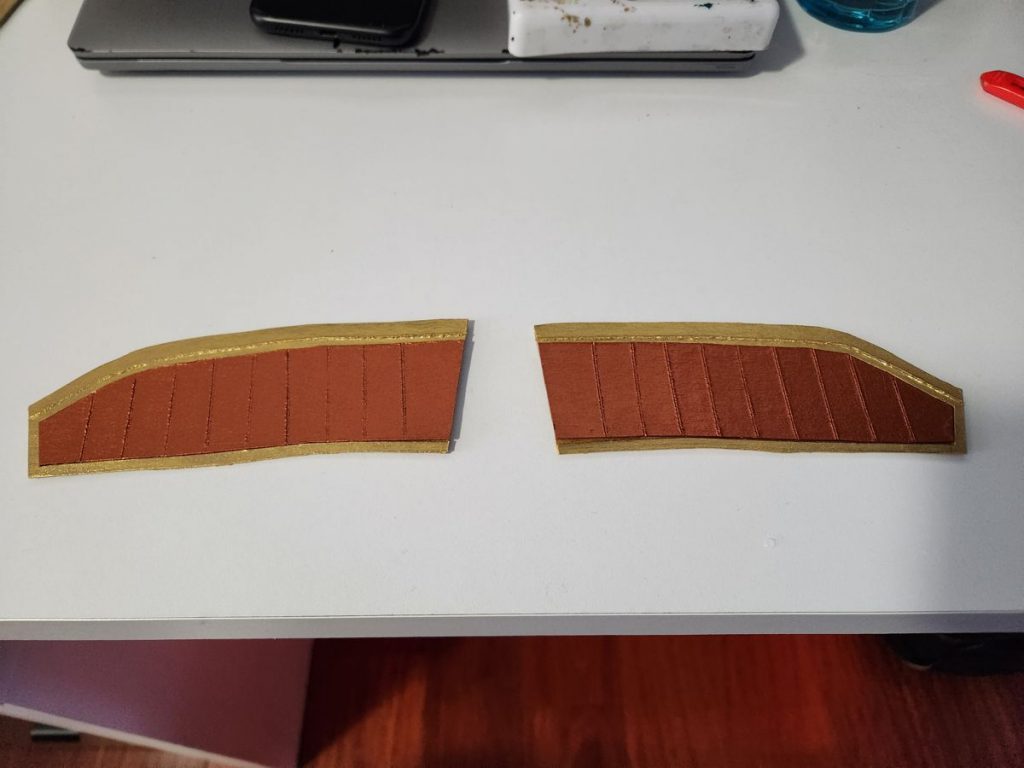
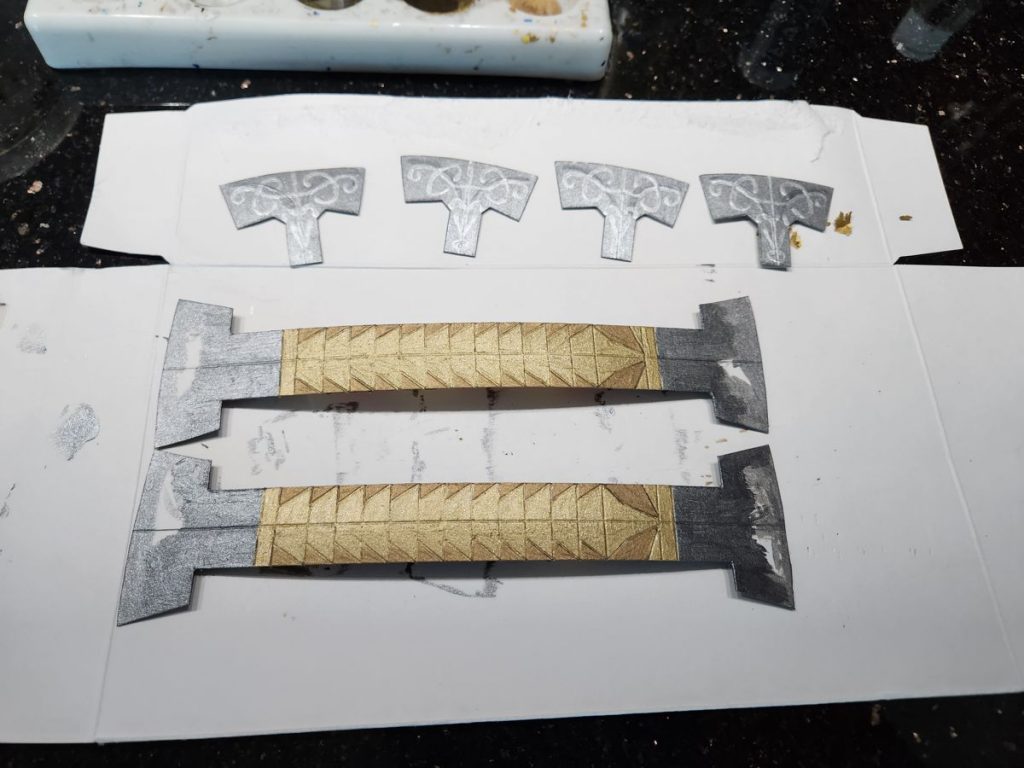
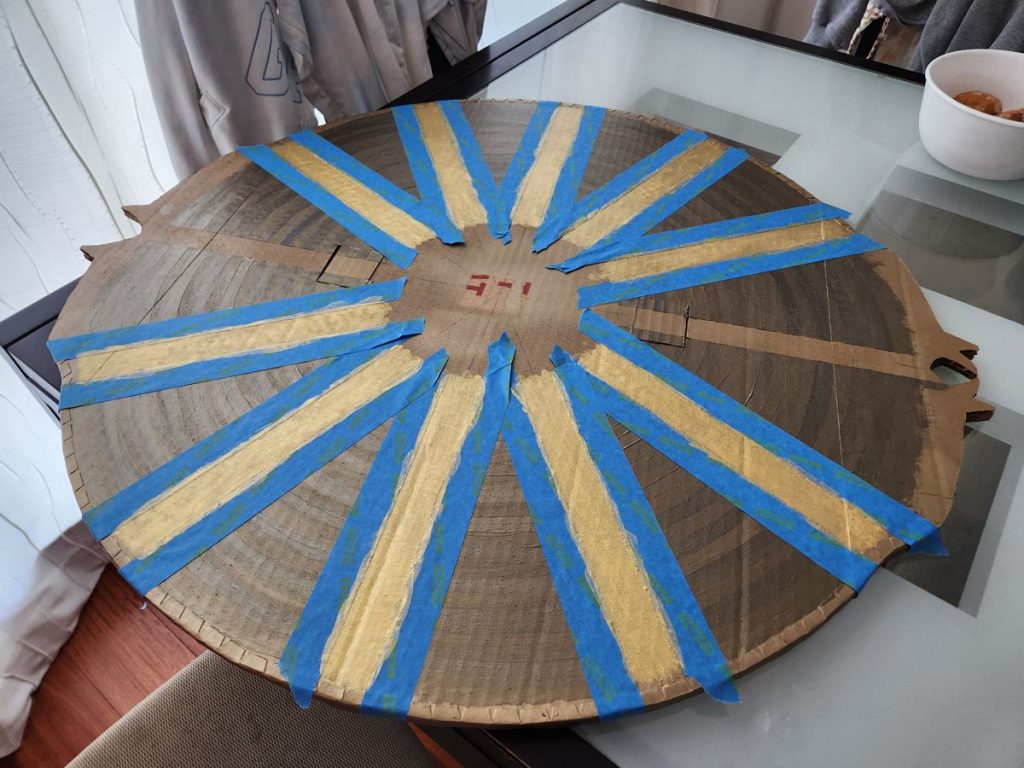
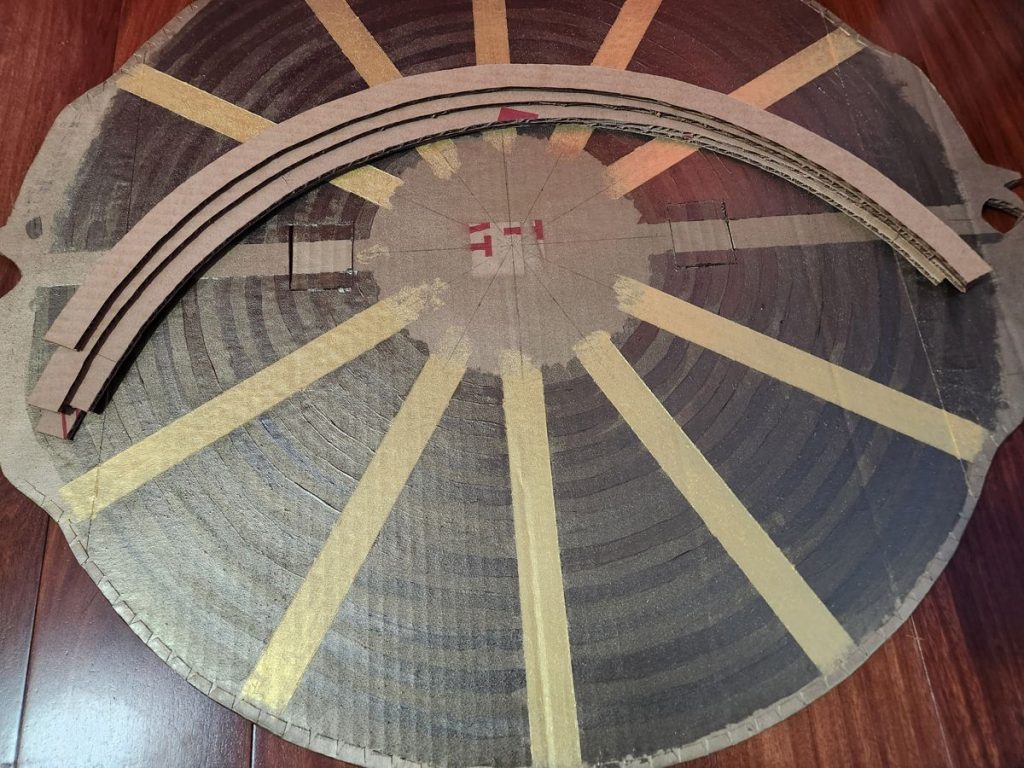
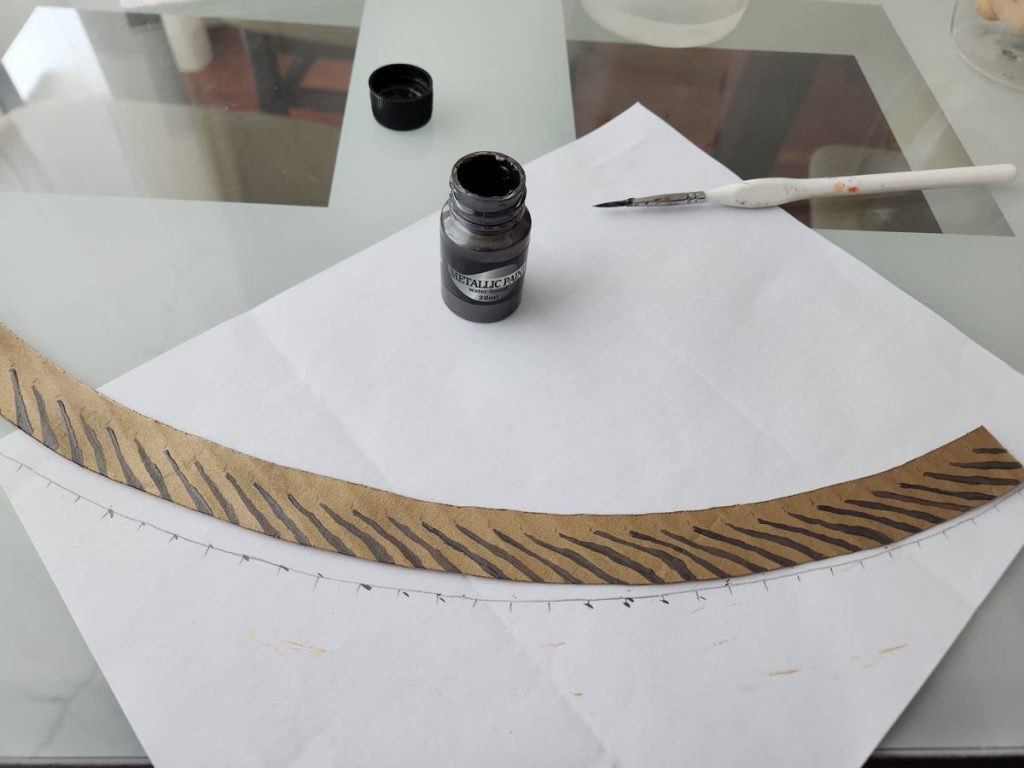
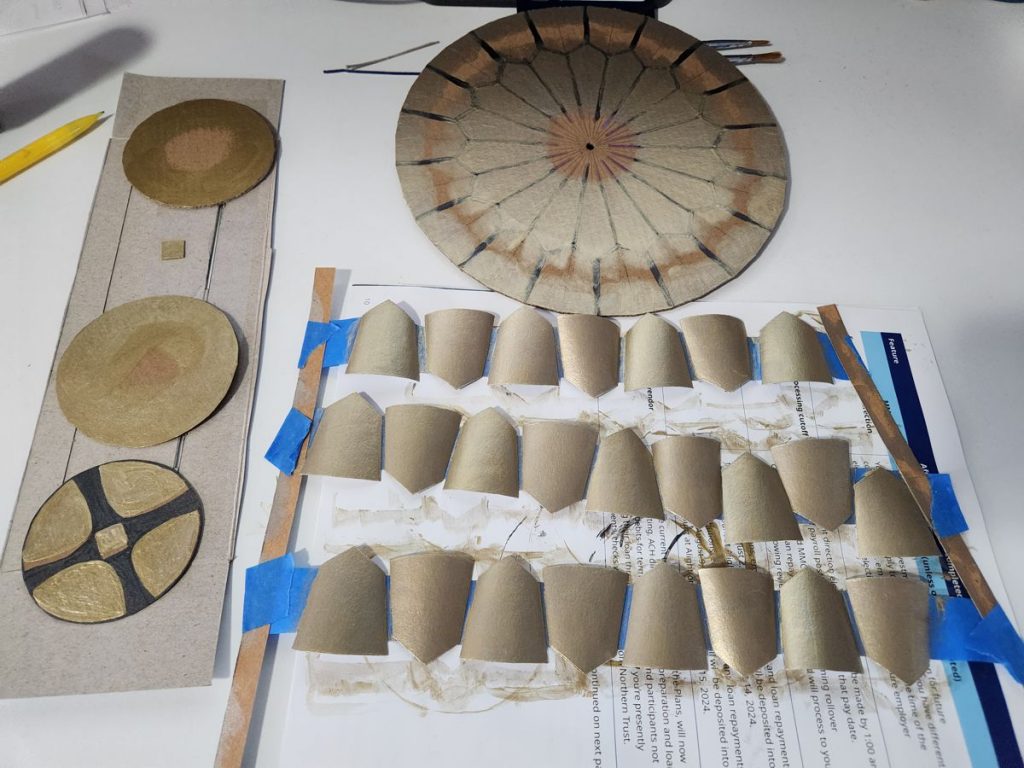
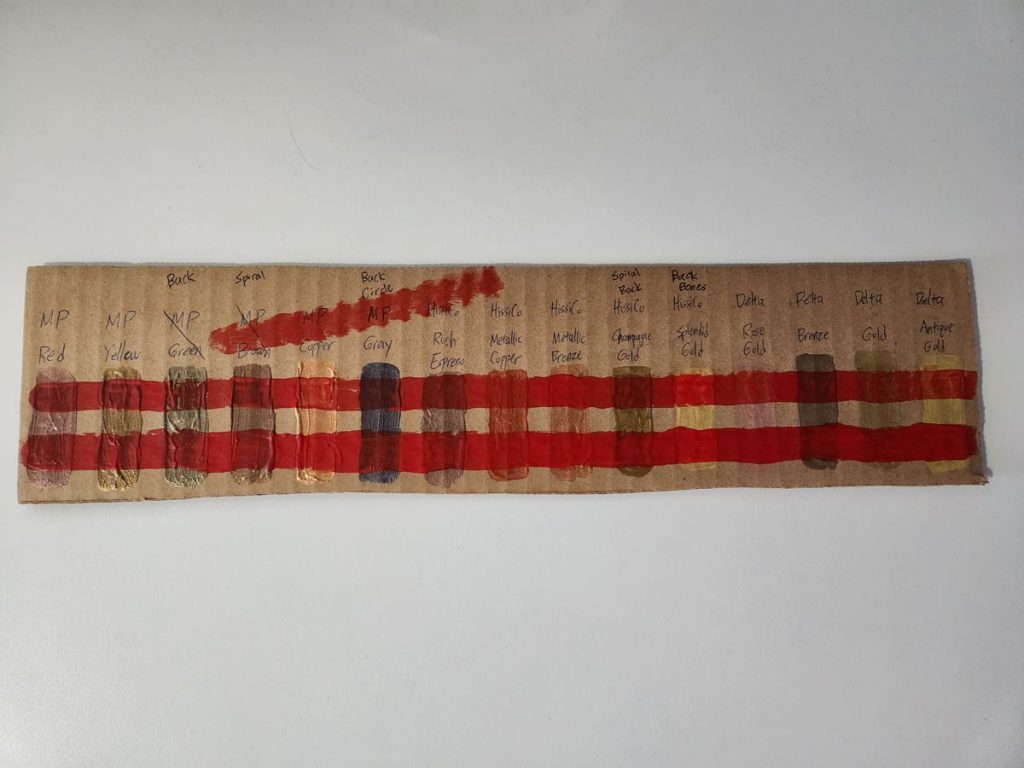
Getting things painted was easily the most back breaking aspect of the project. I made my own swatch, but also mixed and blended custom colors; I made some stencils, but still painted most patterns by hand. It helped to work on one layer at a time and only commit with glue once it passes quality control. Some steps had to be scraped and redone.
The Back Side
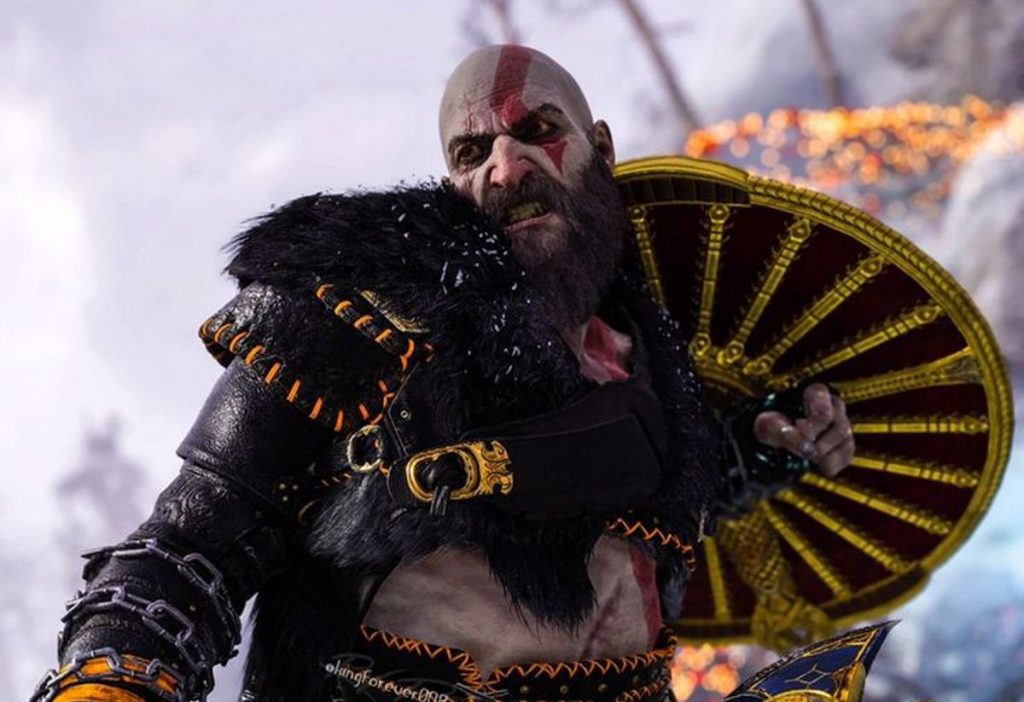
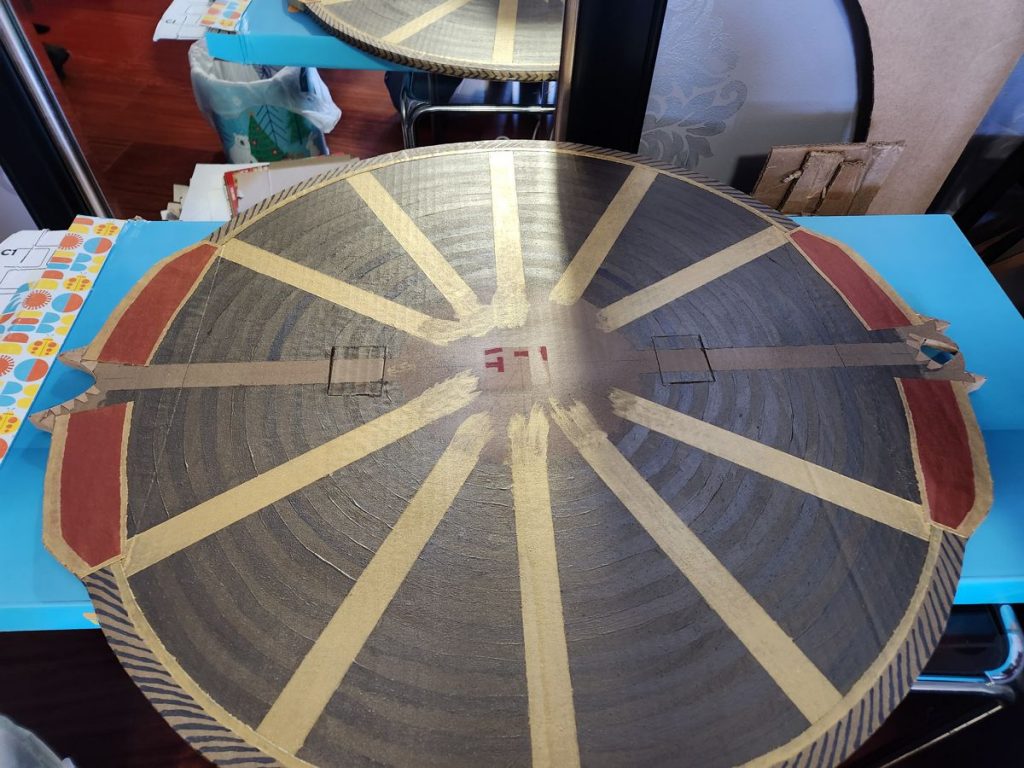
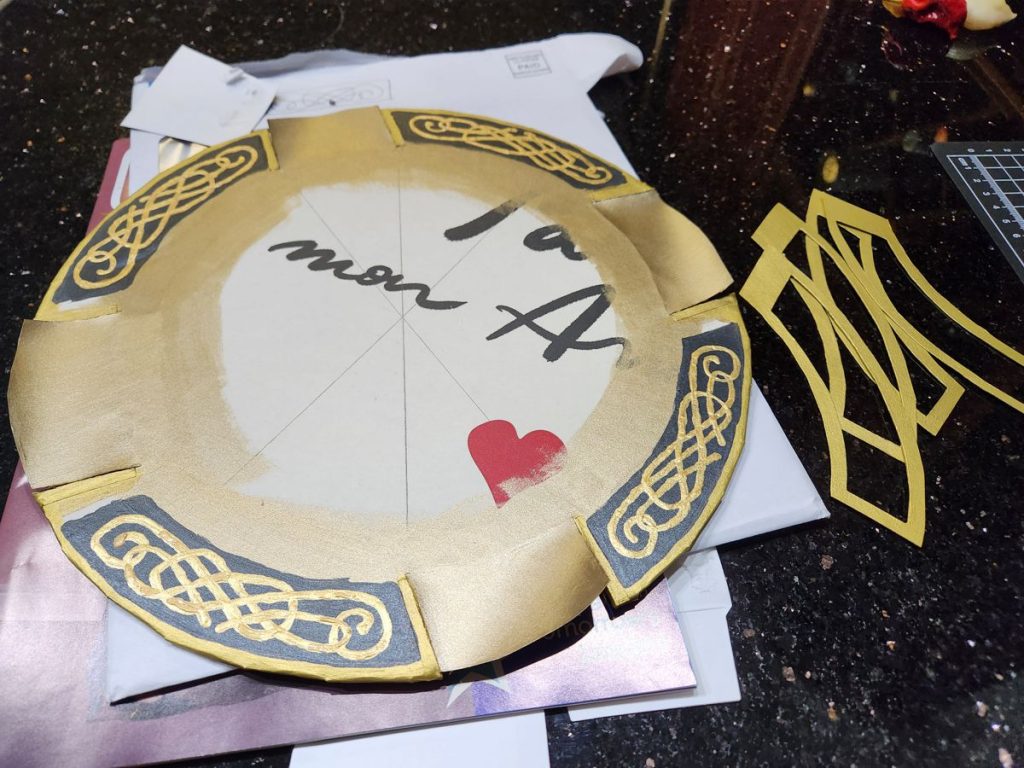
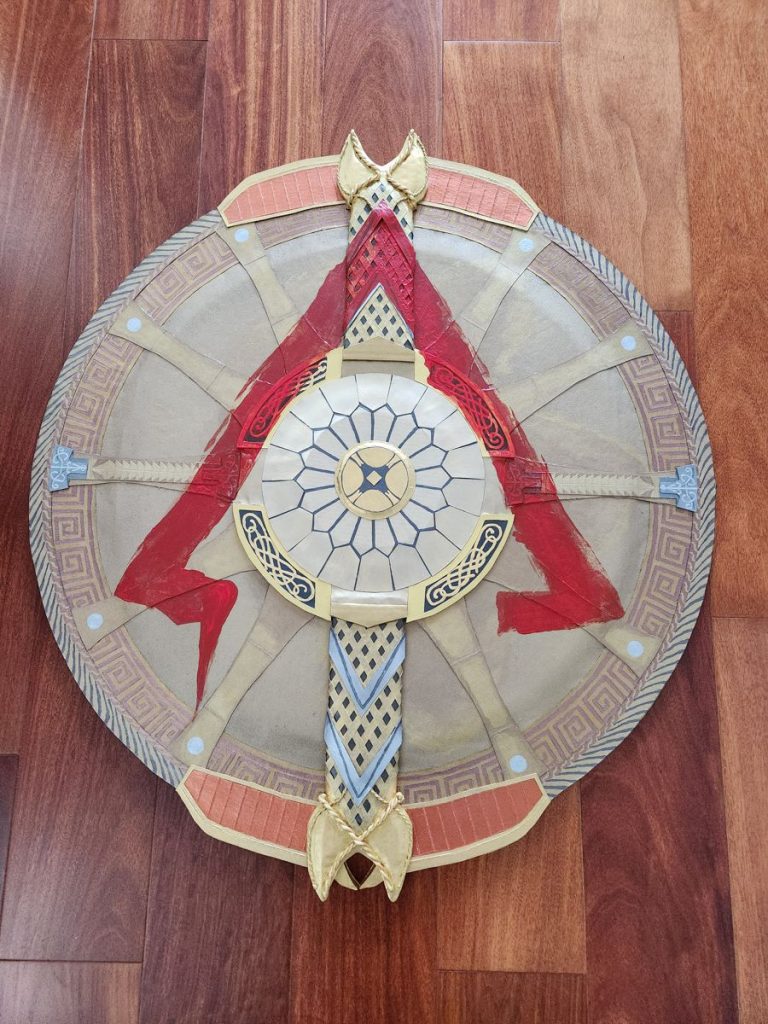
To my surprise and dismay, this excessively fancy shield also had a back side. The screenshot below proved it. I was going to cover it in black paint and call it a day, but that was supposedly not up to the god’s standards. That said, the executive decision was to keep the back side flat and only paint the primary pattern on, for a number of practical reasons. It was a chore, but I was glad to have a consistent look on both sides of the end product.

The Rond & the Spine
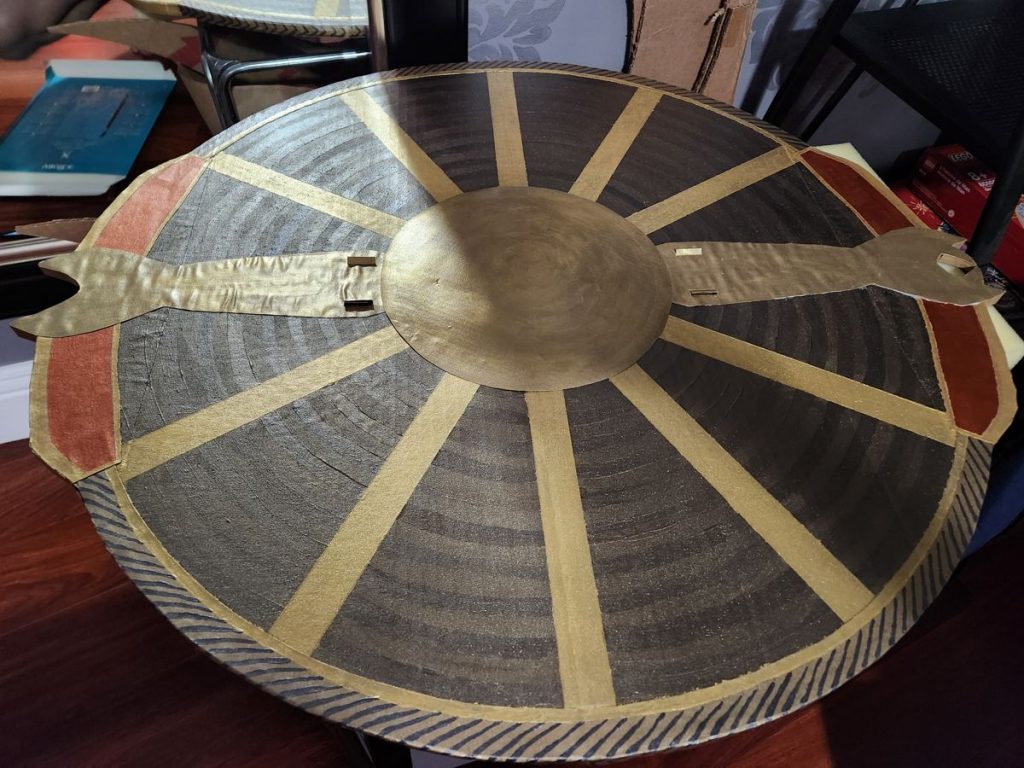
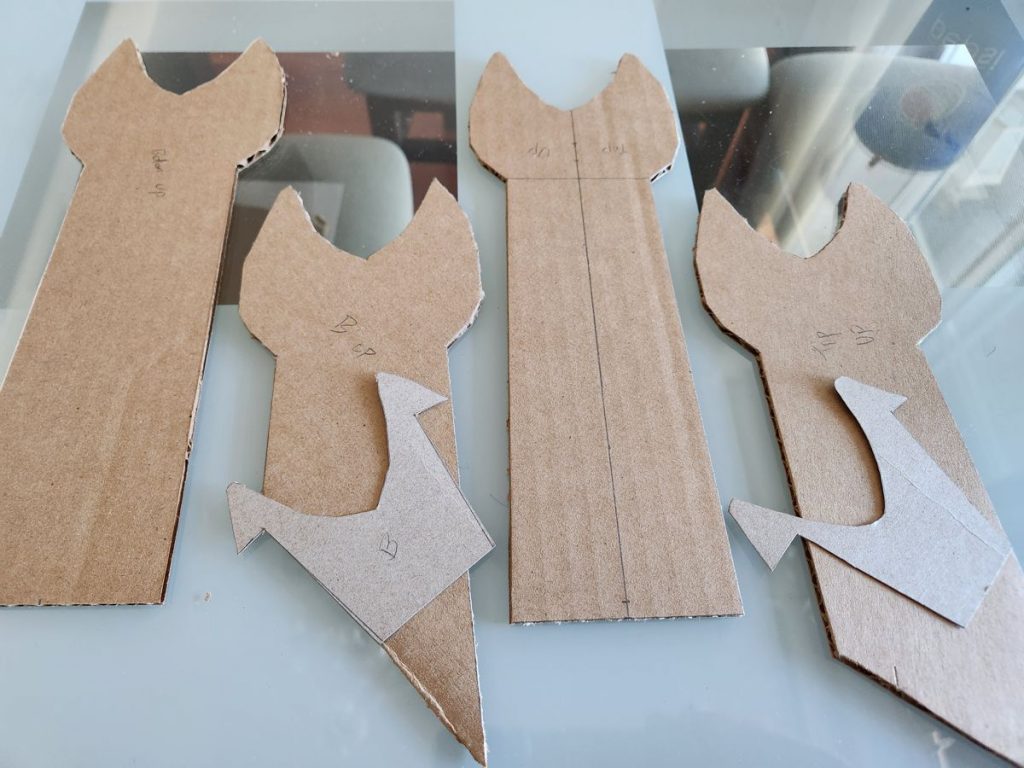
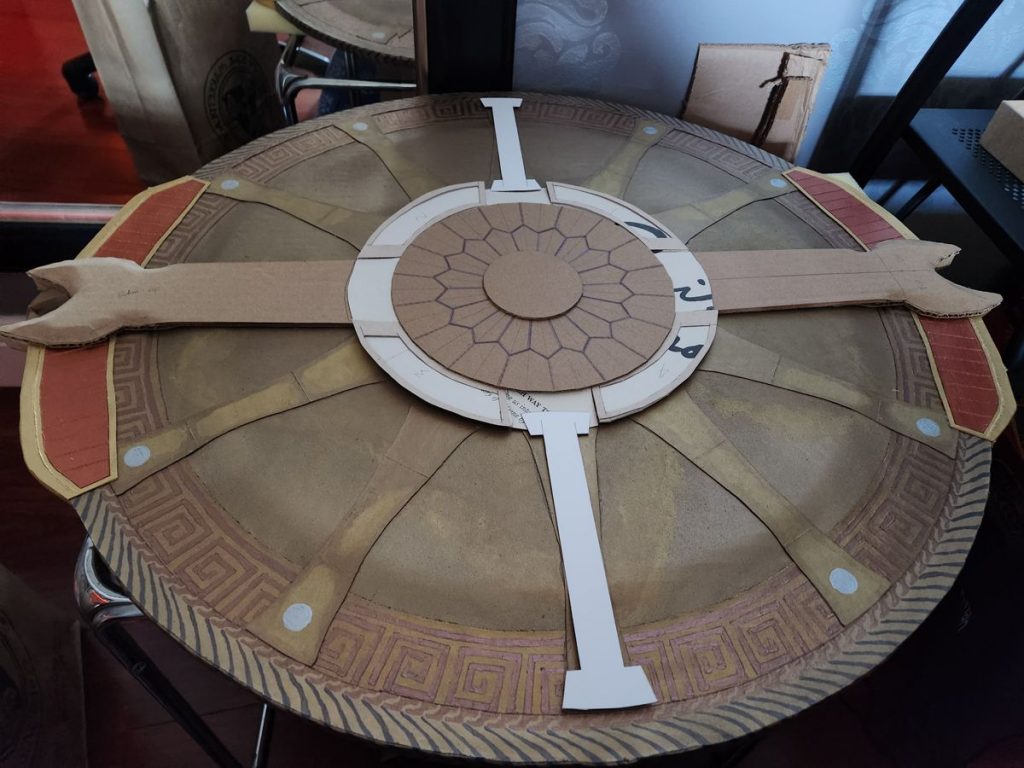
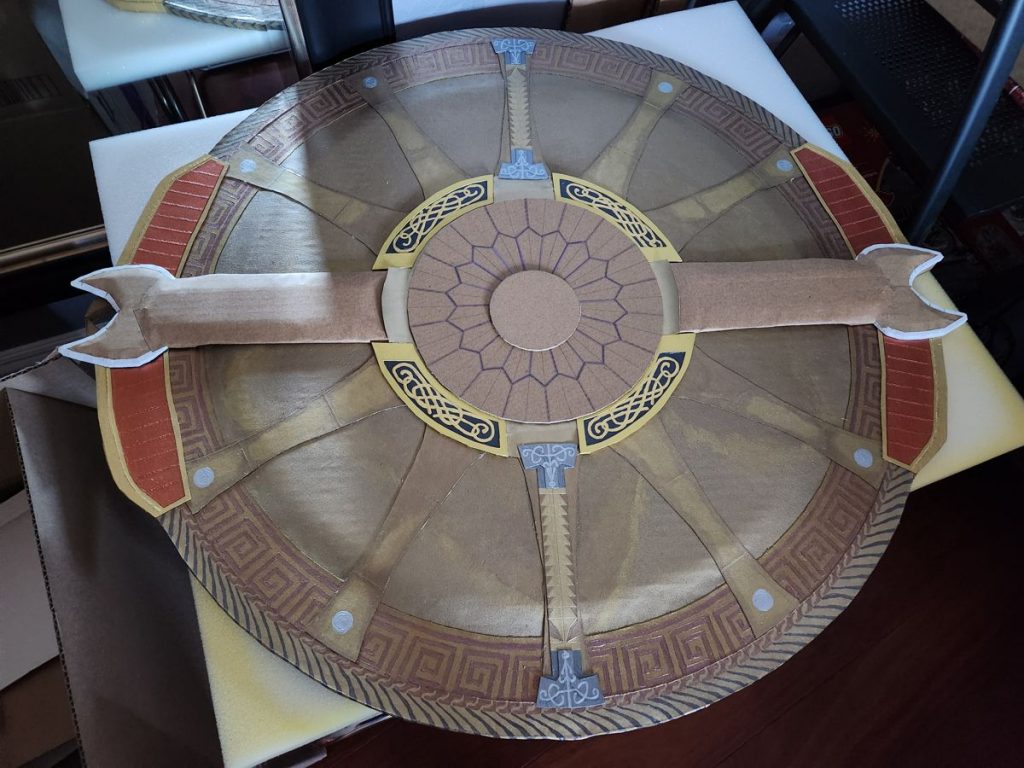
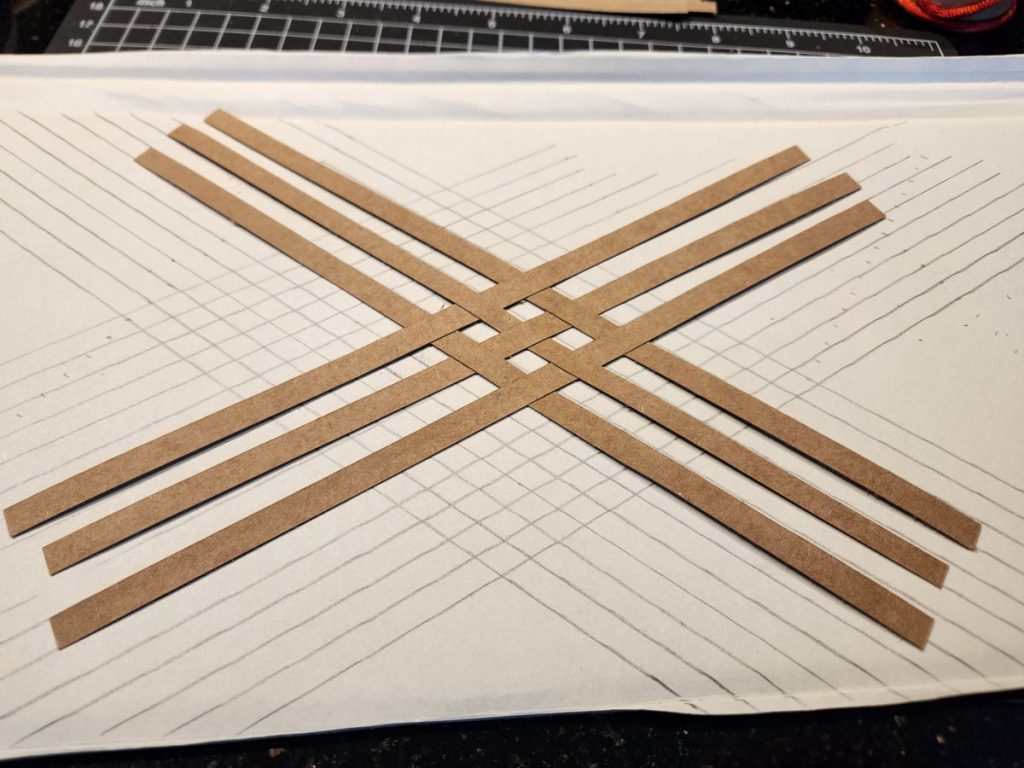
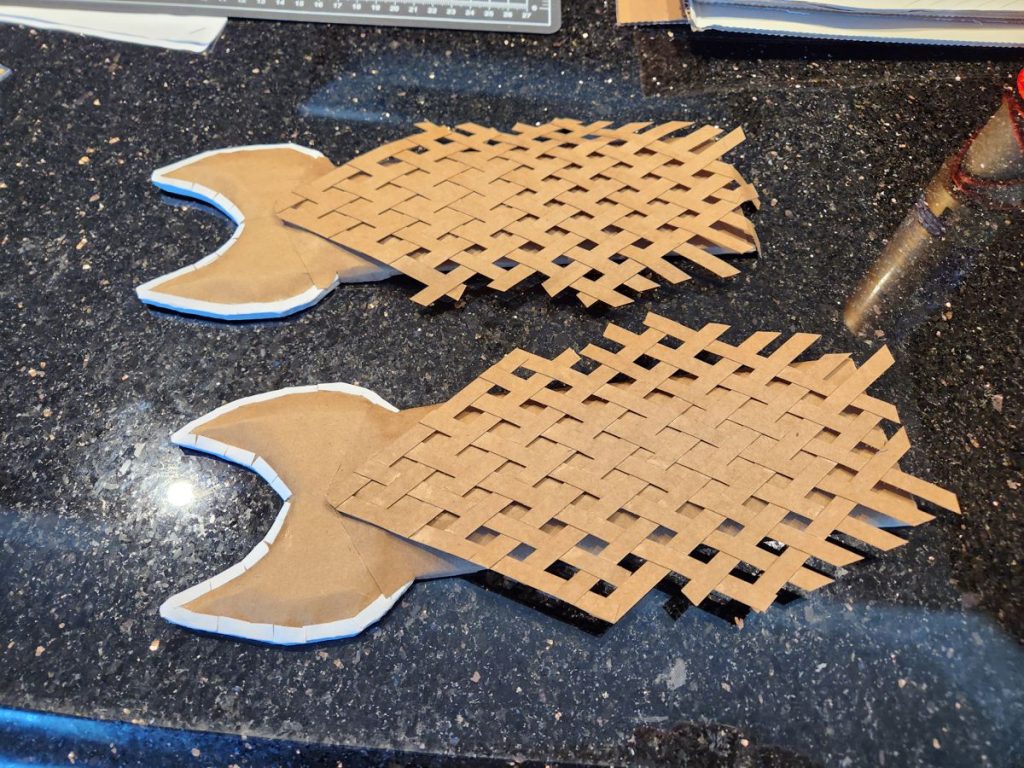
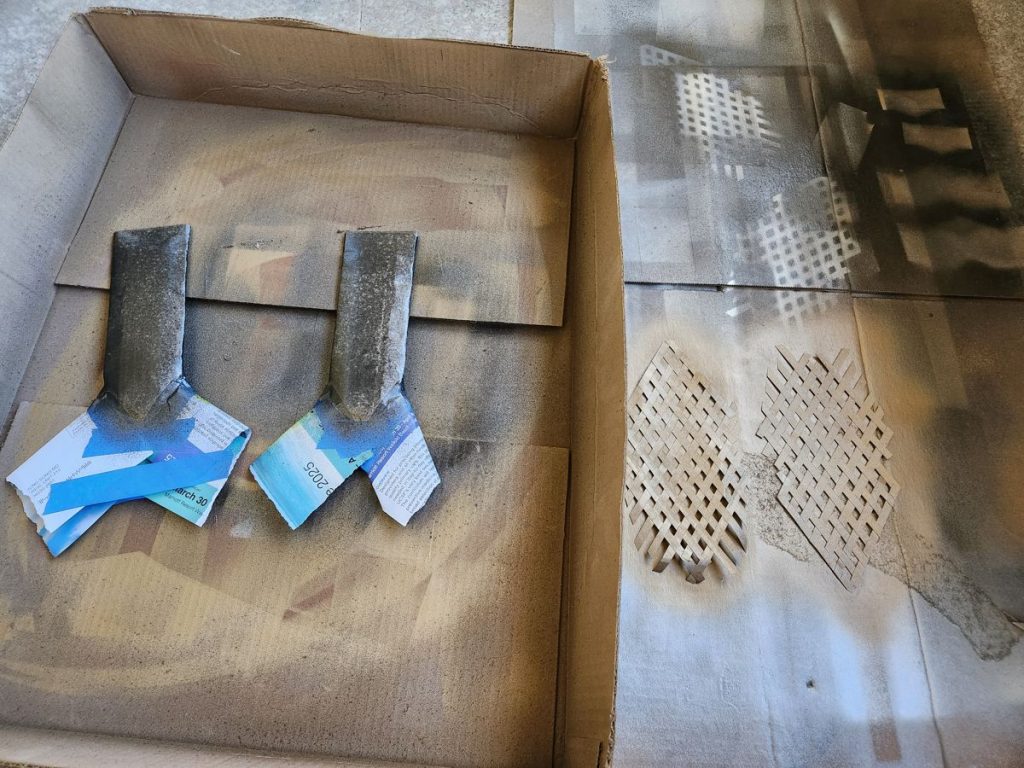
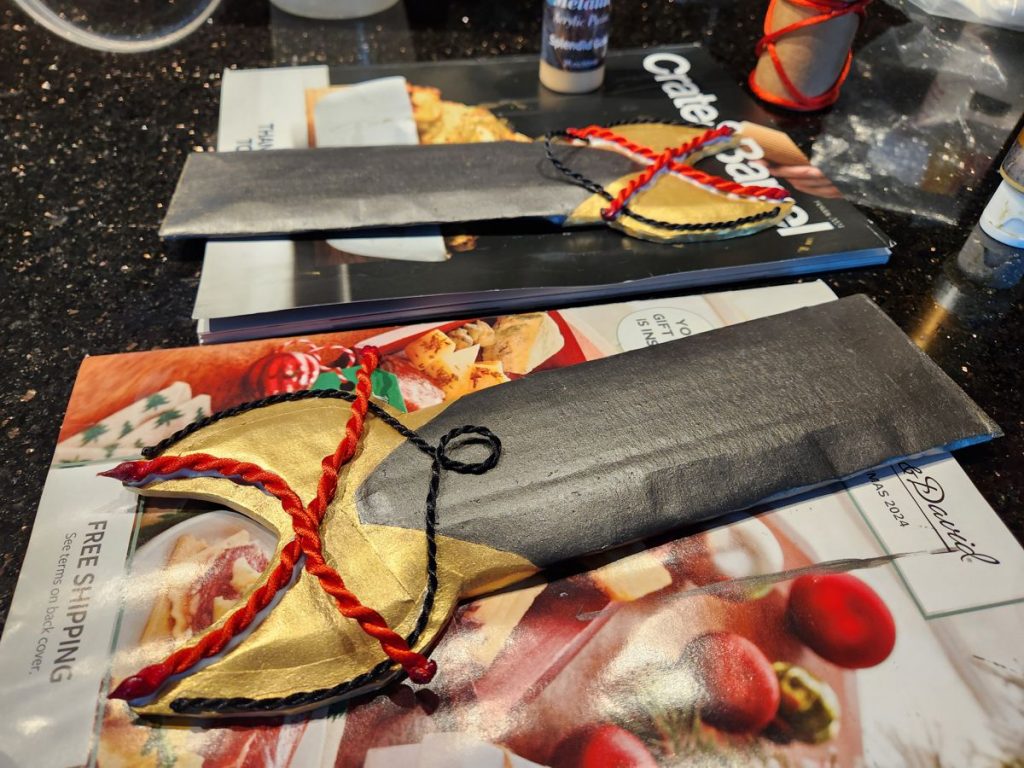
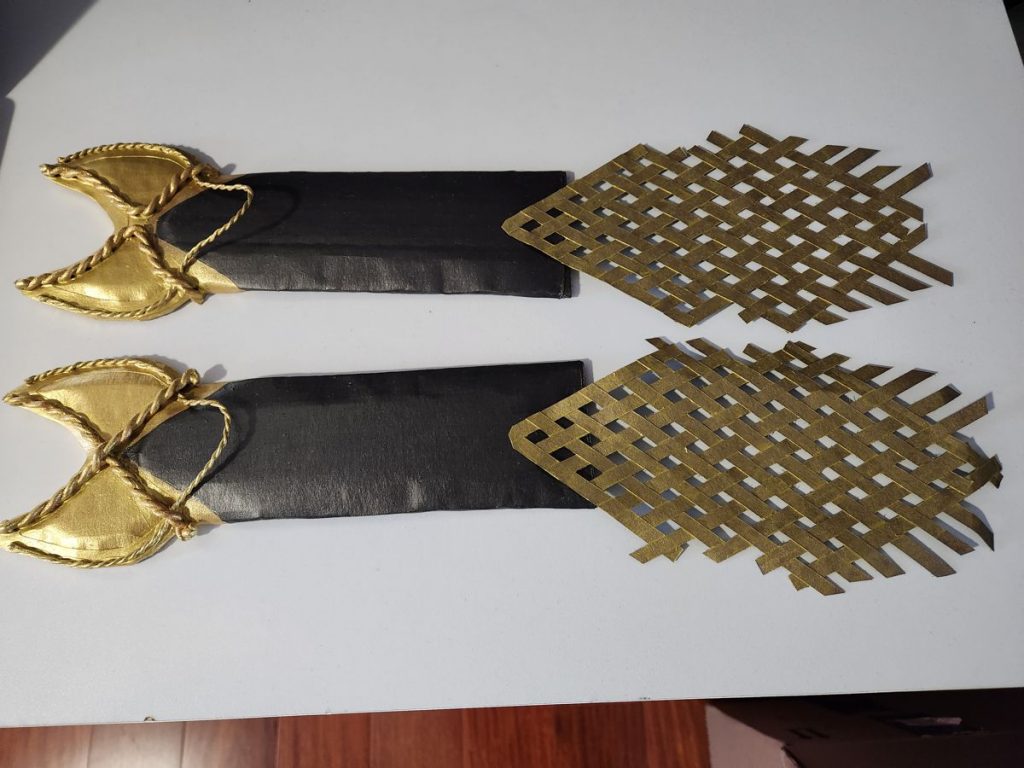
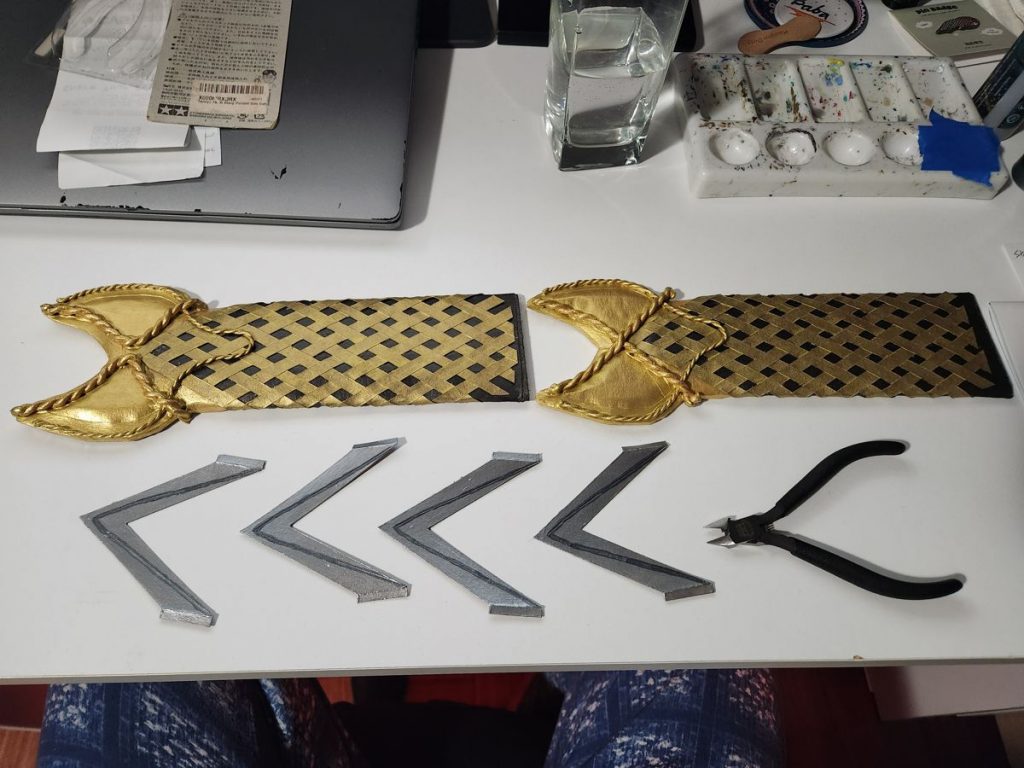
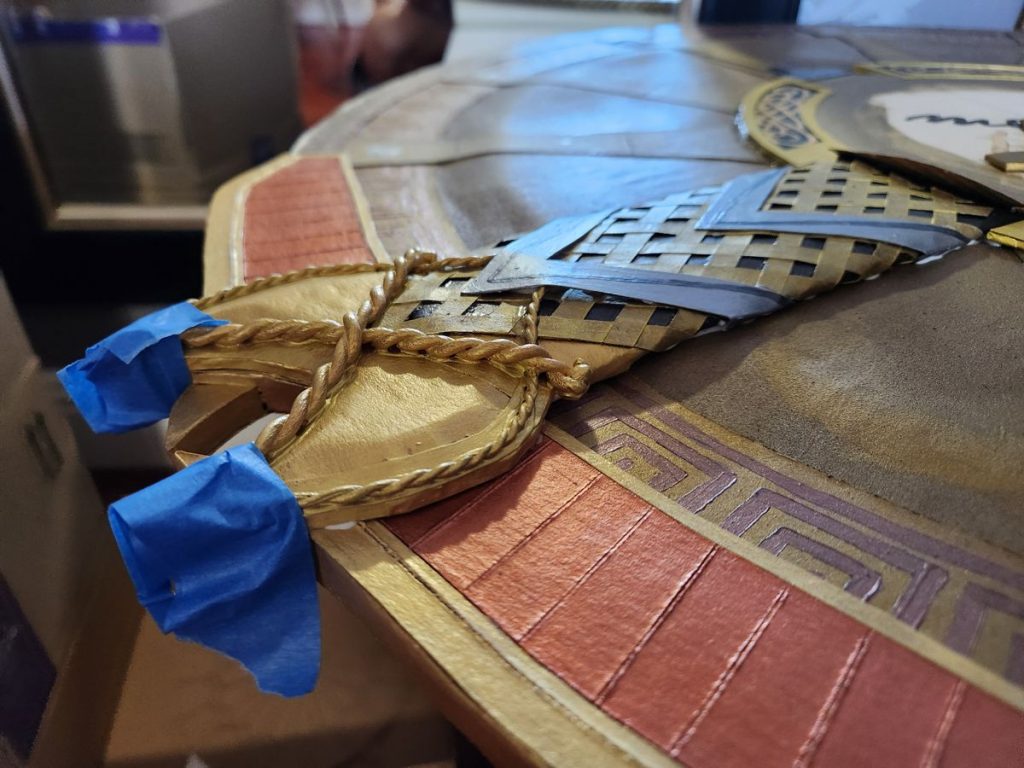
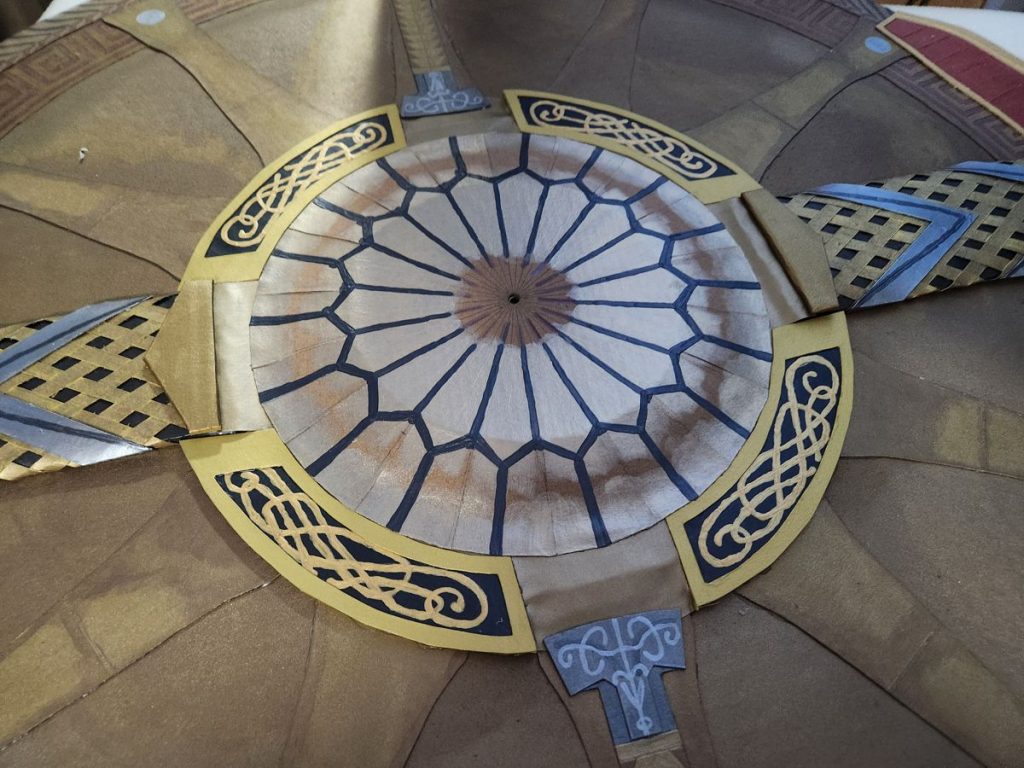
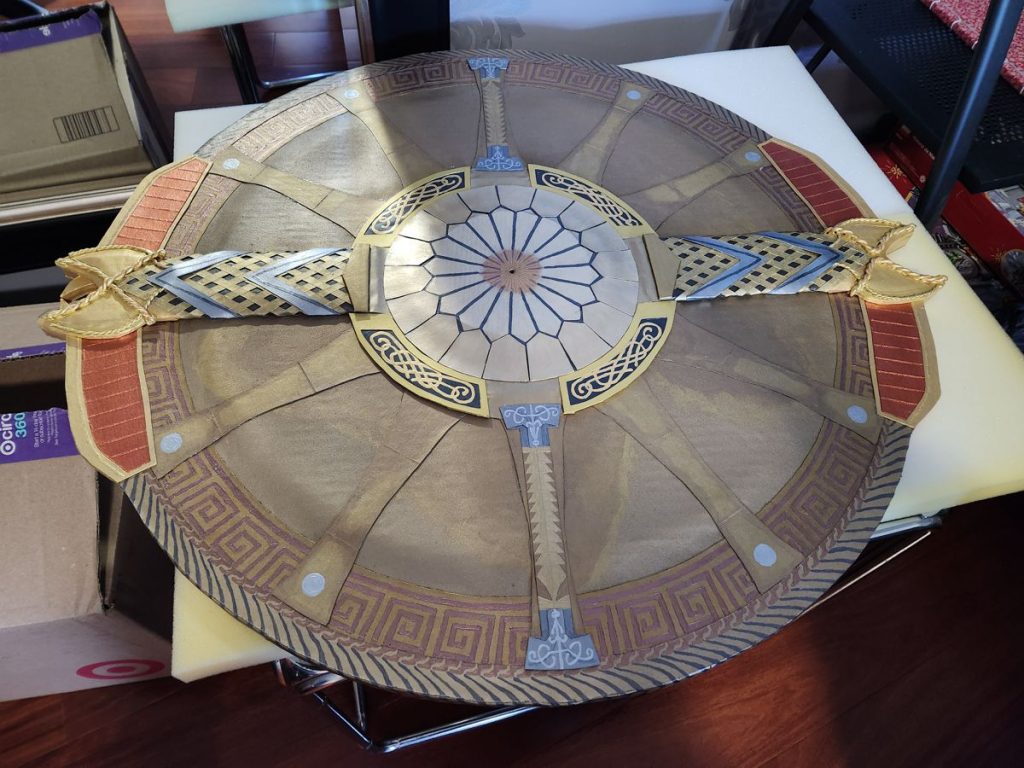
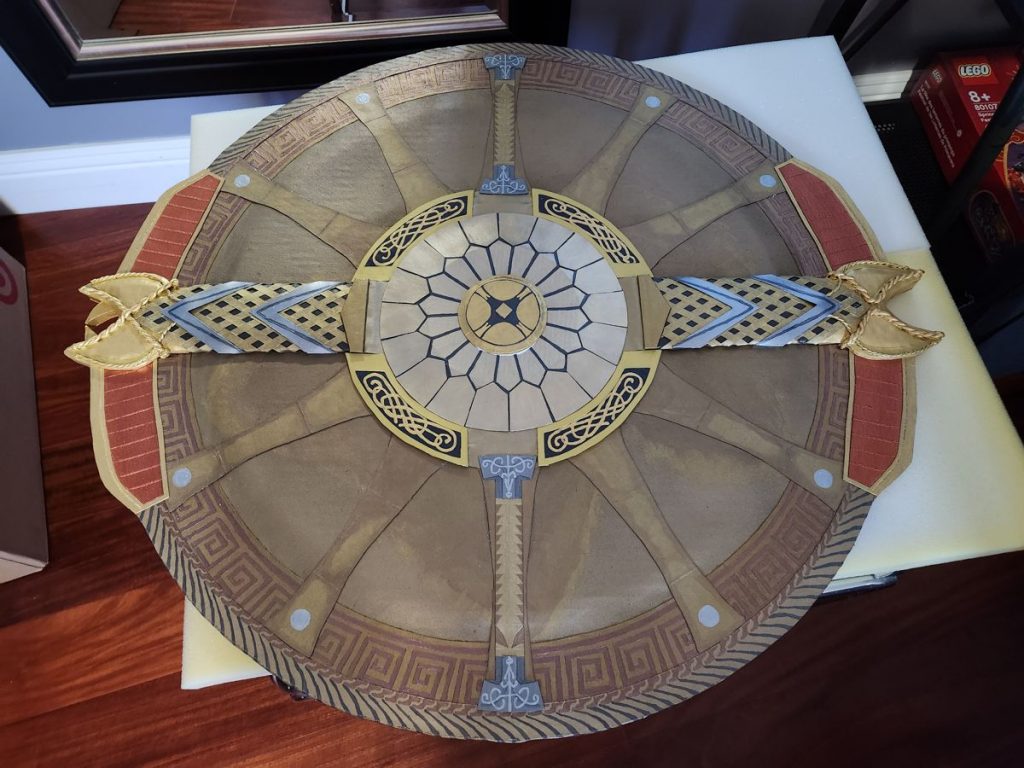
The primary features of both Guardian Shield and Spartan Aspis included the Rond (the decorative circle in the middle) and the six diagonals. Of the latter, the primary diagonal was thicker and wider than the rest, with a pattern that looked like a hybrid between fish tail and crab claw. I’m referring to it as the spine.
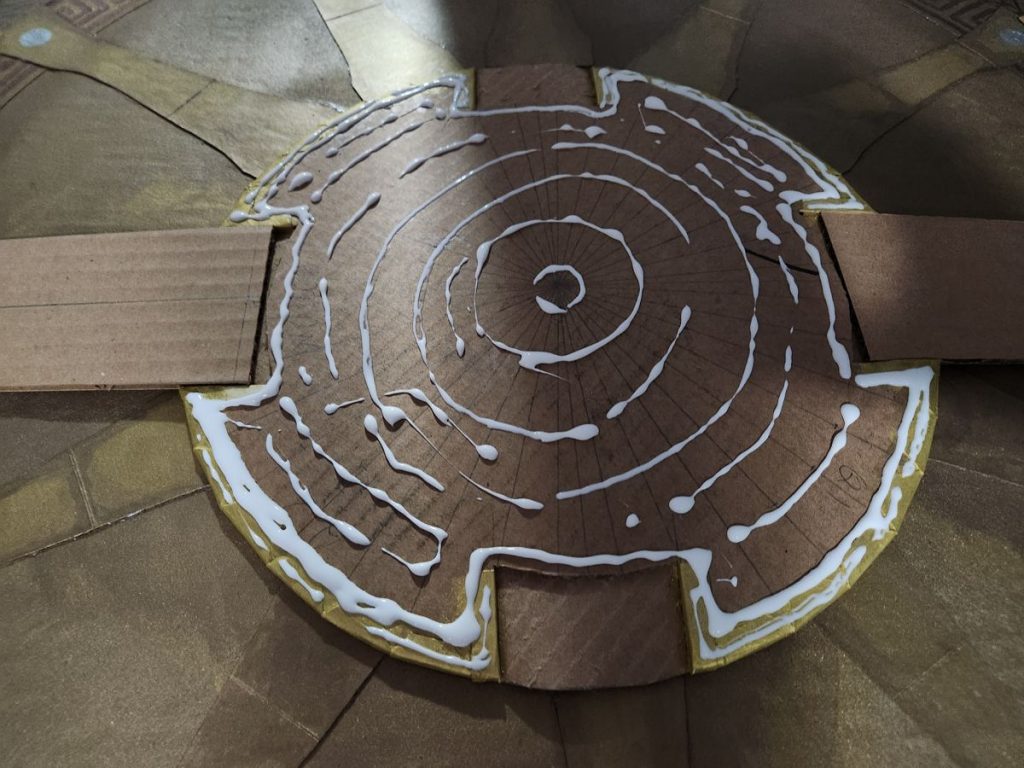
I mostly thought of the Rond and the Spine as mere patterns among many patterns on this shield, taking up no more than 20% of the surface area. Upon closer examination, though, I’d now argue that they were the soul of the entire design. They sure took a heck lot of time to model out, but the project looked entire different before and after they were installed.

The Strap
In the game, the shield is equipped on the left arm of Kratos in the form of a compact arm guard. When deployed, the Spine extends and rotates about the Rond, while the shield surface fans out from underneath the Spine. It’s totally the sort of thing you’d expect from Iron Man’s nano technology, but with Svartalfheim dwarven magic instead.
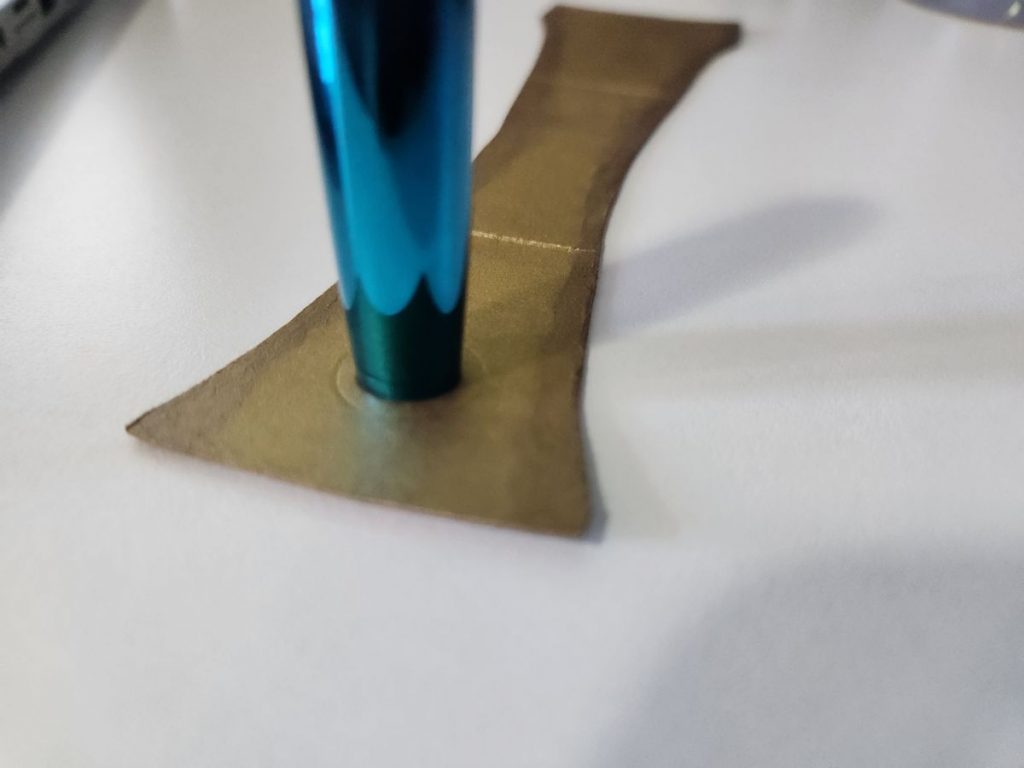
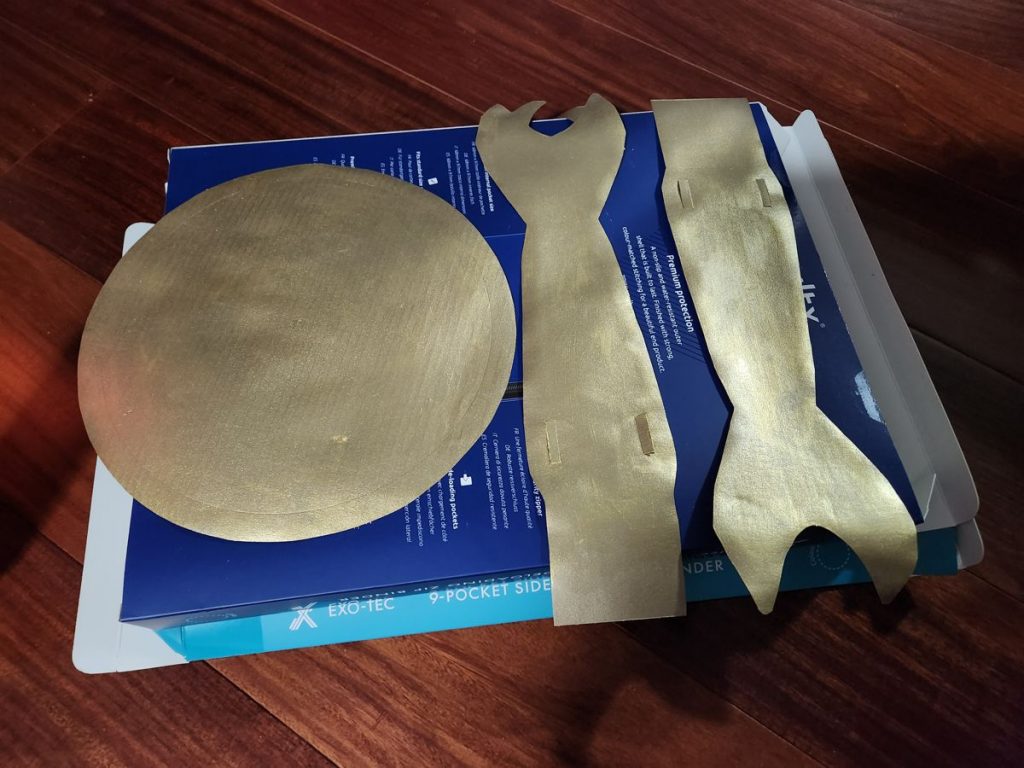
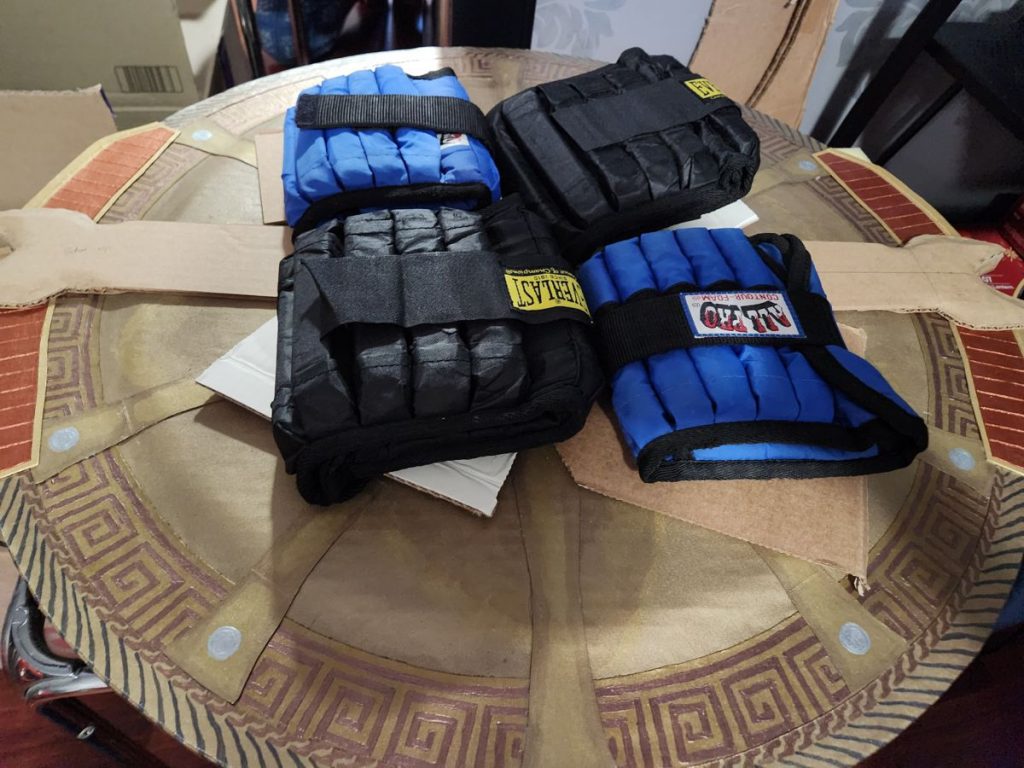
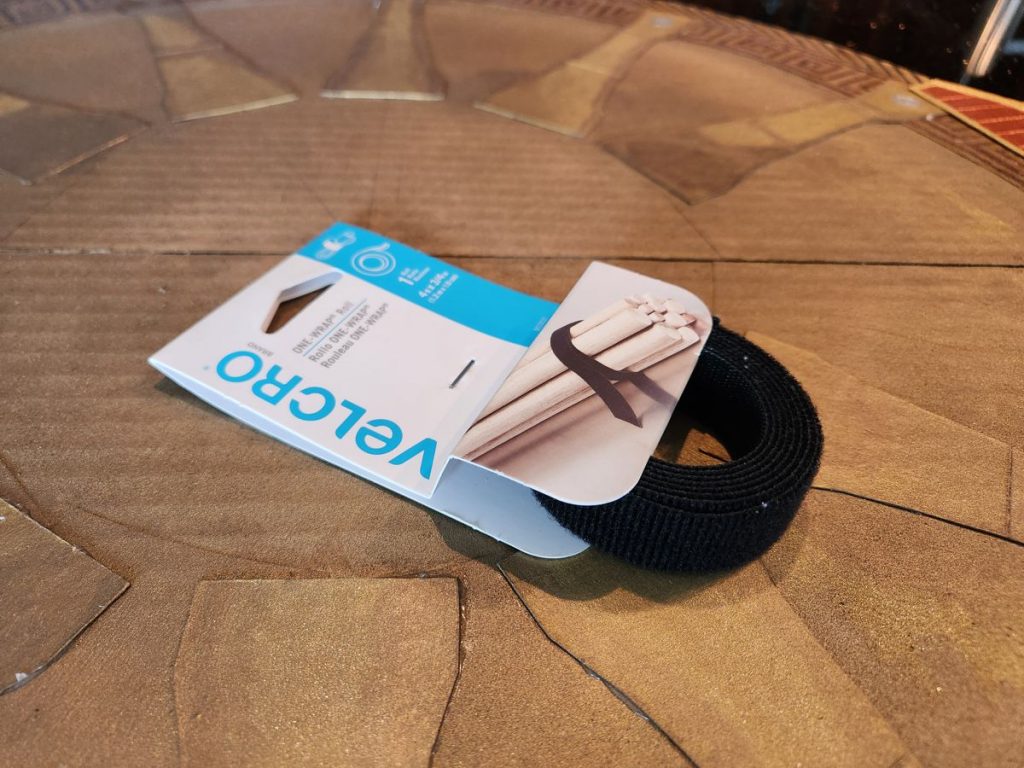
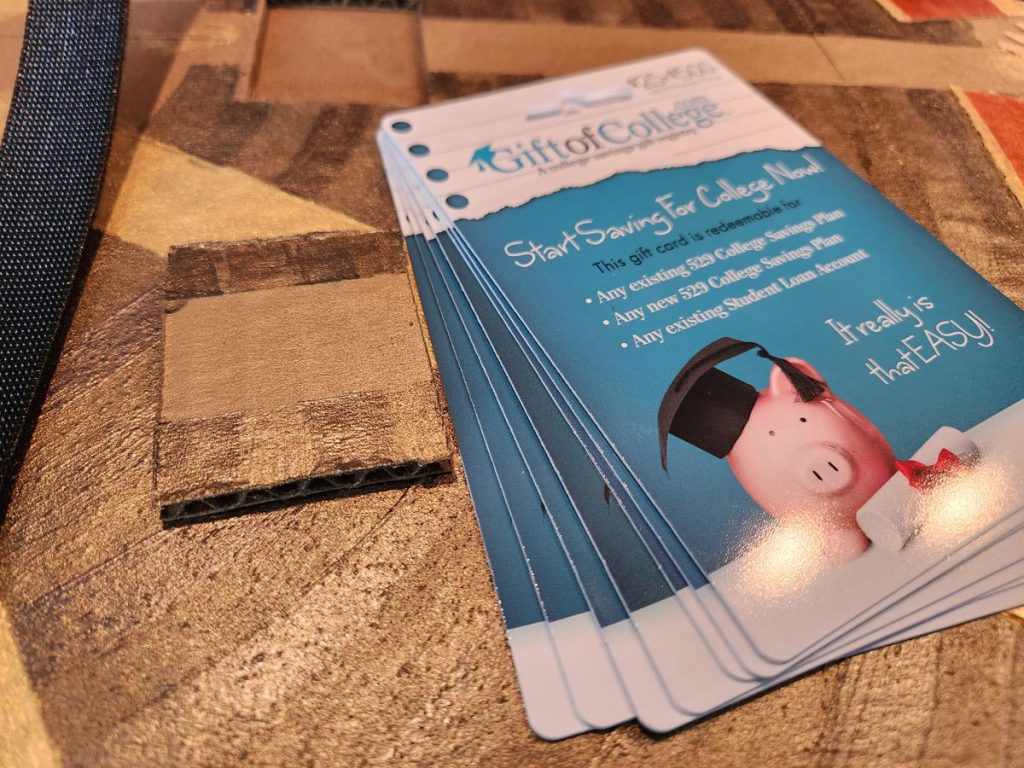
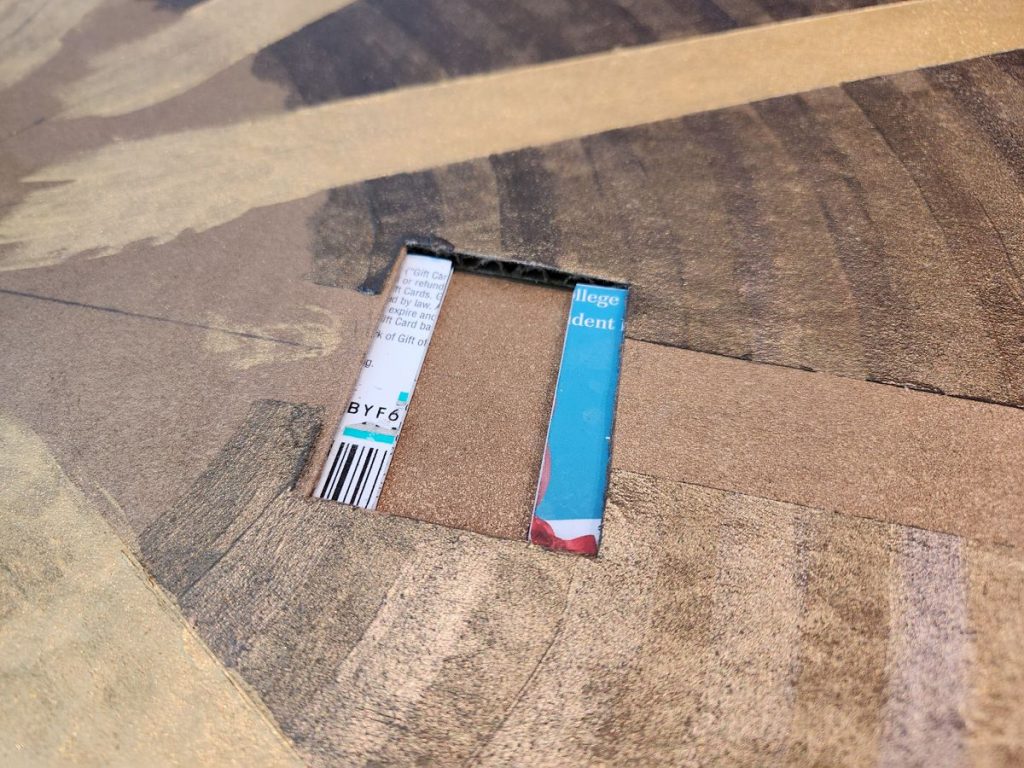
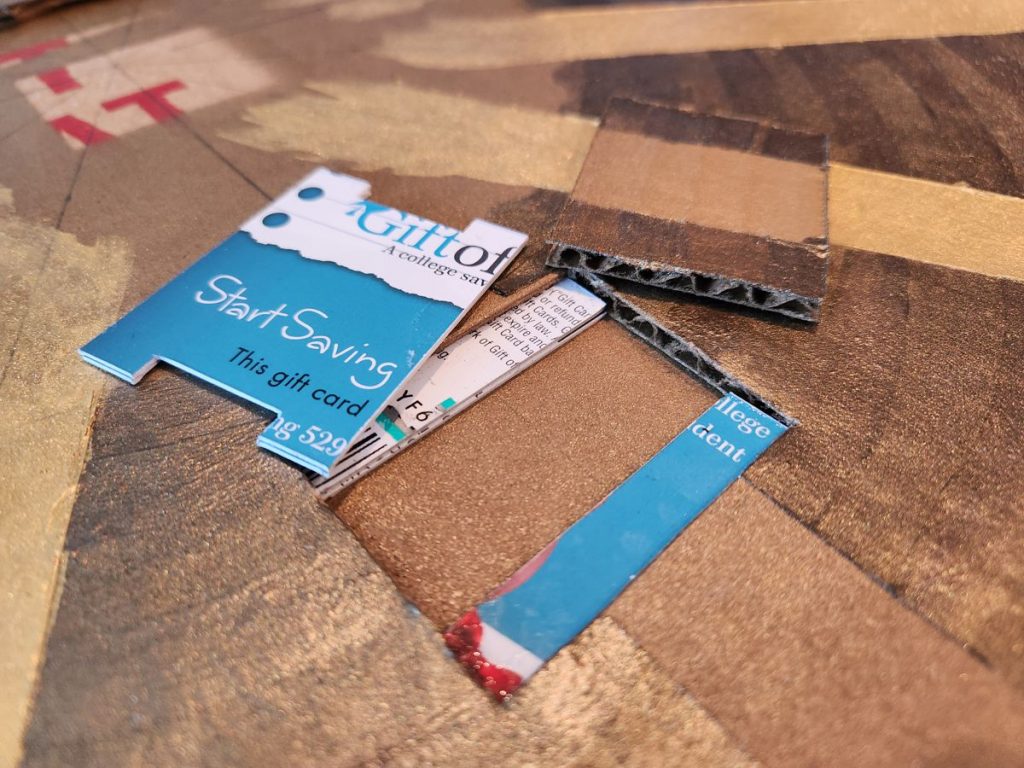
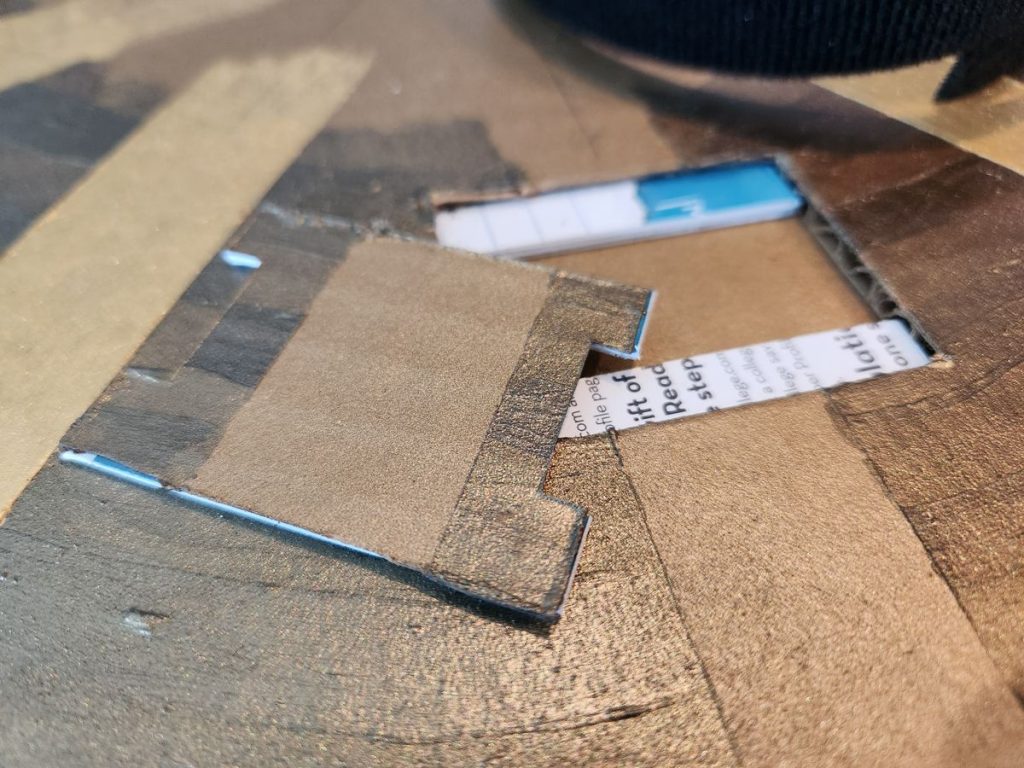
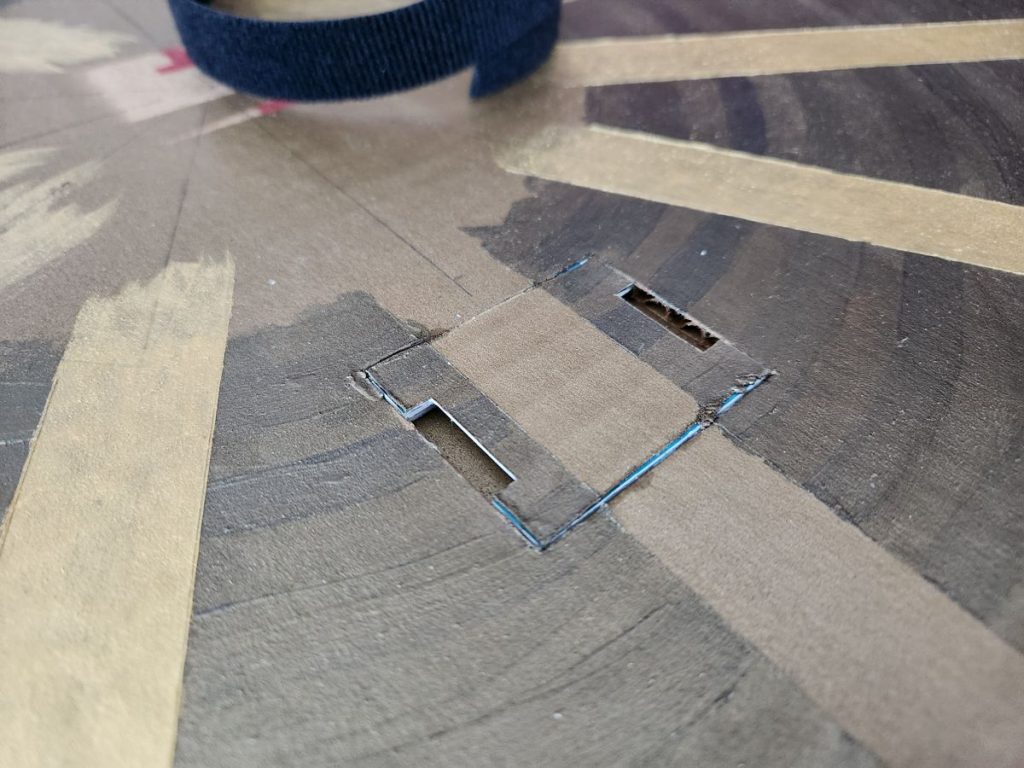
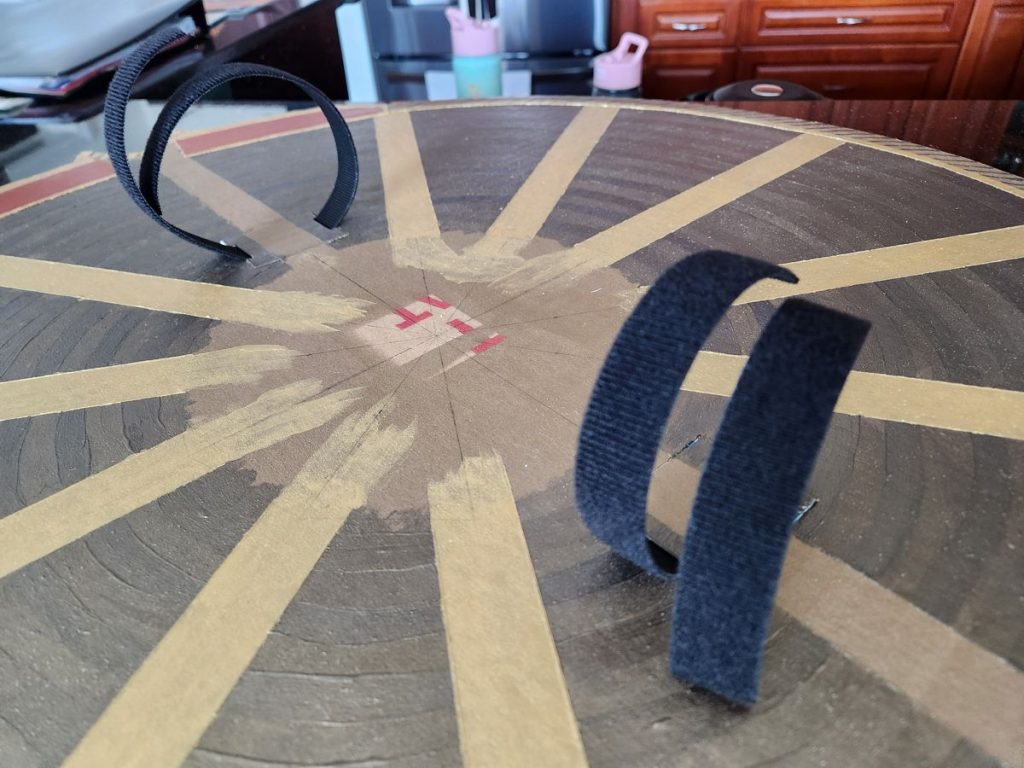
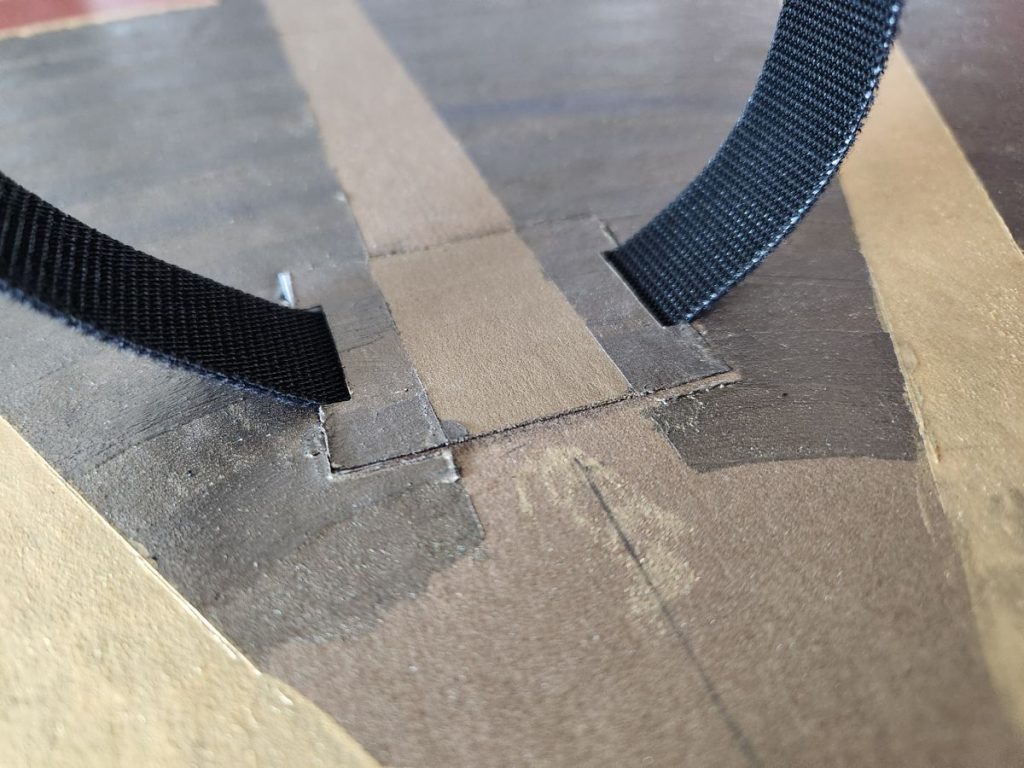
Needless to say, I couldn’t manage that sort of mechanism to attach a piece of cardboard to my arm, so improvisation was necessary. I found some Velcro at Michaels, and affixed it to the back slot using a tailored anchor made from Gift of College gift cards. The result was pretty sweet – the Velcro was removable and the anchoring slots were barely visible.
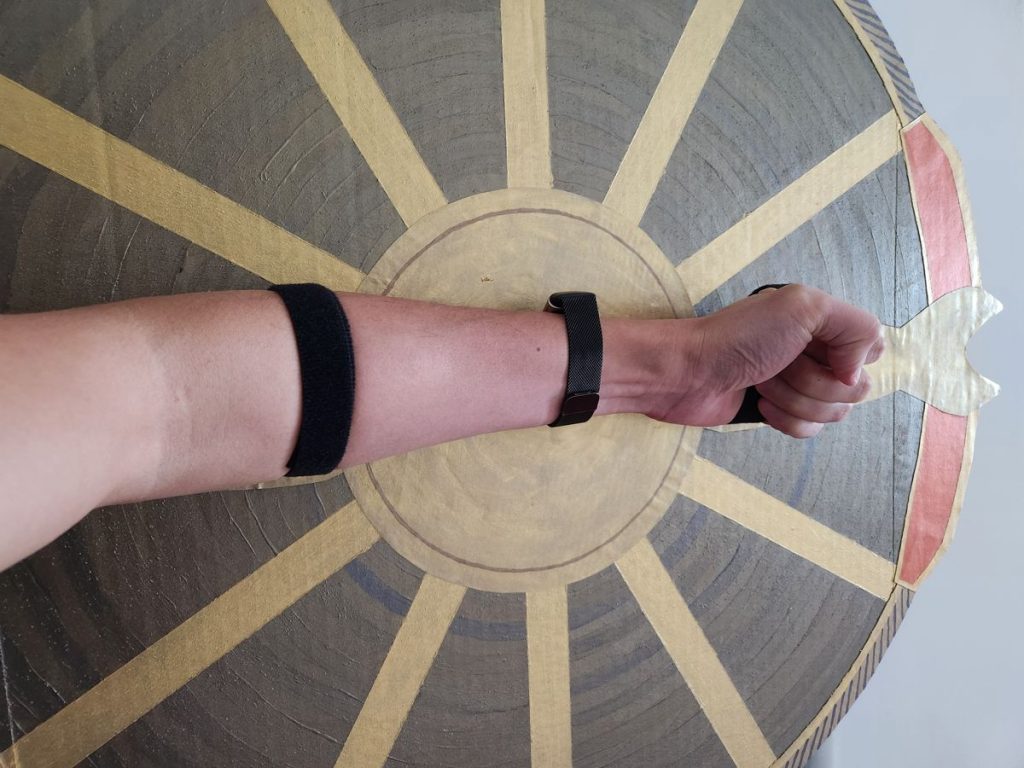
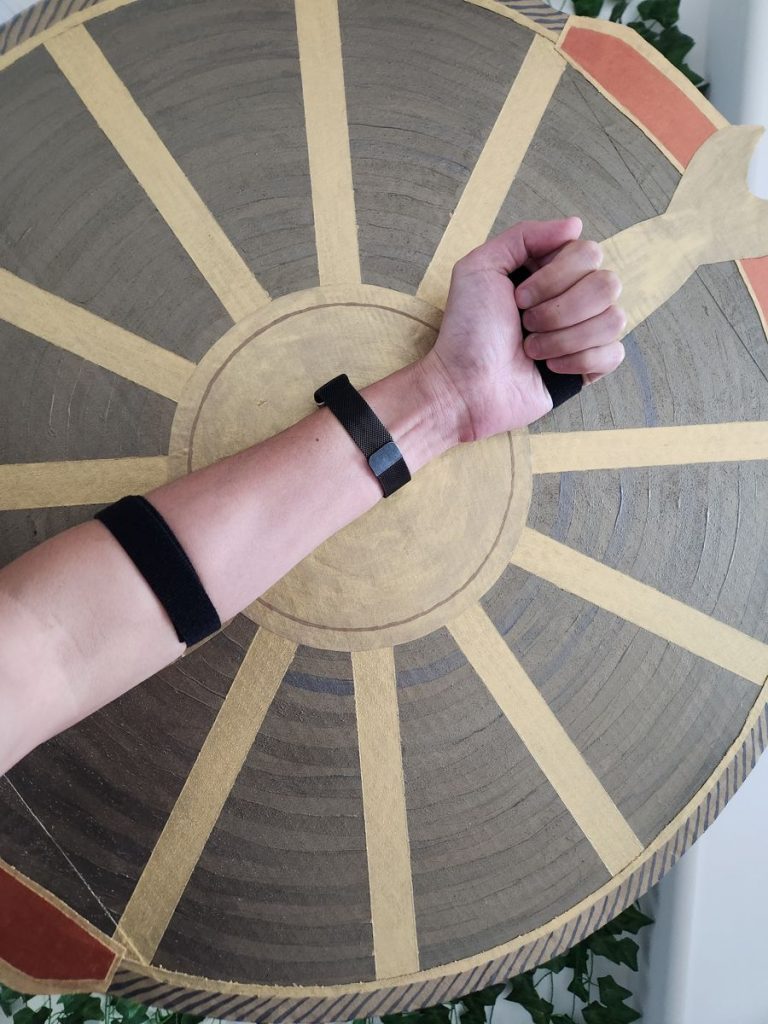
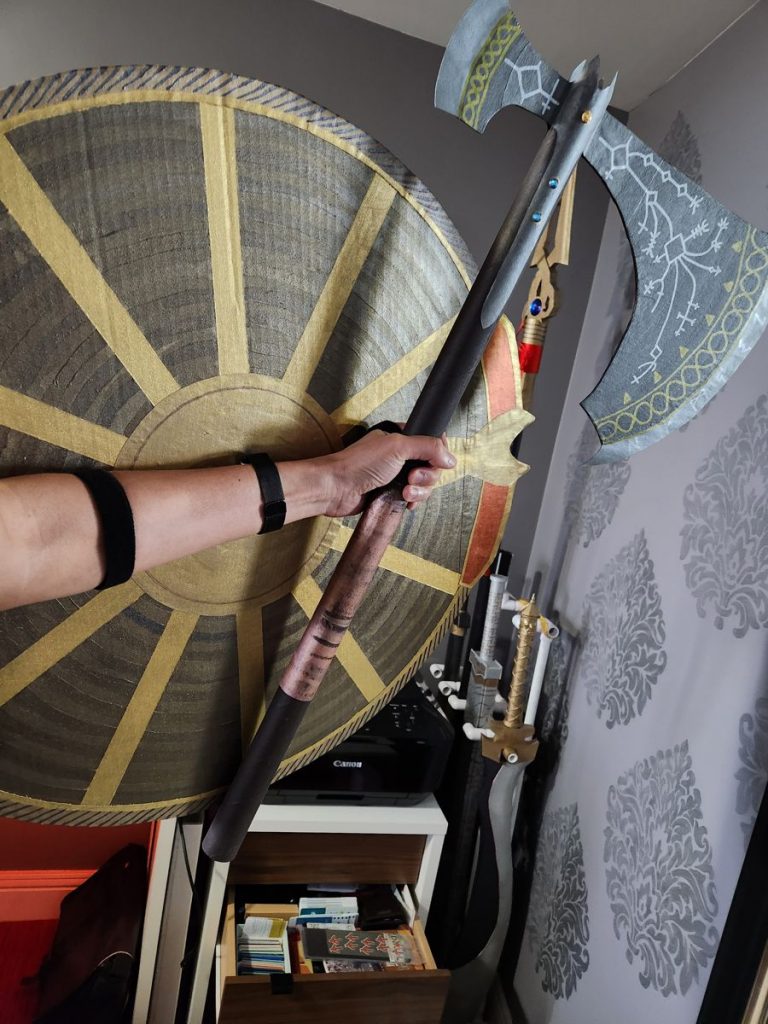
The Completed Shield
With that, the aspis part of my Spartan Aspis was done…
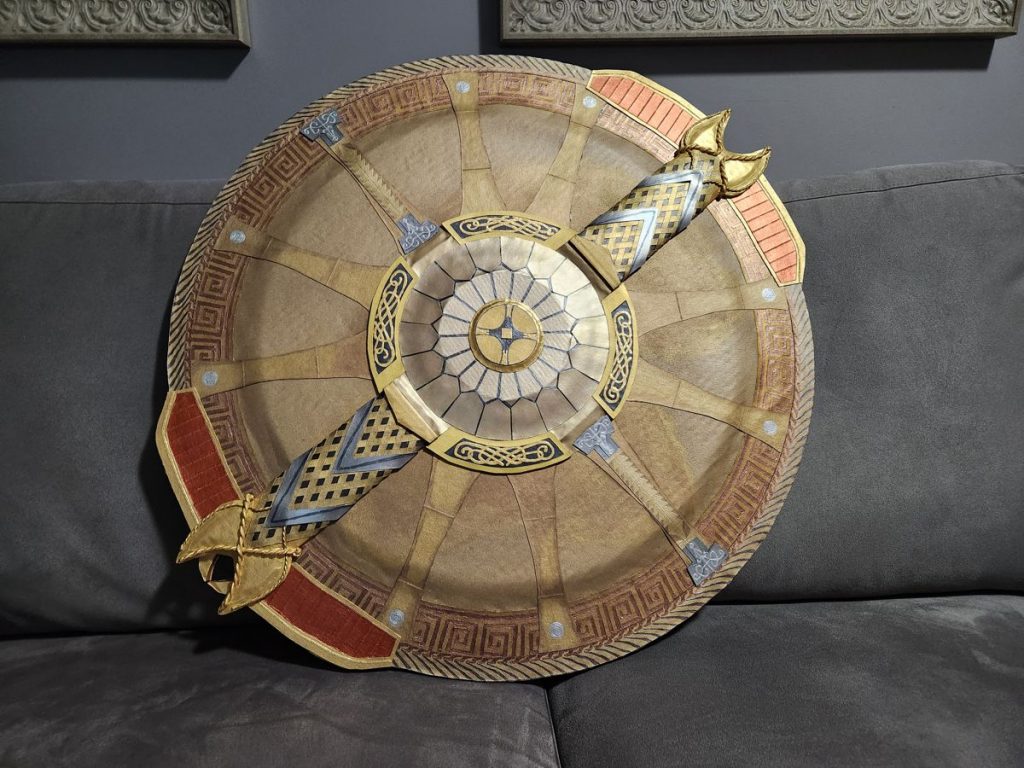
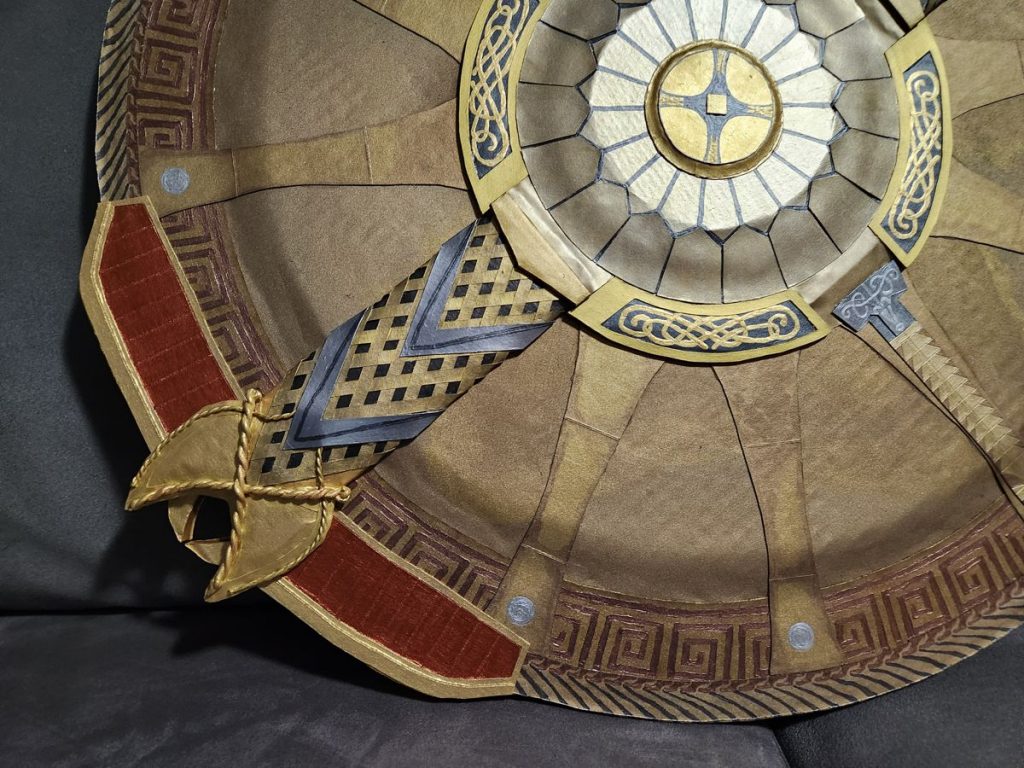
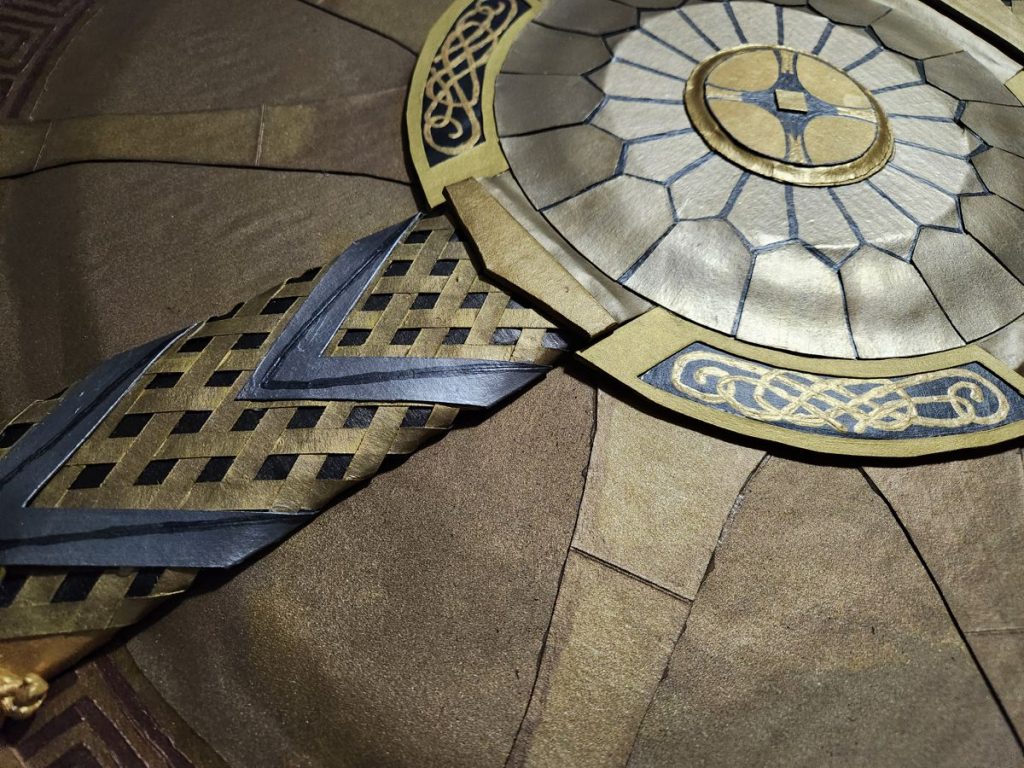
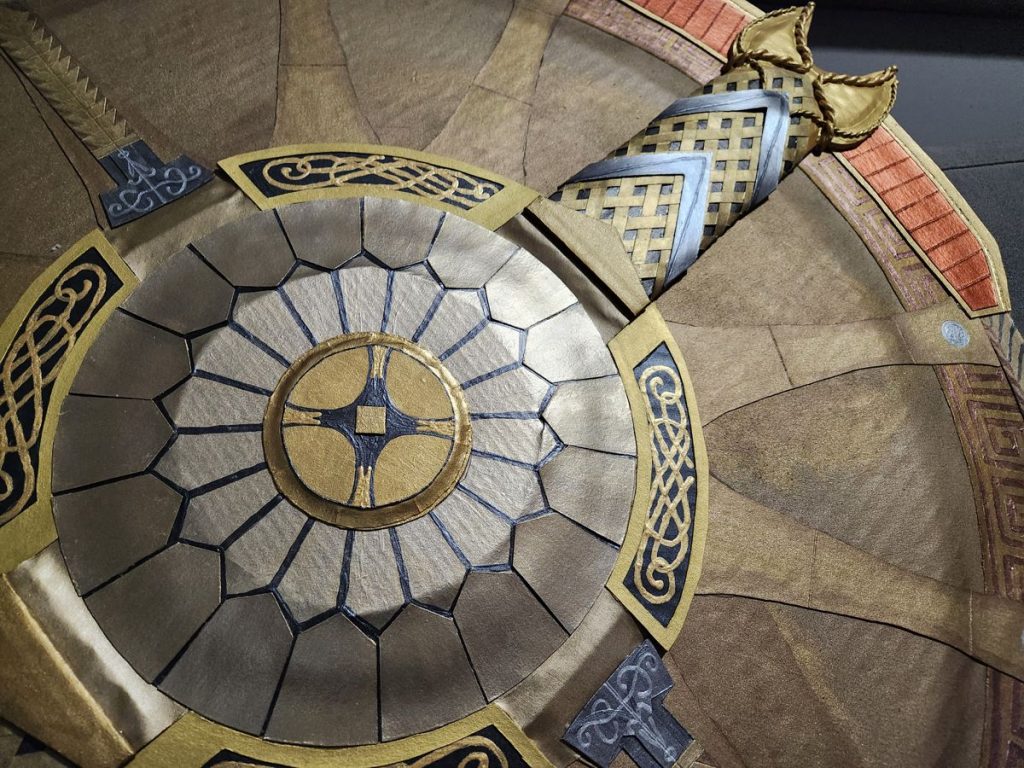
The Lambda
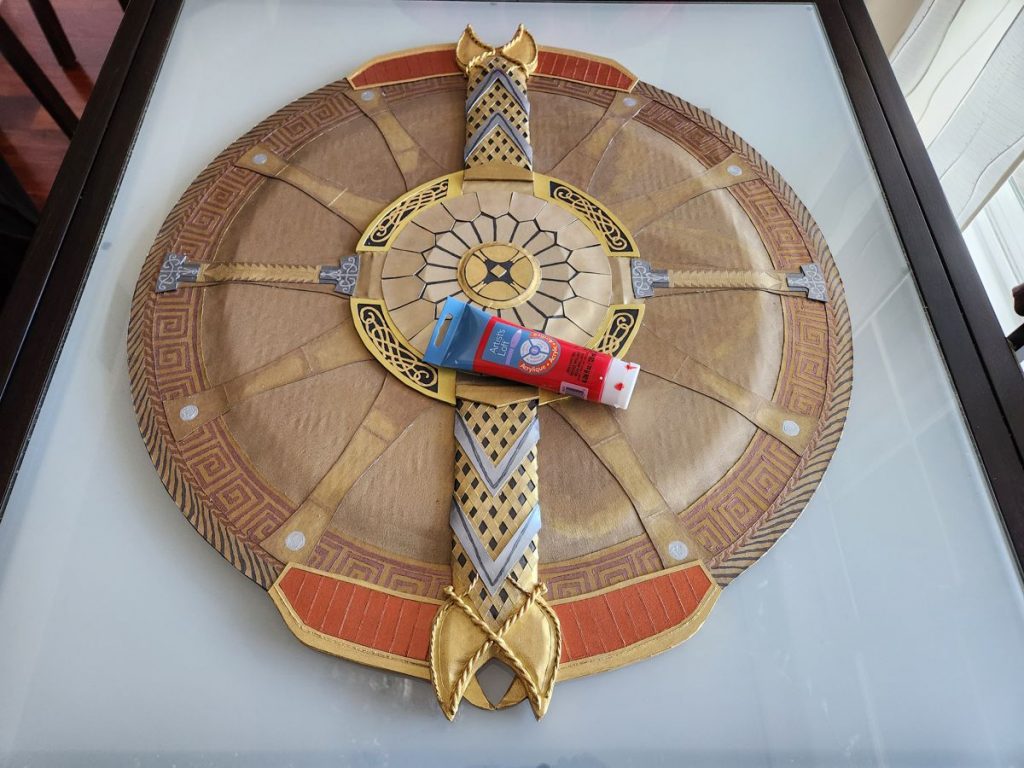
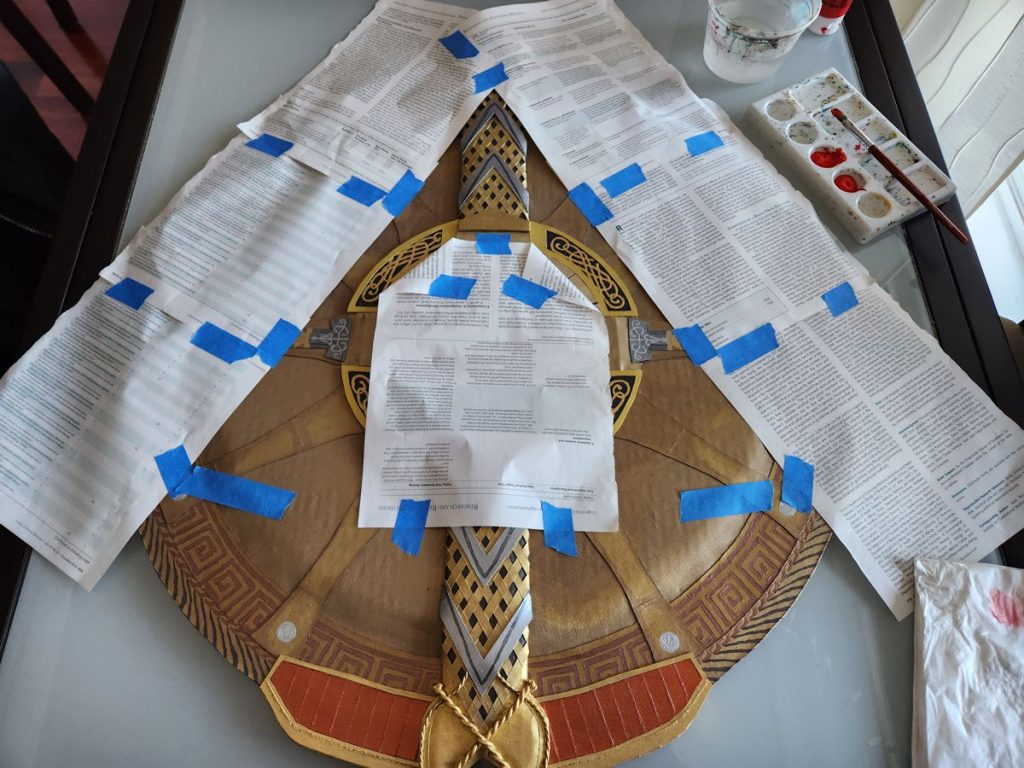
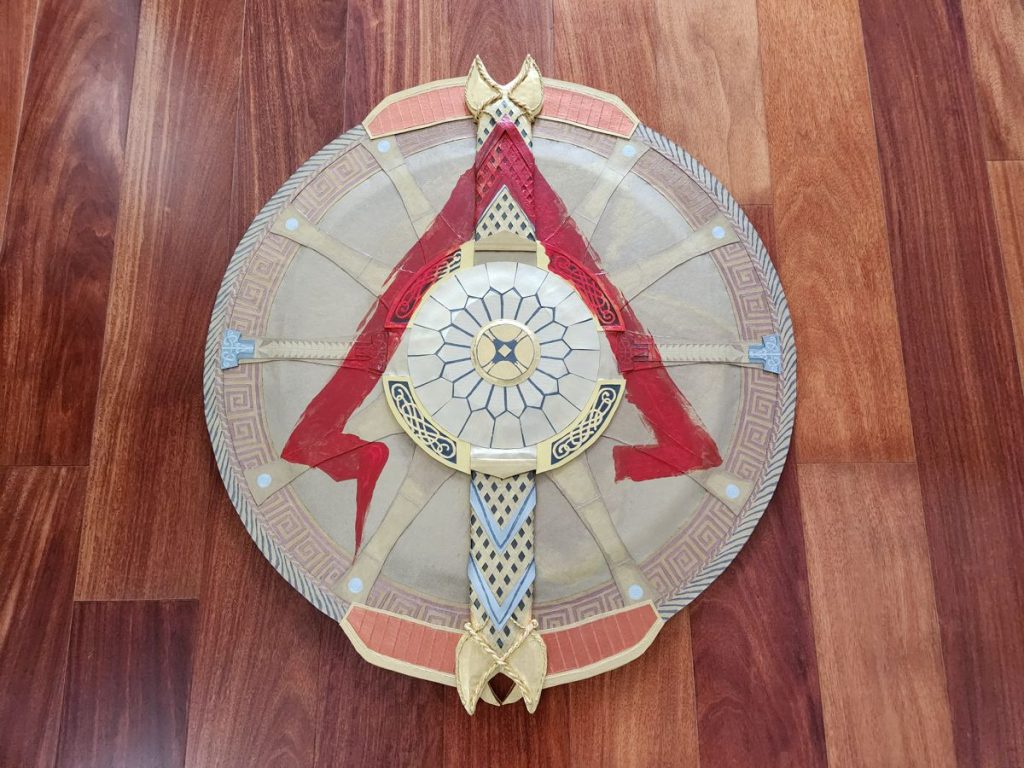
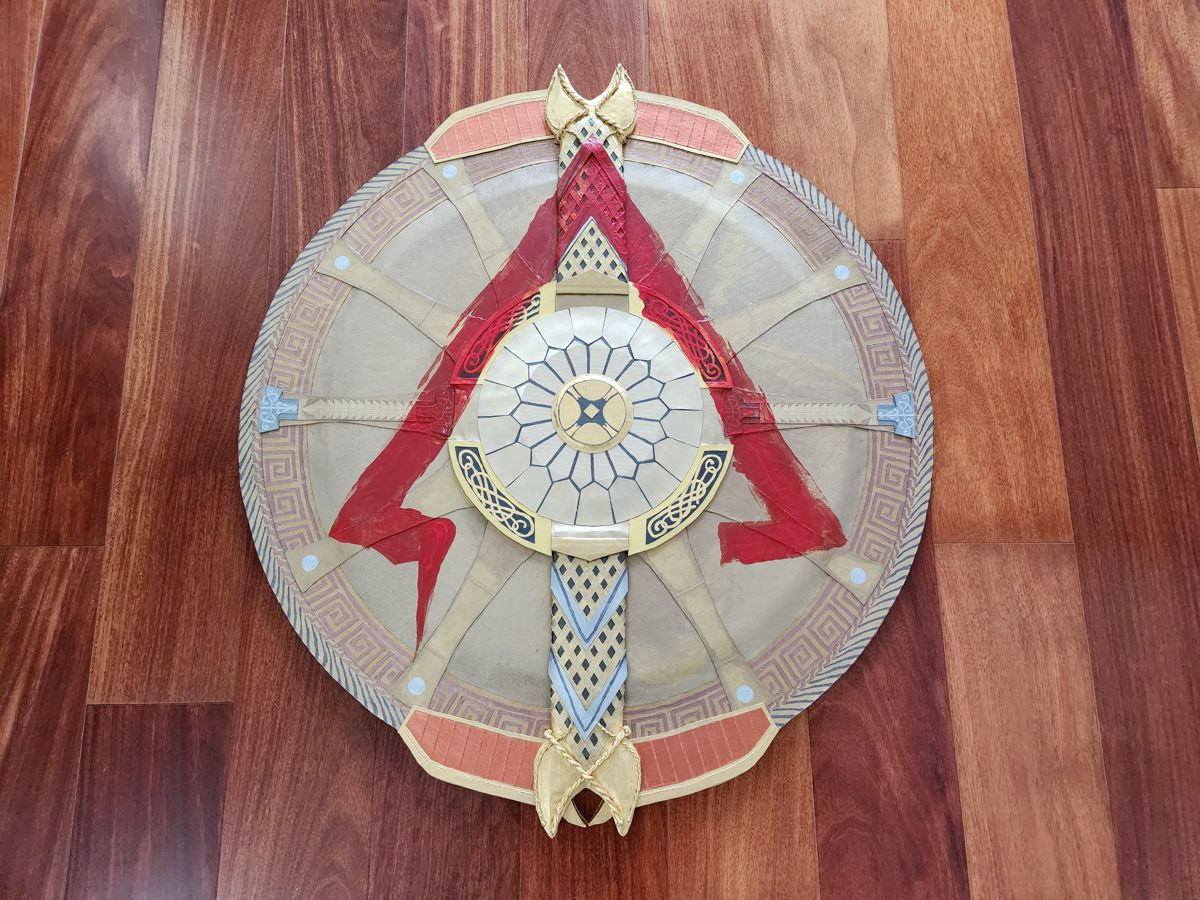
The final step, as the fictional Kratos must have done, was to paint the Spartan symbol on this shield. This was a poetic contrast with a rough free-handed painting (of blood, perhaps) over a luxuriously crafted surface. It was nerve racking to put another paint color over my beautifully painted surfaces – if I messed up, it’d be impossible to undo – though this step turned out quite satisfying. The regal design was now infused with a rugged warrior vibe… which was so cool!
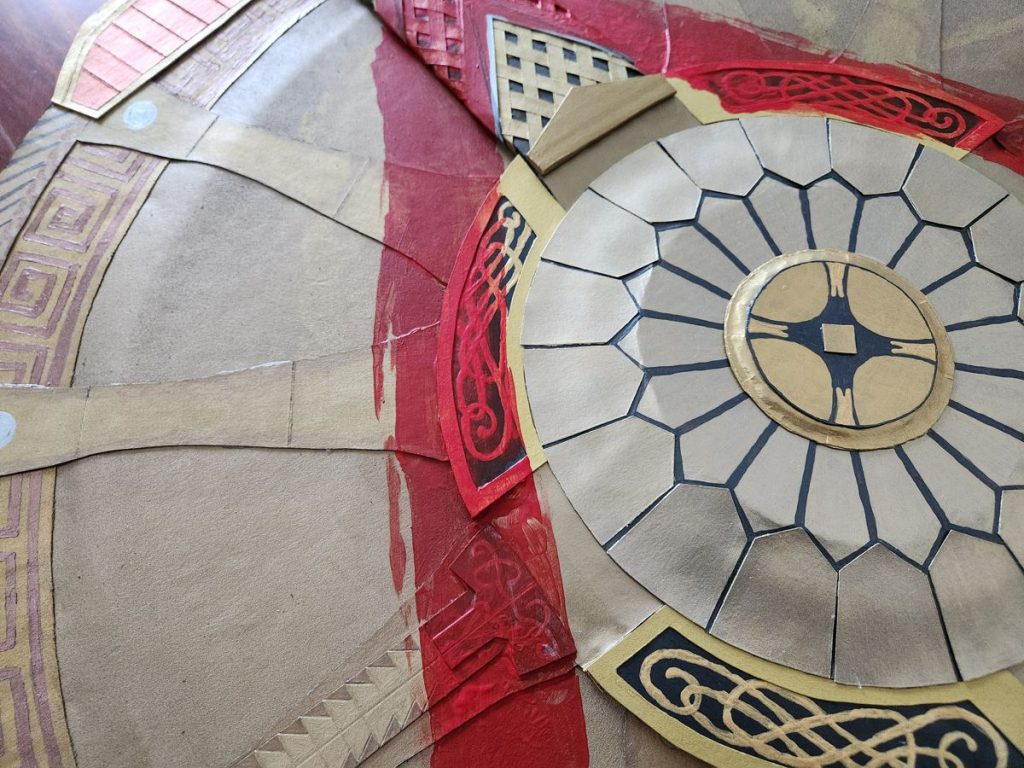
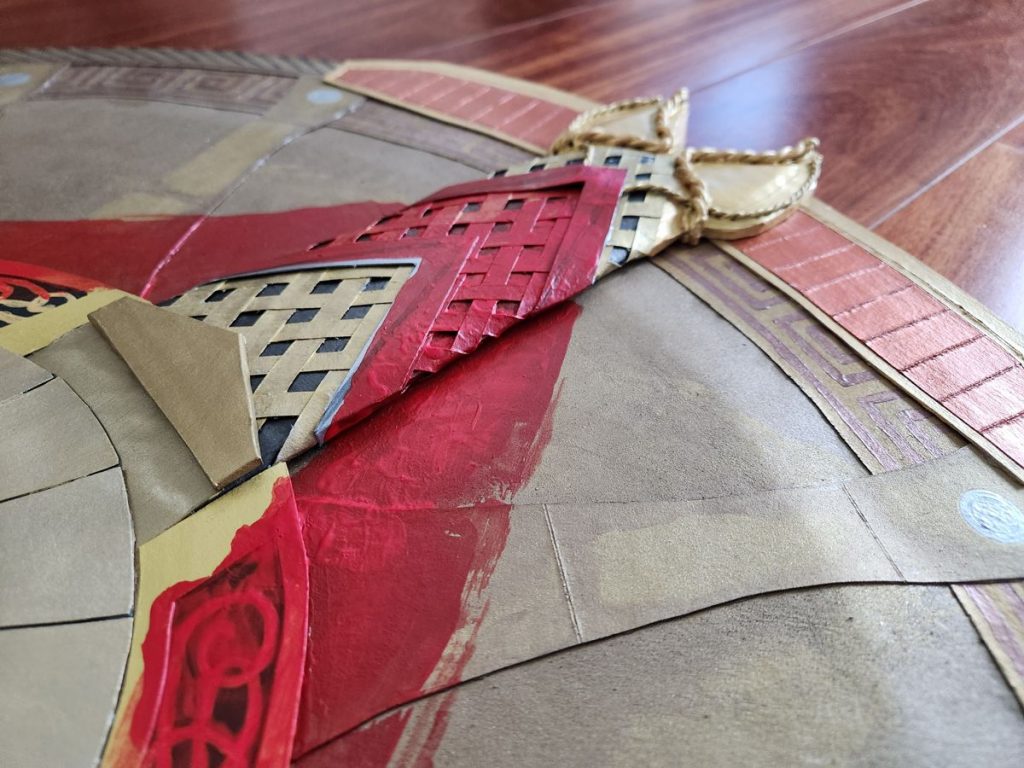
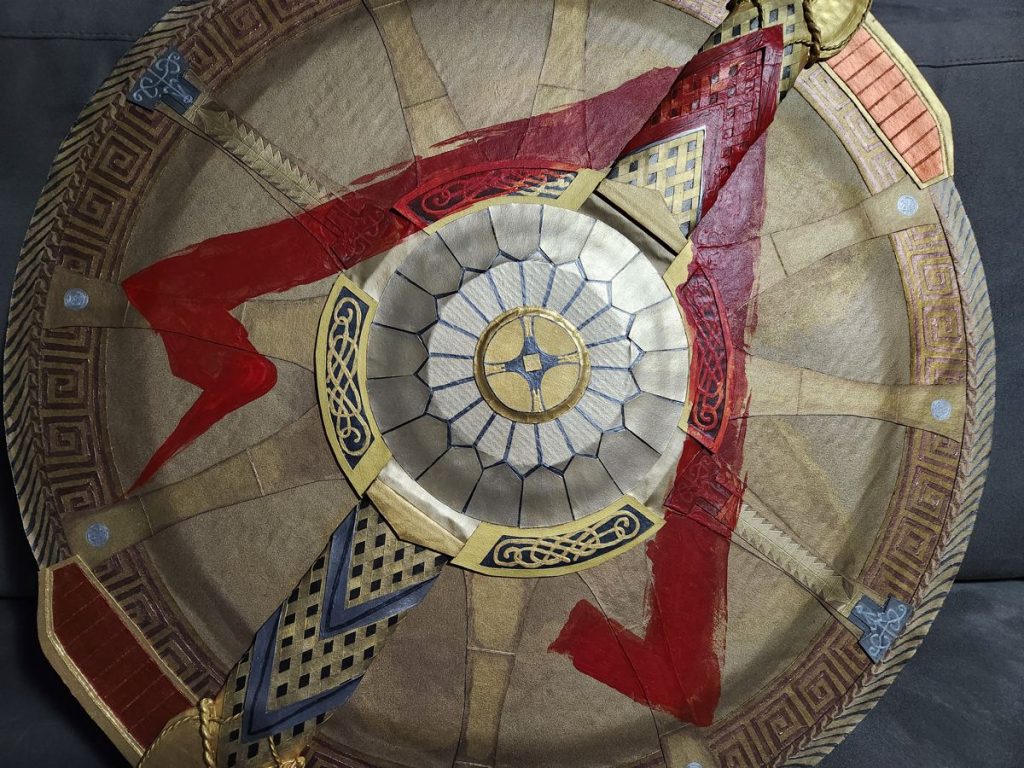
The Completed SPARTAN ASPIS
Six months later (two trips and a video game got in the way), I finished what I set out to do, turning toilet containers into the most detailed paint job model I had ever done. GIMME GOD OF WAR! BOOOOOY!
The Forge Continues:
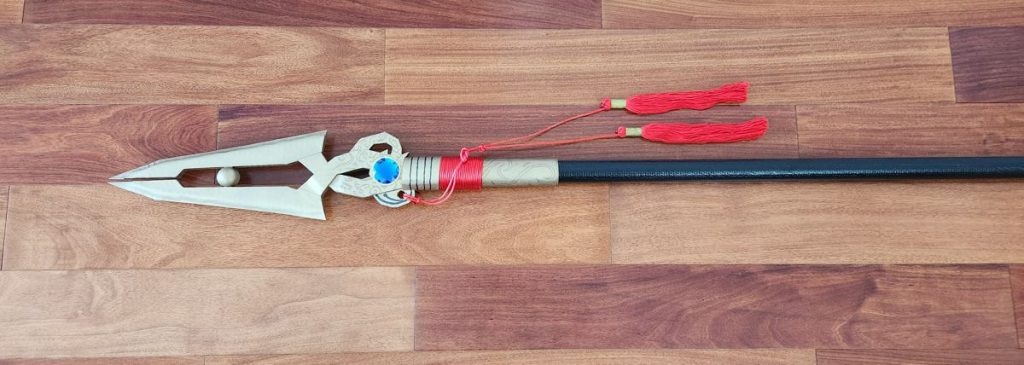
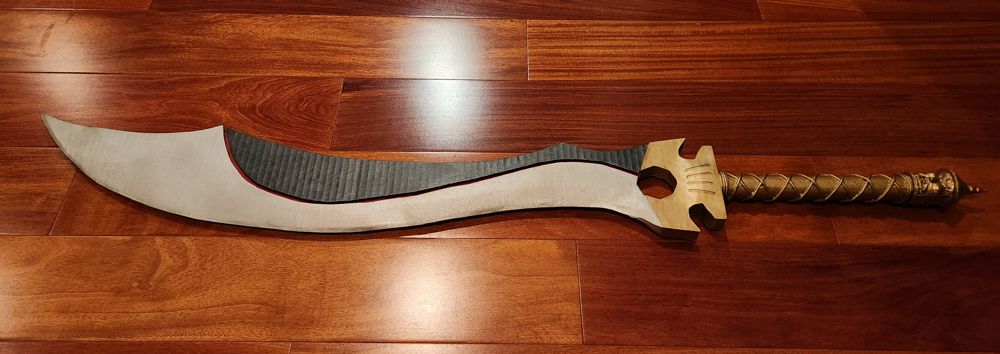
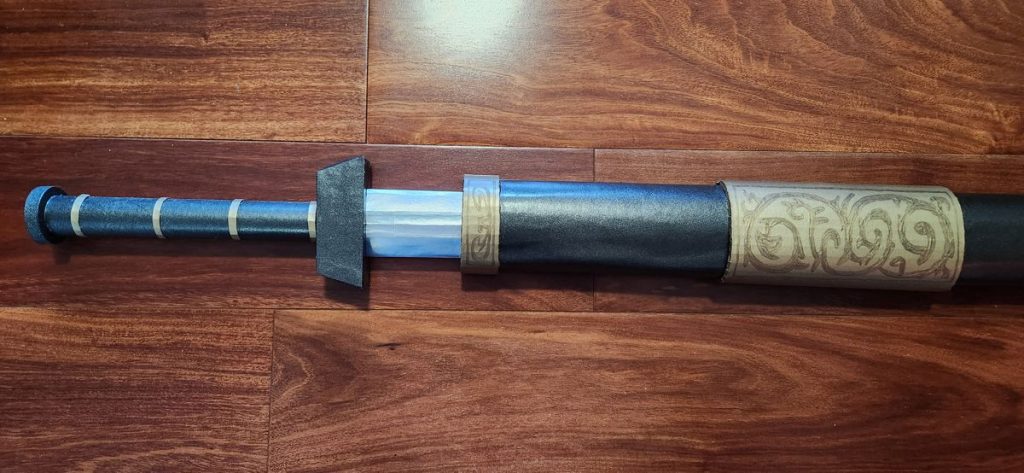
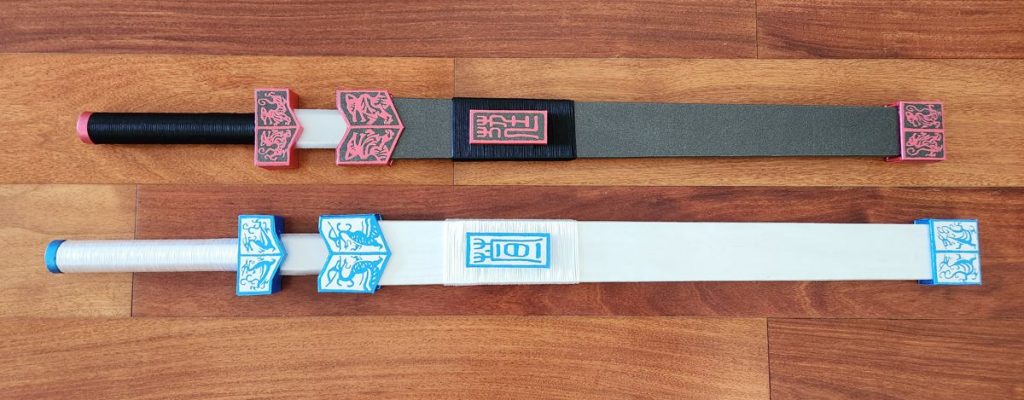
Project Tiger Blade – 虎斷 Hu Duan – Peter's Blog
February 17, 2025 at 3:21 am[…] Project Remnant Sword – 殘劍 Can Jian Project Vibrant Sword – A Homemade Lightsaber Experiment Project Hegemon’s Spear – 霸王槍 Ba Wang Qiang Project Curved Saber – 驚寂 Jing Ji Project Long Sword – 飛雪 Fei Xue Project Sister Swords – 萱 Xuan & 莛 Ting Project Concentric Circles – the Ultimate God of War Shield […]